Introduction to Woodworking Joinery Techniques
Woodworking joinery is an essential skill for anyone interested in creating strong, durable, and aesthetically pleasing wooden structures. Whether you’re a beginner or an experienced woodworker, understanding the different types of joinery techniques can significantly enhance the quality of your projects. In this guide, we’ll explore various joinery methods, the tools required, and some practical tips to help you master these techniques.
Understanding Basic Joinery Techniques
Joinery is all about connecting pieces of wood together in a sturdy and visually appealing way. Let’s start with some basic techniques that are perfect for beginners.
Butt Joints
The butt joint is the simplest type of wood joint. It involves joining two pieces of wood by simply butting them together, usually at a right angle. While easy to create, butt joints are not very strong and often require reinforcement with screws, nails, or glue.
Dowel Joints
Dowel joints use wooden dowels to hold pieces of wood together. They are stronger than butt joints and are relatively easy to create. Dowels are inserted into pre-drilled holes in both pieces of wood, providing alignment and additional strength.

Intermediate Joinery Techniques
Once you’ve mastered the basics, you can move on to more complex joinery techniques that offer greater strength and aesthetic appeal.
Mortise and Tenon Joints
The mortise and tenon joint is one of the oldest and strongest joints used in woodworking. It involves a tenon (a protruding end of one piece) fitting into a mortise (a cavity cut into the other piece). This technique is commonly used in furniture making and offers exceptional strength.
Dovetail Joints
Dovetail joints are known for their resistance to being pulled apart (tensile strength). They are often used in drawer construction. The interlocking design, resembling a dove’s tail, provides a strong mechanical bond. However, dovetail joints require precise cutting and are more challenging to execute.
Advanced Joinery Techniques
For those looking to push their skills even further, advanced joinery techniques offer superior strength and intricate designs.
Finger Joints
Finger joints, also known as box joints, are similar to dovetail joints but feature rectangular fingers. They are strong and provide a large surface area for glue, making them ideal for box construction and similar projects.
Biscuit Joints
Biscuit joints use a small, football-shaped piece of wood called a biscuit, which fits into slots cut into the joining pieces. When glued, the biscuit swells, creating a strong bond. This technique is great for edge-to-edge joints and is often used in tabletops and panels.
Essential Tools for Woodworking Joinery
Having the right tools is crucial for successful joinery. Let’s break down the essential hand tools and power tools you’ll need.
Hand Tools
Hand tools are indispensable for precision work. Essential hand tools include chisels, mallets, hand saws, marking gauges, and woodworking clamps. These tools allow for detailed craftsmanship and control.
Power Tools
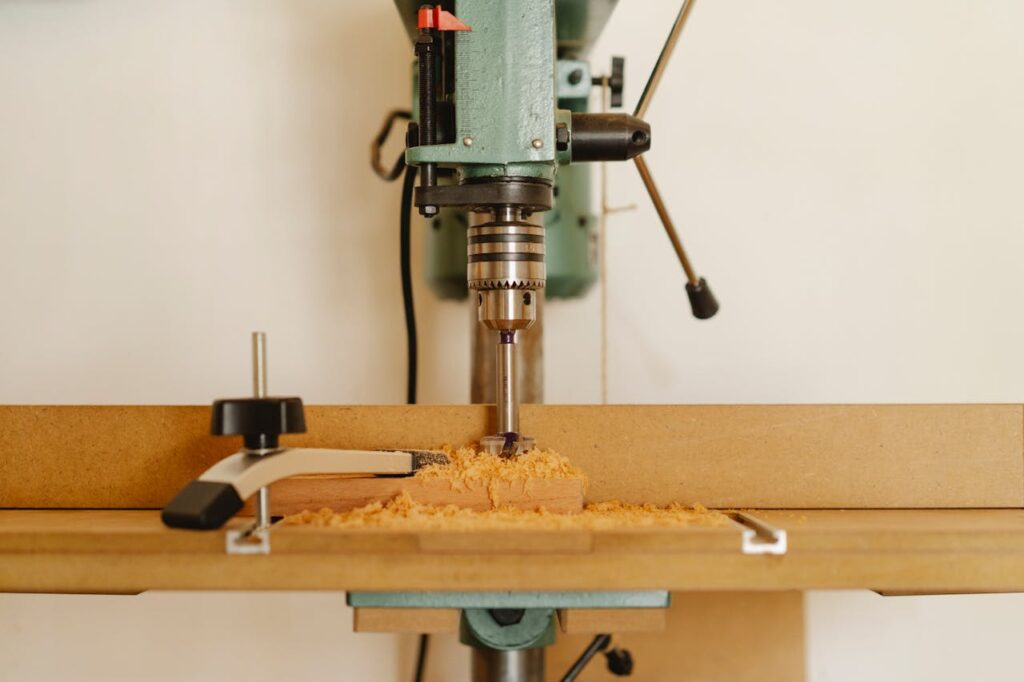
While hand tools are great, power tools can save time and effort, especially for larger projects. Key power tools for joinery include table saws, routers, drill presses, and biscuit joiners. These tools help ensure accuracy and efficiency in your joinery work.

Step-by-Step Joinery Project: Building a Simple Box
Let’s put some of these techniques into practice with a simple joinery project: building a wooden box.
Materials Needed
- Four wooden panels for the sides
- One wooden panel for the bottom
- Wood glue
- Nails or screws
- Sandpaper
- Finish or paint (optional)
Step-by-Step Instructions
- Cut your wood panels to the desired dimensions.
- Use a dovetail or finger joint to join the sides.
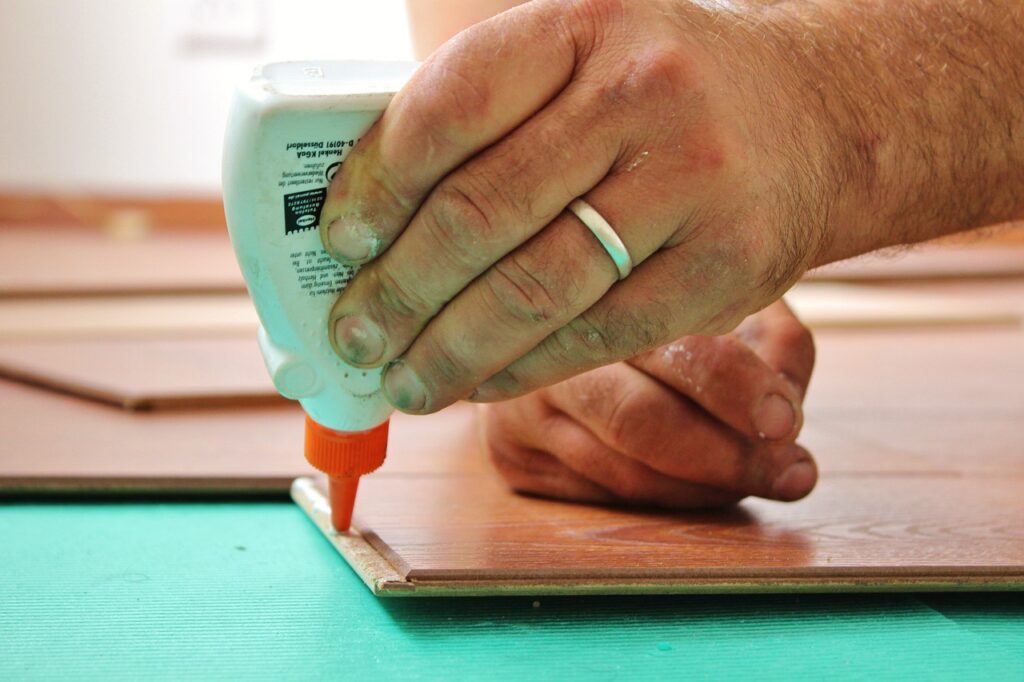
- Apply wood glue to the joints and clamp them together until dry.
- Attach the bottom panel using glue and nails or screws.
- Sand the entire box to smooth any rough edges.
- Apply your desired finish or paint for a polished look.
Tips for Perfect Woodworking Joinery
Achieving perfect joinery takes practice and attention to detail. Here are some tips to help you along the way.
Choosing the Right Wood
The type of wood you choose can significantly impact the quality of your joinery. Hardwoods like oak, maple, and walnut are excellent for joinery due to their strength and durability. Softwoods can work but may not provide the same level of sturdiness.
Precision and Patience
Precision is key in joinery. Always measure twice and cut once to ensure accuracy. Take your time with each step, and don’t rush the process. Patience and attention to detail will result in cleaner, stronger joints.
Conclusion
Woodworking joinery is a rewarding skill that can elevate your woodworking projects to new heights. By understanding and practicing different joinery techniques, you can create pieces that are both strong and beautiful. Whether you’re a beginner or an experienced woodworker, there’s always something new to learn in the world of joinery. Happy woodworking!
FAQs
Q: What is the easiest joinery technique for beginners?
A: Butt joints and dowel joints are the easiest for beginners to master.
Q: How can I improve my dovetail joints?
A: Practice makes perfect. Use a dovetail jig for consistent results and ensure your cuts are precise.
Q: What type of wood is best for joinery?
A: Hardwoods like oak, maple, and walnut are ideal for joinery due to their strength and durability.
Q: Are power tools necessary for joinery?
A: While not necessary, power tools can make the process faster and more accurate. Hand tools are sufficient for detailed work.
Q: How do I fix a mistake in my joinery work?
A: Small mistakes can often be corrected with wood filler or by adjusting the joint. For larger errors, you might need to recut the joint or use additional reinforcement.