Introduction to Woodworking Jigs
Hey there, woodworking enthusiasts! If you’re diving into the world of woodworking, you’ve probably realized how crucial precision is to your projects. That’s where woodworking jigs come in. These handy devices are game-changers, helping you make accurate cuts, alignments, and joints with ease. But buying jigs can be expensive, and they might not fit your unique needs. That’s why I’m excited to share with you the magic of homemade woodworking jigs. Not only are they cost-effective, but they can also be customized to suit your specific projects. So, let’s dive in and explore how to create your own woodworking jigs!
Why Use Homemade Woodworking Jigs?
Cost-Effectiveness
First off, let’s talk about the budget. Store-bought jigs can put a dent in your wallet, especially if you need several for different tasks. Making your own jigs from scrap wood and leftover materials can save you a significant amount of money. Plus, it’s a great way to use up those offcuts you’ve been hoarding.
Customization and Versatility
One of the biggest advantages of DIY jigs is the ability to customize them to your exact needs. Store-bought options are often one-size-fits-all, which can be limiting. When you build your own, you can tailor each jig to fit your tools and the specific requirements of your projects. Need a jig for a tricky angle? No problem. Want something that can handle both large and small pieces? You got it. The versatility of homemade jigs is unbeatable.
Enhanced Accuracy and Safety
Let’s not forget about accuracy and safety. A well-made jig ensures that your cuts and joints are precise, which is crucial for the quality of your work. Moreover, using jigs can improve safety by keeping your hands away from the blade and providing a stable surface for cutting or routing. When you make your own jigs, you can design them with these safety features in mind, giving you peace of mind while you work.

Essential Materials and Tools for Building Jigs
Before we jump into the how-to’s, let’s gather the materials and tools you’ll need. Most homemade jigs can be made with basic woodworking tools and materials you probably already have in your workshop. Here’s a list to get you started:
- Scrap wood (plywood or MDF works great)
- Screws and nails
- Wood glue
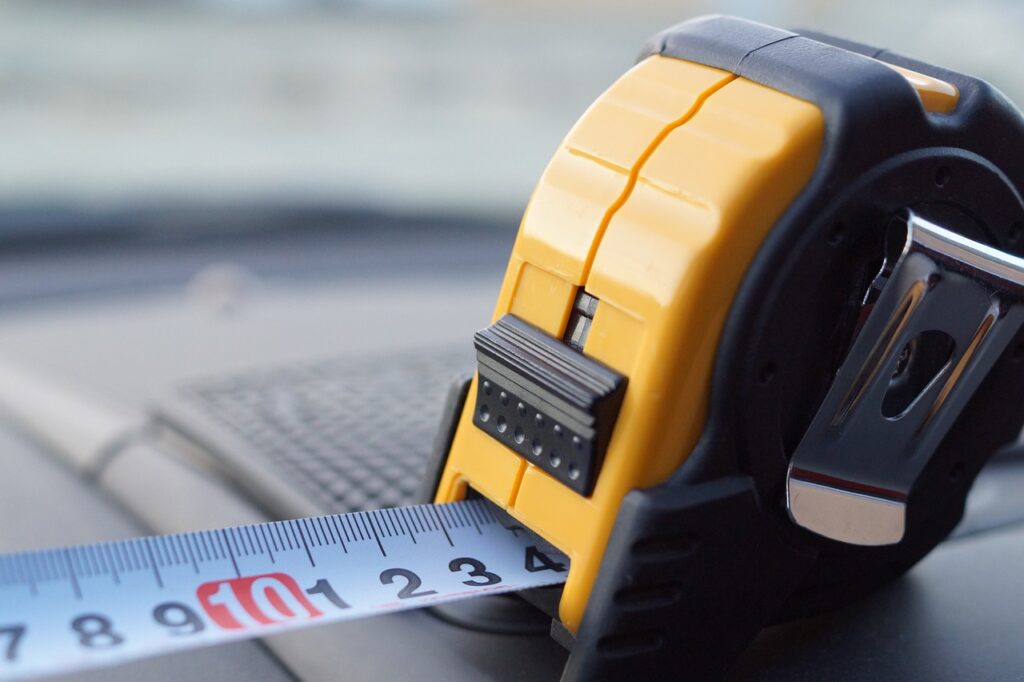
- Measuring tape and square
- Clamps
- Sandpaper
- Saw (circular or table saw)
- Drill and bits
- Router (for more advanced jigs)
Having these items on hand will set you up for success in creating your own jigs. Now, let’s move on to some specific jig projects you can tackle.

Step-by-Step Guide to Making Common Woodworking Jigs
Building a Crosscut Sled
Materials Needed
- Plywood or MDF (for the base)
- Hardwood strips (for the runners)
- Screws
- Wood glue
- Measuring tape
- Saw (circular or table saw)
Step-by-Step Instructions
- Cut the plywood or MDF to the size you need for your sled base.
- Cut the hardwood strips to fit the miter slots of your table saw. These will be the runners.
- Attach the runners to the bottom of the sled base using screws and wood glue. Ensure they fit snugly in the miter slots but can slide smoothly.
- Add a fence to the front and back edges of the sled base, ensuring they are square to the runners. Secure with screws and glue.
- Test the sled on your table saw, making adjustments as needed for a smooth, accurate cut.
Crafting a Doweling Jig
Materials Needed
- Scrap wood (hardwood preferred)
- Drill bits (matching dowel sizes)
- Screws
- Wood glue
- Measuring tape
Step-by-Step Instructions
- Cut two pieces of hardwood to form the body of the jig. These should be thick enough to drill straight holes through.
- Mark and drill holes at regular intervals on one piece, ensuring they are straight and evenly spaced. These holes will guide your dowel placements.
- Attach the second piece of hardwood to the first, creating an “L” shape that can clamp onto your workpieces.
- Test the jig by drilling dowel holes into scrap wood, ensuring accuracy and ease of use.
Creating a Router Table Fence
Materials Needed
- Plywood or MDF (for the fence body)
- Hardwood strips (for the fence base)
- Screws
- Wood glue
- Clamps
- Router
Step-by-Step Instructions
- Cut the plywood or MDF to the desired height and length for your fence.
- Attach hardwood strips to the bottom of the fence to act as a base, ensuring they are straight and secure.
- Drill holes in the fence body for adjusting the fence position on your router table.
- Attach the fence to your router table using clamps or screws, adjusting for precise alignment.
- Test the fence with your router, making adjustments as necessary for smooth operation.

Tips for Using Woodworking Jigs Effectively
Now that you’ve built your jigs, here are some tips to use them effectively:
- Always double-check your measurements and alignments before making cuts.
- Use clamps to secure your jigs and workpieces, ensuring stability and safety.
- Keep your jigs clean and free from sawdust buildup to maintain accuracy.
- Practice using each jig on scrap wood before incorporating them into your actual projects.
Maintaining and Storing Your Jigs
Proper maintenance and storage will prolong the life of your jigs and keep them ready for use. Here are some pointers:
- Store jigs in a dry, clean place to prevent warping and damage.
- Regularly inspect and tighten any screws or bolts.
- Sand down any rough edges or surfaces that could affect accuracy.
- Label your jigs for easy identification and quick setup.
Conclusion
Creating your own woodworking jigs is a rewarding and practical aspect of DIY woodworking. Not only do you save money, but you also gain the ability to customize tools that enhance your craftsmanship. Whether you’re building a crosscut sled, a doweling jig, or a router table fence, the process is straightforward and the benefits are immense. So, grab your tools, get into your workshop, and start crafting those jigs. Happy woodworking!
FAQs
Q: What are the most essential jigs for beginners?
A: The most essential jigs for beginners include a crosscut sled, doweling jig, and a router table fence. These jigs are versatile and improve accuracy and safety in various woodworking projects.
Q: Can I make jigs with basic tools?
A: Yes, you can make jigs with basic tools such as a saw, drill, measuring tape, and clamps. Advanced tools like routers can enhance your jig-making capabilities but are not necessary for all projects.
Q: How do I ensure my homemade jigs are accurate?
A: To ensure accuracy, double-check all measurements and alignments, use quality materials, and test your jigs on scrap wood before using them on actual projects.
Q: How often should I maintain my jigs?
A: Regular maintenance is key. Check your jigs before each use for any loose screws, warped wood, or buildup of sawdust. Proper storage and occasional sanding will keep them in good condition.
Q: What types of wood are best for making jigs?
A: Hardwood is typically best for making jigs due to its durability and resistance to warping. Plywood and MDF are also good choices for base materials due to their stability.