Introduction to Wood Finishing
Wood finishing is the final touch that brings your woodworking project to life. Whether you’re crafting a simple shelf or an intricate piece of furniture, the right finish can enhance the wood’s natural beauty, protect it from damage, and add durability. In this guide, we’ll explore essential wood finishing techniques to help you achieve professional results, even if you’re a beginner.

Essential Tools and Materials
Before diving into the process, it’s crucial to gather the necessary tools and materials. The right equipment makes all the difference in achieving a smooth and flawless finish.
Sanding Tools
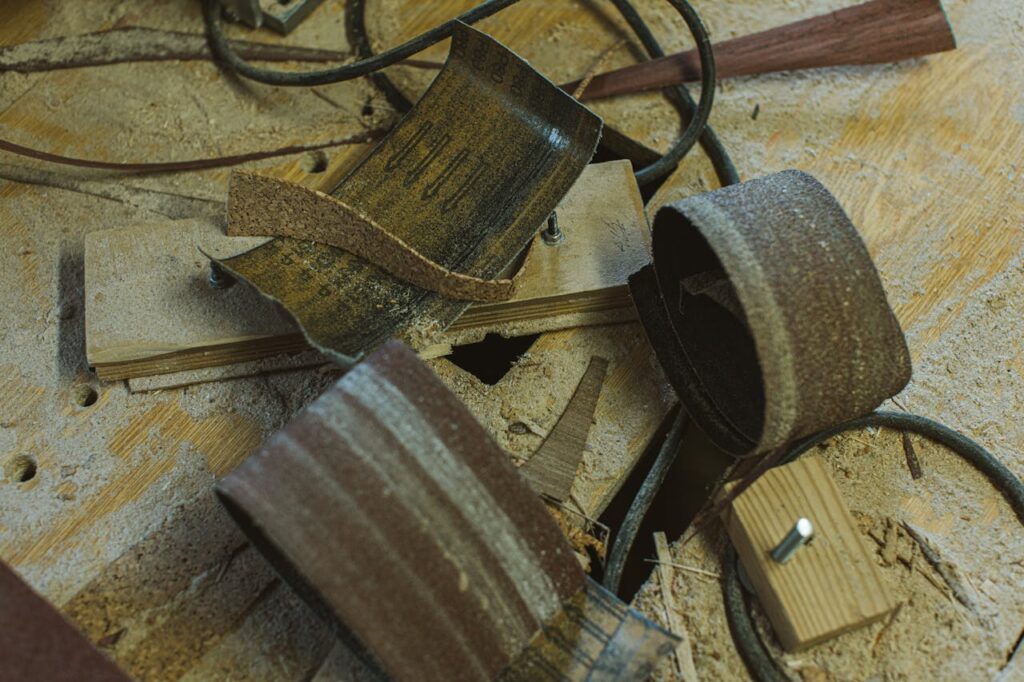
Sanding is a fundamental step in wood finishing. You’ll need various grits of sandpaper, starting from coarse (around 80 grit) to fine (up to 220 grit or higher). A sanding block or an electric sander can help ensure even pressure and consistent results.
Finishing Products
Choosing the right finishing products depends on your desired outcome. Common products include stains, varnishes, oils, shellac, and lacquer. Each has its unique properties and application methods, which we’ll discuss in detail later.
Preparing the Wood
Preparation is key to a successful finish. Properly preparing the wood ensures the finish adheres well and looks great.
Cleaning the Surface
Start by cleaning the wood surface to remove any dust, dirt, or grease. Use a damp cloth or a tack cloth to wipe down the wood. This step is essential for preventing imperfections in the finish.
Sanding Process
Next, sand the wood to create a smooth surface. Begin with coarse sandpaper to remove any rough spots and then progress to finer grits. Always sand in the direction of the wood grain to avoid scratches. After sanding, clean the surface again to remove any dust.

Types of Wood Finishes
Choosing the right finish depends on the look and protection you want for your project. Here are the most common types of wood finishes:
Stains
Stains penetrate the wood to add color while allowing the grain to show through. They come in various shades and can be water-based or oil-based. Stains are great for enhancing the natural beauty of the wood.
Varnishes
Varnishes provide a durable, protective coat that can be glossy or matte. They are ideal for high-traffic items like tables and chairs. Varnish forms a hard, transparent film on the surface, protecting it from scratches and moisture.
Oils
Oils like tung oil and linseed oil penetrate the wood, enhancing its natural color and grain. They provide a subtle sheen and are easy to apply and maintain. Oils are perfect for projects that need a natural, hand-rubbed finish.
Lacquer and Shellac
Shellac and lacquer are quick-drying finishes that create a smooth, high-gloss surface. Shellac is made from natural resins, while lacquer is a synthetic finish. Both are excellent for fine furniture and decorative items.
Application Techniques
How you apply the finish affects the final result. Different wood finishing techniques work best with different products.
Brushing
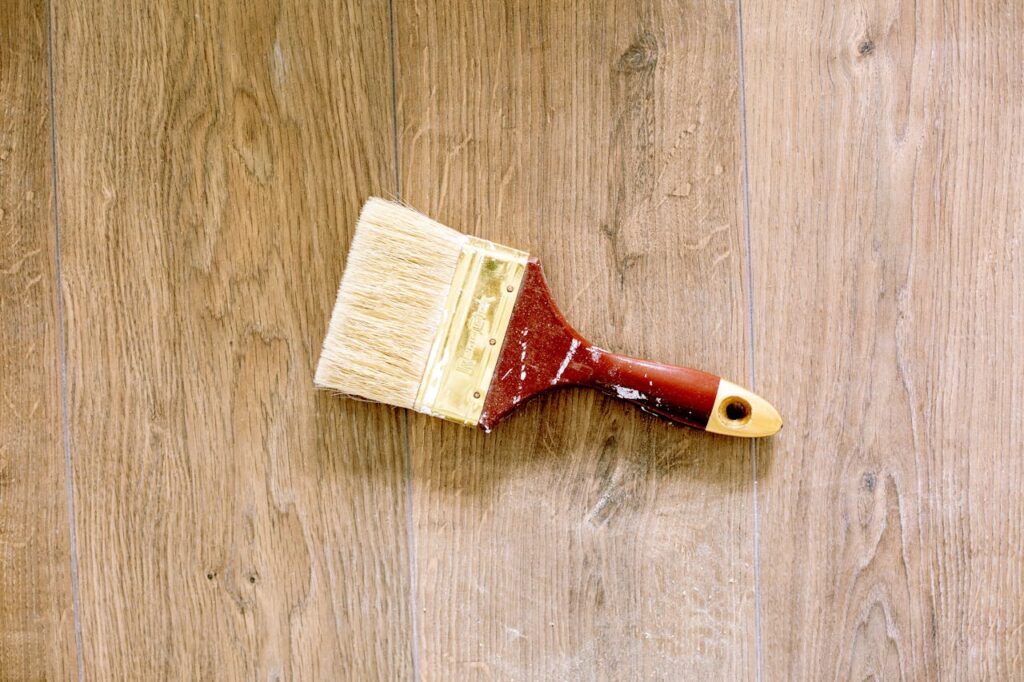
Brushing is a common method for applying varnishes and paints. Use a high-quality brush to avoid bristles in the finish. Apply the product in thin, even coats, following the wood grain.
Spraying
Spraying provides a smooth, even finish, especially on large surfaces. Use a spray gun or an aerosol can, keeping a consistent distance from the wood. Spraying is ideal for lacquer and shellac.
Wiping
Wiping is often used for oils and stains. Apply the product with a cloth, working it into the wood in circular motions. Wipe off any excess to prevent blotches.

Tips for a Professional Finish
To achieve a professional look, consider these expert tips:
Layering and Drying
Apply multiple thin layers rather than one thick coat. Allow each layer to dry thoroughly before applying the next. This method ensures a smooth and durable finish.
Buffing and Polishing
After the final coat is dry, buff the surface with fine steel wool or a polishing cloth. This step removes any imperfections and enhances the shine.
Common Mistakes to Avoid
Even experienced woodworkers can make mistakes. Here are some common pitfalls to avoid:
Over-Sanding
Sanding too much can damage the wood and can create uneven surfaces. Stop sanding once the wood feels smooth and consistent.
Incorrect Product Use
Using the wrong product for your wood type or application can lead to poor results. Always read the manufacturer’s instructions and test the product on a small area first.
Conclusion: The Art of Wood Finishing Techniques
Wood finishing is both an art and a science. With the right tools, techniques, and a bit of patience, you can achieve beautiful, professional-looking results. Remember to prepare your wood carefully, choose the appropriate finish, and apply it with precision. Happy woodworking!
FAQs
Q: What is the best wood finish for beginners?
A: For beginners, oil finishes like tung oil or Danish oil are easy to apply and forgiving. They enhance the wood’s natural beauty without requiring extensive prep work.
Q: How long should wood finish dry?
A: Drying times vary by product. Oil finishes can take 24-48 hours, while varnishes and polyurethanes might need several days. Always follow the manufacturer’s instructions.
Q: Can I apply wood finish without sanding?
A: Sanding is essential for a smooth finish and proper adhesion. Skipping this step can result in a rough, uneven surface and poor finish quality.
Q: How do I choose the right finish for my project?
A: Consider the wood type, intended use, and desired appearance. For example, use varnish for high-traffic items and oil for a natural look.
Q: What is the difference between varnish and lacquer?
A: Varnish is more durable and suitable for outdoor projects, while lacquer dries faster and provides a high-gloss finish, ideal for indoor furniture.