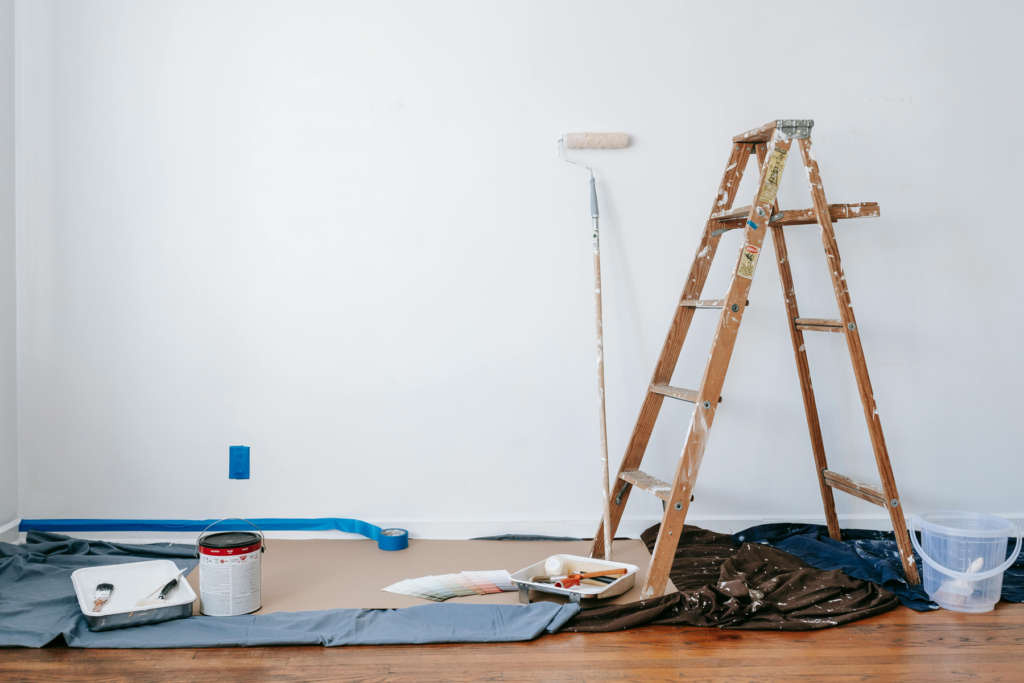
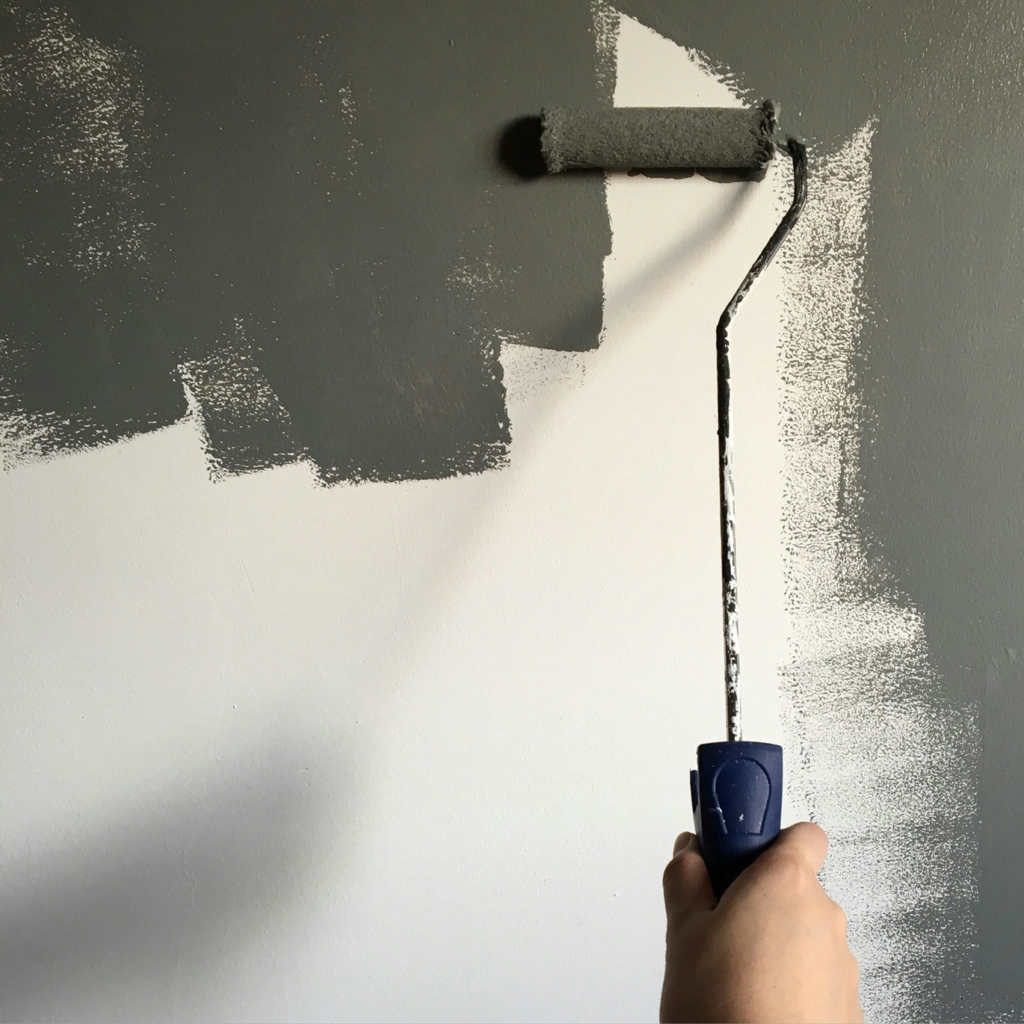
As someone deeply passionate about DIY projects, I’ve learned that painting walls can completely transform the look and feel of a room. Whether you’re looking to refresh your space or add a splash of color, mastering simple painting techniques is essential. In this guide, I’ll walk you through the key steps and tips for achieving professional-looking results on your own.
Introduction
Painting walls may seem straightforward, but there are several factors to consider to ensure a flawless finish. From choosing the right paint to applying it correctly, each step plays a crucial role in the outcome of your project.
Choosing the Right Paint
Before diving into your painting project, it’s essential to select the right type of paint for your walls. There are various paint finishes available, each serving a different purpose and providing a distinct look.
Types of Paint Finishes
- Matte: Offers a non-reflective finish and is ideal for hiding imperfections on walls.
- Eggshell: Provides a subtle sheen and is easy to clean, making it suitable for high-traffic areas.
- Satin: Offers a soft sheen and is durable, making it suitable for kitchens and bathrooms.
- Semi-Gloss: Provides a shiny finish and is moisture-resistant, making it ideal for trim and doors.
Preparing the Wall
Proper preparation is key to achieving a smooth and long-lasting paint finish. Begin by cleaning the walls to remove dirt, dust, and grease. Repair any cracks or holes using spackle or joint compound, and sand the surface until it’s smooth.
Cleaning and Repairing
- Cleaning: Use a mild detergent and water solution to clean the walls thoroughly. Allow them to dry completely before proceeding.
- Repairing: Fill any holes or cracks with spackle or joint compound, and sand the surface until it’s smooth and even.
Applying Primer
While it may be tempting to skip this step, applying primer is essential for ensuring proper adhesion and achieving an even finish. Primer helps seal the surface, improves paint coverage, and enhances durability.
Importance of Primer
- Seals the Surface: Primer creates a smooth and uniform surface for the paint to adhere to, preventing uneven absorption.
- Enhances Coverage: Primer helps the paint adhere better to the surface, reducing the number of coats needed for full coverage.
- Improves Durability: By providing a strong bond between the paint and the surface, primer helps ensure a long-lasting finish.
Simple Painting Techniques
When it comes to painting walls, there are several techniques you can use to achieve different finishes. Whether you prefer a smooth and seamless look or a textured effect, the choice of tools and application method plays a significant role.
Brush vs. Roller vs. Sprayer
- Brush: Ideal for cutting in around edges and corners, brushes provide precision and control.
- Roller: Best suited for covering large areas quickly and efficiently, rollers create a smooth and uniform finish.
- Sprayer: While less common for interior walls, sprayers offer speed and coverage for large-scale projects.

Tips for Smooth Finish
Achieving a smooth and flawless finish requires attention to detail and proper technique. One effective method is the feathering technique, which involves blending the paint strokes to create a seamless transition between areas.
Feathering Technique
- Start with a Loaded Brush or Roller: Load the brush or roller with paint and begin applying it to the wall in long, even strokes.
- Blend the Edges: As you work, gradually feather out the edges of the paint to create a smooth transition between strokes.
- Overlap Each Stroke: To avoid visible lines or streaks, overlap each stroke slightly with the previous one.

Creating Texture
For those looking to add depth and visual interest to their walls, creating texture is a great way to achieve a unique look. There are various techniques you can use, such as sponging and ragging, to add texture and dimension to your walls.
Sponging and Ragging
- Sponging: Dabbing a sponge dipped in paint onto the wall creates a soft and subtle texture reminiscent of natural stone or stucco.
- Ragging: Using a rag to apply or remove paint from the wall creates a more dramatic and textured effect, resembling aged plaster or fabric.
Conclusion
In conclusion, mastering simple painting techniques is essential for achieving professional-looking results on your walls. By choosing the right paint, preparing the surface properly, and employing the right techniques, you can transform any space with confidence and creativity.
FAQs
Q: How long should I wait between coats?
A: For most paints, it’s recommended to wait at least 2-4 hours between coats. However, be sure to check the manufacturer’s instructions for specific drying times.
Q: Can I use regular paint for textured walls?
A: Yes, you can use regular paint for textured walls. However, you may need to apply multiple coats to ensure full coverage and even color distribution.
Q: Do I need to sand between coats of paint?
A: If the surface is smooth and free of imperfections, sanding between coats may not be necessary. However, if you notice any rough spots or drips, lightly sanding the surface can help achieve a smoother finish.
Q: What is the best way to clean paintbrushes?
A: After use, clean paintbrushes thoroughly with warm, soapy water to remove any paint residue. Rinse them well and allow them to dry completely before storing them for future use.
Q: Can I mix different types of paint?
A: While it’s possible to mix different types of paint, it’s generally not recommended. Mixing paints with different finishes or bases can result in uneven coverage and unpredictable results. It’s best to stick with one type of paint for consistent results.