Introduction
When it comes to woodworking, having a solid and reliable workbench is crucial. It’s not just a place to work on your projects; it’s the foundation of your workshop. A good workbench can make all the difference in the precision and quality of your work. In this guide, we’ll walk you through everything you need to know to build your own DIY workbench, from choosing the right materials to putting on the finishing touches.
Choosing the Right Wood for Your DIY Workbench
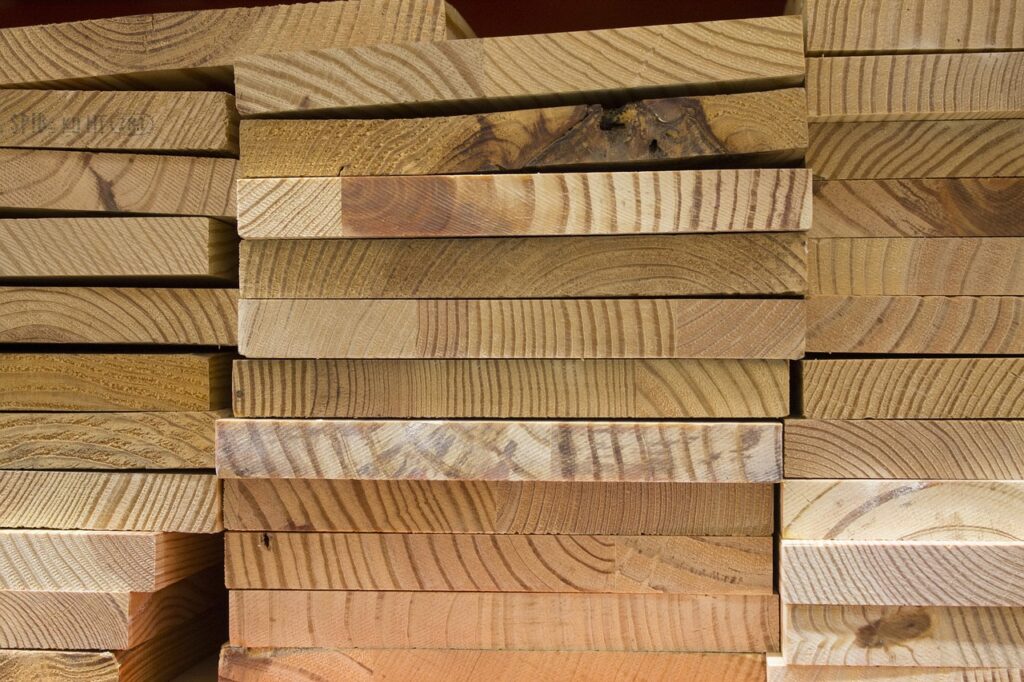
Selecting the right wood for your DIY workbench is the first and arguably most important step. The type of wood you choose will affect the durability, cost, and overall performance of your bench.
- Hardwoods vs. Softwoods: Hardwoods like maple, oak, and birch are commonly used for workbenches due to their durability and resistance to wear. Softwoods like pine can be a more budget-friendly option but may not hold up as well under heavy use.
- Pros and Cons:
- Maple: Very durable and resistant to dents, but can be expensive.
- Oak: Strong and durable, but may be prone to splintering.
- Birch: Good strength and stability, moderate cost.
- Pine: Affordable and easy to work with, but less durable.
- Budget Considerations: If you’re on a tight budget, consider using a combination of hardwood for the benchtop and a more affordable softwood for the frame.

Essential Tools and Materials
Before you begin building your DIY workbench, gather all the necessary tools and materials. This will ensure a smooth building process without unnecessary interruptions.
- Necessary Tools:
- Saw (circular saw or handsaw)
- Drill
- Clamps
- Measuring tape
- Carpenter’s square
- Additional Helpful Tools:
- Miter saw
- Power sander
- Wood chisels
- Level
- Materials:
- Wood for the benchtop and frame
- Screws and nails
- Wood glue
- Sandpaper
- Finish or paint

Planning Your DIY Workbench Design
Proper planning is key to building a workbench that suits your needs and fits your workspace perfectly.
- Measuring Your Space: Measure the area where you plan to place your workbench. Ensure you have enough room to work comfortably around it.
- Determining Dimensions: Standard workbench height is around 34 inches, but you can adjust this based on your height and preferences. Consider the width and depth based on the size of your projects.
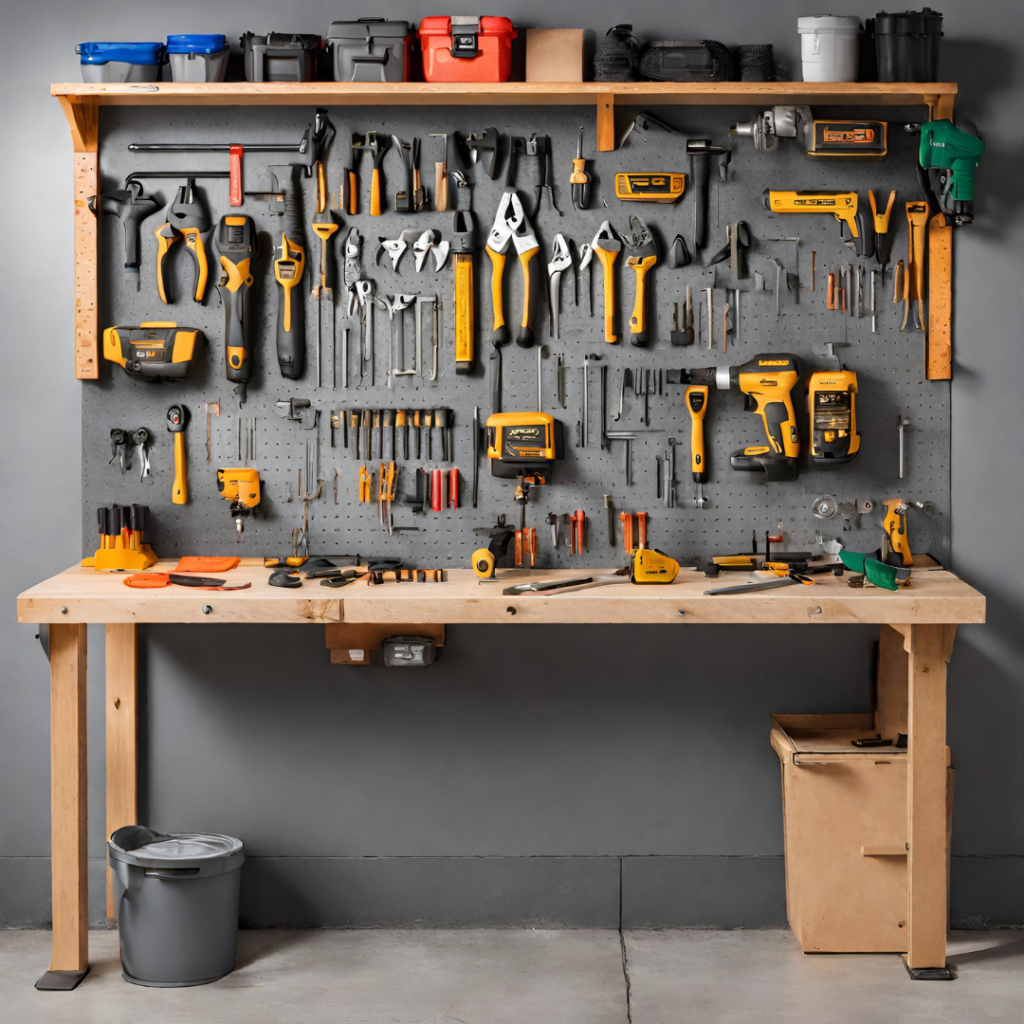
- Features: Decide if you want additional features like drawers, shelves, or tool racks. These can add functionality to your workbench.
Step-by-Step Building Guide
Let’s dive into the building process. Follow these steps for a straightforward construction.
- Cutting and Preparing the Wood: Cut your wood pieces to the desired lengths. Sand any rough edges to prevent splinters.
- Assembling the Frame: Start by building the frame. Use screws and wood glue to secure the joints. Make sure the frame is square and level.
- Installing the Benchtop: Attach the benchtop to the frame using screws. Ensure it is securely fastened and level.
- Adding Features: If you’ve decided on any additional features, now is the time to install them. This might include drawers, shelves, or a tool rack.
Finishing Touches
Once your DIY workbench is assembled, it’s time to finish it off.
- Sanding and Smoothing: Sand the entire bench to smooth out any rough spots. This will give you a nicer working surface.
- Applying Finish or Paint: Apply a finish or paint to protect the wood and give it a polished look. A clear polyurethane finish is a good option for a natural wood look.
- Adding Accessories: Consider adding accessories like vises or clamps to enhance the functionality of your workbench.

Maintenance and Care Tips
To ensure your workbench lasts for years, follow these maintenance tips.
- Regular Cleaning: Keep your workbench clean by wiping it down regularly. Remove sawdust and debris after each use.
- Preventing and Repairing Damage: Use a protective mat or board for heavy-duty work to prevent damage to the benchtop. Repair any dents or scratches promptly.
- Seasonal Maintenance: Check for loose screws or nails and tighten them as needed. Reapply finish if the wood starts to look worn.
Conclusion
Building your own DIY workbench is a rewarding project that can enhance your woodworking experience. With the right materials, tools, and planning, you can create a workbench that meets your specific needs and lasts for years. So roll up your sleeves, gather your tools, and start building!
FAQs
Q: What is the best wood for a workbench?
A: Hardwoods like maple and oak are ideal for their durability, but budget-friendly options like pine can also work if properly maintained.
Q: How much should I budget for building a workbench?
A: The cost can vary widely based on the materials you choose. On average, you might spend anywhere from $100 to $500.
Q: Can I build a workbench without power tools?
A: Yes, you can use hand tools like a handsaw and hand drill, though it may take more time and effort.
Q: How do I add mobility to my workbench?
A: Adding casters to the legs of your workbench can make it easy to move around your workshop.
Q: What are some common mistakes to avoid?
A: Common mistakes include not measuring accurately, using weak joints, and neglecting to level the workbench. Take your time and double-check your work for the best results.