Introduction
Creating your own wooden signs can be a rewarding and fun DIY project. Whether you’re looking to add a personalized touch to your home decor or create unique gifts for friends and family, DIY wooden signs offer endless possibilities. In this guide, I’ll walk you through the steps and share some tips and tricks to help you make beautiful wooden signs.
Materials Needed
Essential Wood Types
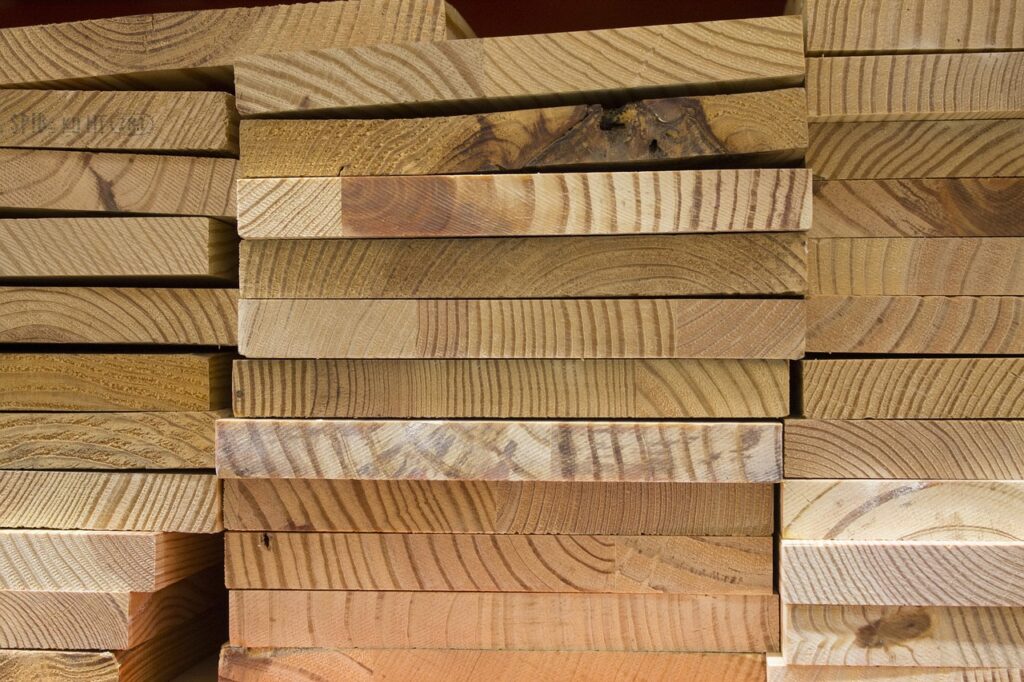
When starting your DIY wooden sign project, the type of wood you choose is crucial. Pine, cedar, and birch are excellent choices due to their smooth surfaces and ease of handling. Pine is often preferred for indoor signs because of its soft texture, while cedar is great for outdoor signs due to its durability and resistance to elements.

Paints and Brushes
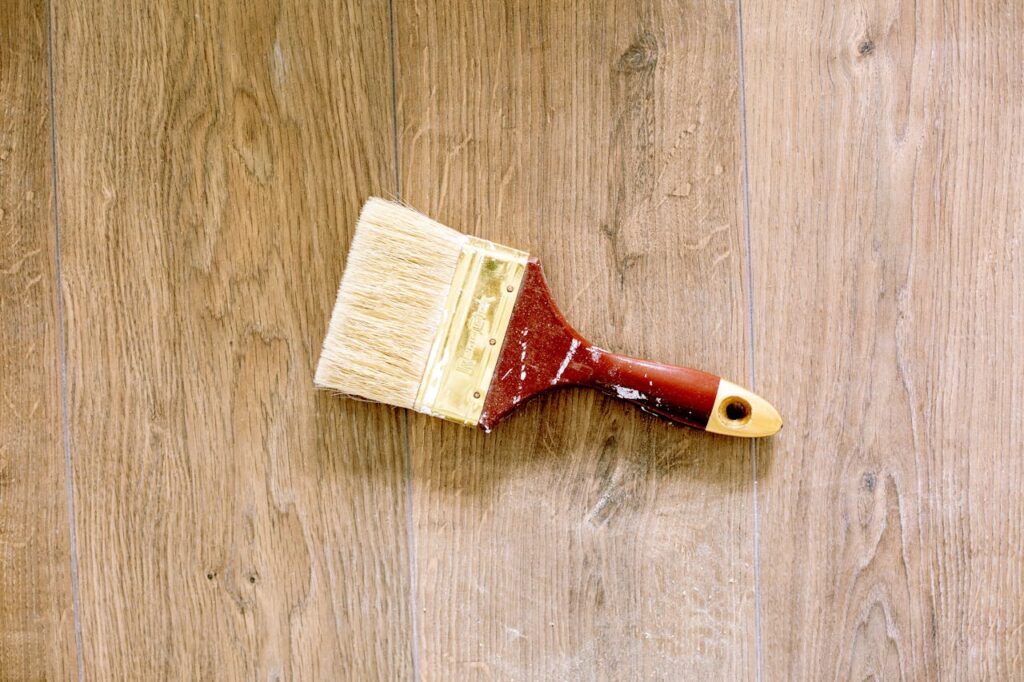
Quality paints and brushes can make a big difference in the final appearance of your sign. Acrylic paints are ideal for wood because they provide vibrant colors and dry quickly. Make sure to have a variety of brush sizes on hand, from broad brushes for large areas to fine-tipped brushes for intricate details.
Additional Tools
Beyond wood and paint, you’ll need a few more tools to complete your project. A jigsaw or circular saw is essential for cutting the wood to your desired shape and size. Sandpaper, a primer, stencils, and a clear sealant are also necessary to ensure a professional-looking finish.

Choosing the Right Design
Finding Inspiration
Before you begin, it’s important to have a clear design in mind. Pinterest and Instagram are great places to find inspiration for your wooden sign. Look for designs that match your skill level and the style of your home.
Custom vs. Pre-made Stencils
Decide whether you want to create your own design or use pre-made stencils. Custom designs allow for more creativity and personalization, but they can be more challenging. Pre-made stencils are easier to use and can still produce beautiful results.
Preparing Your Wood
Cutting and Sanding
Start by cutting your wood to the desired size using a saw. Once cut, sand the edges and surface to create a smooth finish. Sanding not only helps in removing rough edges but also prepares the wood for better paint adhesion.
Priming for Paint
Apply a coat of primer to your sanded wood. Priming is essential as it seals the wood and provides a smooth base for the paint. Allow the primer to dry completely before moving on to painting.
Painting Techniques
Base Coats and Layers
Begin with a base coat of paint, using broad strokes to cover the entire surface evenly. Depending on your design, you may need to apply multiple layers, allowing each layer to dry completely before adding the next.
Adding Details and Textures
Once the base coat is dry, use smaller brushes to add details and textures to your sign. Don’t rush this step; taking your time will result in a more polished and professional look.
Adding Finishing Touches
Sealing the Wood
After your paint is completely dry, apply a clear sealant to protect your design and give it a finished look. Sealants come in various finishes, such as matte, satin, or glossy, so choose one that complements your design.
Hanging Hardware
Finally, attach hanging hardware to the back of your sign. Sawtooth hangers are a popular choice because they’re easy to install and secure. Ensure that the hardware is properly centered to keep your sign level when hanging.
Project Example: Rustic Welcome Sign
Step-by-Step Guide
- Select Your Wood: Choose a piece of pine and cut it to your desired size.
- Sand and Prime: Smooth the wood with sandpaper and apply a coat of primer.
- Paint the Base: Apply a base coat of white paint and let it dry.
- Design Your Stencil: Use a pre-made “Welcome” stencil or create your own.
- Add the Details: Paint the stencil design using black paint and a fine brush.
- Seal Your Work: Apply a clear matte sealant to protect the paint.
- Attach Hardware: Install sawtooth hangers on the back for easy hanging.
Common Mistakes to Avoid
- Skipping the Primer: This can lead to uneven paint and a less durable finish.
- Rushing the Drying Process: Allow each layer of paint to dry fully to avoid smudging.
- Using the Wrong Brushes: Different brushes are needed for various details; use the right brush for each part of the project.

Conclusion
Creating DIY wooden signs is a fantastic way to add a personal touch to your decor and gifts. With the right materials and a bit of creativity, you can produce beautiful, custom signs that reflect your style. So grab your tools and start crafting!
FAQs
Q: What type of wood is best for DIY signs?
A: Pine, cedar, and birch are excellent choices due to their smooth surfaces and ease of handling.
Q: Do I need to prime the wood before painting?
A: Yes, priming is essential as it seals the wood and provides a smooth base for the paint.
Q: Can I use regular paint for my wooden sign?
A: Acrylic paints are recommended for wood because they provide vibrant colors and dry quickly.
Q: How can I ensure my sign is weatherproof?
A: Use a clear sealant to protect your design, especially if your sign will be placed outdoors.
Q: Where can I find design inspiration for my sign?
A: Pinterest and Instagram are great places to find inspiration and ideas for your DIY wooden sign projects.