Introduction
Are you looking to add some custom storage solutions to your home without breaking the bank? DIY wooden shelves offer a fantastic way to enhance your space while showcasing your craftsmanship. Not only are they functional, but they also add a touch of personal style to any room. In this guide, I’ll walk you through everything you need to know to get started on your own DIY wooden shelving project.
Materials and Tools Required
Before diving into your project, it’s crucial to gather all the necessary materials and tools. Here’s a list to help you get started:
Essential Materials:
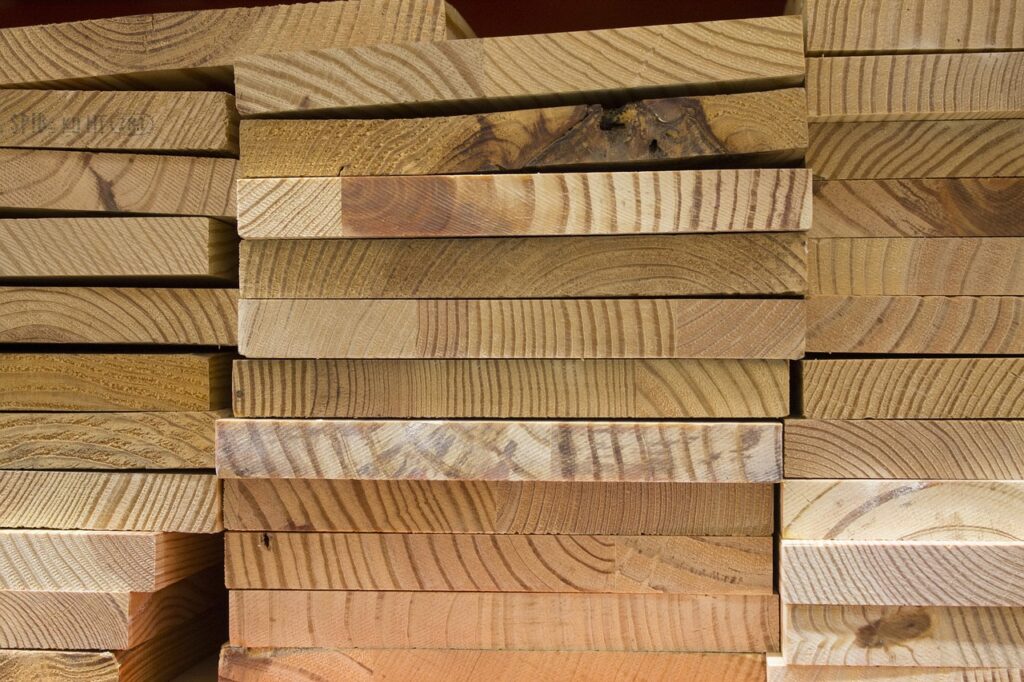
- Quality wood (pine, oak, or plywood)
- Screws or nails
- Wood glue
- Sandpaper or sanding block
- Paint or stain (optional)

Recommended Tools:
- Measuring tape
- Circular saw or hand saw
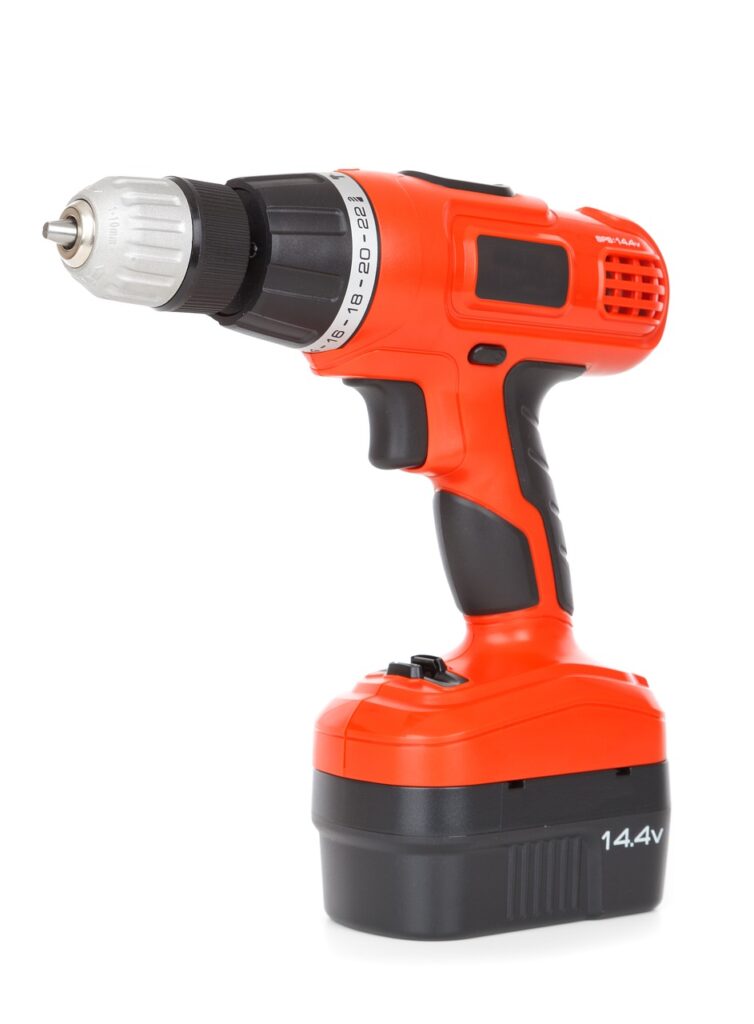
- Drill
- Screwdriver
- Level
- Paintbrush or roller

Having the right materials and tools ensures a smooth and enjoyable DIY experience.
Planning Your DIY Wooden Shelves Project
Assessing Your Needs:
The first step in any DIY project is to determine your specific needs. Consider what you plan to store on the shelves and where you intend to install them. This will help you decide on the size, shape, and style of your shelves.
Designing Your Shelves:
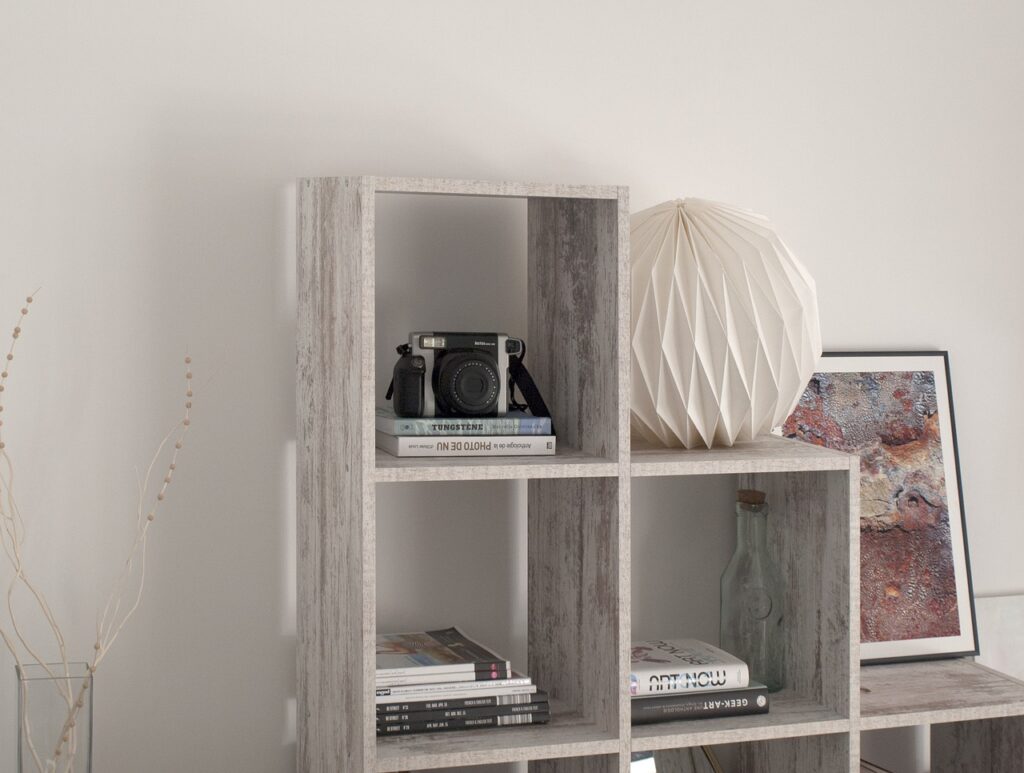
Sketch out your design on paper, including measurements. Think about the type of shelves you want – are they simple wall-mounted shelves, or do you prefer something more decorative like floating shelves or corner shelves?
Measuring and Cutting Wood:
Measure your wood pieces carefully, marking where cuts need to be made. Use a circular saw or hand saw to cut the wood to the desired length. Accuracy is key to ensuring your shelves fit perfectly in the designated space.

Building Basic DIY Wooden Shelves
Building basic DIY wooden shelves is a straightforward process. Here’s a step-by-step guide:
- Cut Your Wood: Measure and cut your wood to the desired lengths.
- Sand the Edges: Smooth any rough edges with sandpaper.
- Assemble the Frame: Use screws or nails to attach the sides, back, and bottom pieces.
- Attach the Shelf: Secure the shelf to the frame using screws and wood glue for added stability.
- Sand Again: Give your assembled shelf a final sanding to ensure a smooth finish.
- Paint or Stain: Apply your chosen paint or stain, allowing it to dry completely.
Safety Tips:
Always wear safety goggles when cutting wood, and work in a well-ventilated area if using paint or stain.
Advanced Shelving Ideas
Once you’ve mastered basic shelves, you can experiment with more advanced designs:
Floating Shelves:
These shelves appear to “float” on the wall with no visible supports. They’re great for a modern, minimalist look.
Corner Shelves:
Maximize your space by utilizing corners. These shelves can add a unique design element to your room.
Ladder Shelves:
Ladder shelves lean against the wall and provide multiple levels of storage. They’re perfect for displaying plants, books, or decorative items.
Finishing and Decorating Your Shelves
Sand and Smooth:
After assembling your shelves, give them a thorough sanding to remove any rough spots.
Stain or Paint:
Choose a stain or paint color that complements your home’s decor. Apply it evenly and let it dry completely before installation.
Add Decorative Elements:
Consider adding hooks, baskets, or other decorative elements to enhance the functionality and appearance of your shelves.
Installation Tips
Finding the Right Location:
Choose a spot that’s both functional and aesthetically pleasing. Use a stud finder to locate the studs in your wall for secure mounting.
Securing Shelves to the Wall:
Use wall anchors or screws to secure your shelves. Make sure they’re level before tightening the screws completely.
Ensuring Stability and Safety:
Double-check that your shelves are securely attached and can handle the weight of the items you plan to store.
Conclusion
DIY wooden shelves are a fantastic way to add custom storage and personal style to your home. With a bit of planning and creativity, you can create beautiful and functional shelves that enhance any room. So grab your tools and get started – your perfect shelves are just a DIY project away!
FAQs
Q: What type of wood is best for DIY shelves?
A: Pine and oak are popular choices due to their durability and ease of use. Plywood is also a good option for a more budget-friendly project.
Q: How much weight can DIY wooden shelves hold?
A: This depends on the type of wood and the installation method. Properly installed shelves can typically hold between 20 to 50 pounds.
Q: Can I install shelves without drilling into the wall?
A: Yes, there are adhesive shelves available, but for heavier items, drilling into the wall studs is recommended for better support.
Q: How do I ensure my shelves are level?
A: Use a level during installation to make sure your shelves are perfectly horizontal.
Q: What are some creative uses for wooden shelves?
A: Wooden shelves can be used for displaying books, plants, kitchenware, or even as a stylish storage solution in your bathroom.
By following this comprehensive guide, you can create beautiful and functional wooden shelves that perfectly suit your space and style. Happy crafting!