Introduction
Have you ever thought about building your own wooden gate? There’s something incredibly satisfying about crafting a functional and attractive entrance that perfectly complements your home. Not only does a DIY wooden gate add a personal touch to your property, but it also allows you to customize every detail to fit your specific needs and style. Let me guide you through the process of creating a beautiful and durable wooden gate that you’ll be proud to show off.

Benefits of Building Your Own Wooden Gate
Why choose a DIY wooden gate over purchasing a pre-made one? For starters, you get to customize every aspect of your gate, from its size and style to the finish. Building your own gate also allows you to choose high-quality materials and create a design that fits perfectly with your home’s aesthetics. Plus, it’s often more cost-effective than buying a ready-made gate, and you get the satisfaction of completing a rewarding project.
Tools and Materials You’ll Need
Before we dive into the actual building, let’s go over the essentials. You’ll need:
- Wood: Cedar, redwood, or pressure-treated lumber are great choices.
- Tools: Saw, drill, measuring tape, level, hammer, and screwdrivers.
- Hardware: Hinges, latches, screws, and wood glue.
- Finishes: Paint, stain, or wood sealant to protect your gate from the elements.
Step-by-Step Guide to Building Your DIY Wooden Gate
Planning and Measuring
The first step is planning your gate. Decide on the dimensions based on the opening you need to cover. Measure carefully to ensure your gate will fit perfectly. Don’t forget to account for the hardware and clearance for proper operation.
Choosing the Right Wood
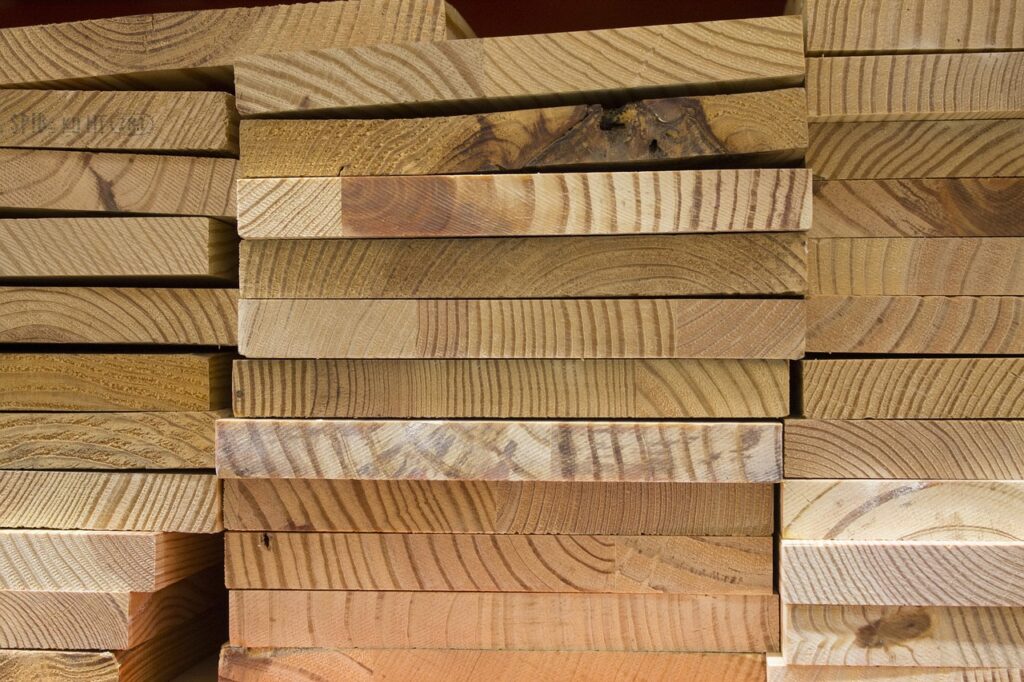
Choosing the right wood is crucial for durability and aesthetics. Cedar and redwood are naturally resistant to weather and insects, making them excellent choices for outdoor gates. Pressure-treated lumber is another good option if you’re on a budget.

Assembling the Frame
Cutting and Sanding
Once you’ve chosen your wood, cut it to size based on your measurements. Use a saw to make precise cuts and then sand the edges smooth to prevent splinters.
Joining the Pieces
Assemble the frame by joining the cut pieces together. Use wood glue for a strong bond and reinforce with screws for added durability. Ensure that all joints are square and level to avoid any issues with alignment later on.
Attaching the Gate to the Posts
Installing Hinges and Latches
Attach the hinges to one side of the gate and then to the gate posts. Ensure that the hinges are securely fastened and aligned properly to allow smooth operation. Install the latch on the opposite side of the gate, making sure it aligns perfectly with the strike plate on the post.
Ensuring Proper Alignment
Check the alignment of your gate by opening and closing it several times. Make any necessary adjustments to ensure that it swings smoothly and sits evenly in the opening.
Finishing Touches for Your Wooden Gate
Painting or Staining
Give your gate a finished look by painting or staining it. This not only enhances its appearance but also provides protection against the elements. Apply a high-quality outdoor paint or stain and let it dry completely before using the gate.
Sealing for Weather Protection
To extend the life of your wooden gate, apply a sealant to protect it from moisture and UV damage. This will help prevent warping, cracking, and other weather-related issues.
Troubleshooting Common Issues
Gate Sagging and How to Fix It
If your gate starts to sag over time, it’s usually due to insufficient support or loose hardware. Reinforce the frame with additional support or adjust the hinges to correct the alignment.
Adjusting the Alignment
If your gate isn’t aligning properly, check the hinges and latch to ensure they are installed correctly. Adjust the screws and hardware as needed to achieve proper alignment and smooth operation.
Conclusion
Building your own wooden gate is a rewarding project that adds both function and charm to your property. With careful planning and attention to detail, you can create a gate that not only enhances your home’s appearance but also stands up to the test of time. Happy building!
FAQs
Q: What type of wood is best for a wooden gate?
A: Cedar, redwood, and pressure-treated lumber are excellent choices due to their durability and resistance to weather and insects.
Q: How do I ensure my wooden gate lasts longer?
A: Choose high-quality wood, apply a weather-resistant finish, and perform regular maintenance, such as sealing and painting.
Q: Can I install a wooden gate myself?
A: Yes, with the right tools and some basic carpentry skills, you can successfully install a wooden gate yourself.
Q: What tools do I need to build a wooden gate?
A: You’ll need a saw, drill, measuring tape, level, hammer, screwdrivers, and hardware like hinges and latches.
Q: How do I maintain my wooden gate?
A: Regularly inspect your gate for damage, reapply paint or stain as needed, and ensure that the hinges and latch are in good working condition.