Introduction
If you’ve been feeling drafts or noticing a spike in your energy bills during the winter, it might be time to think about insulating your windows. Doing it yourself is not only budget-friendly but also surprisingly easy. DIY window insulation can help you save money, keep your home more comfortable, and give your windows a much-needed upgrade. Why spend hundreds on new windows when a few simple steps can make your current ones more efficient?
Whether you’re prepping for winter or just trying to enhance your home’s energy efficiency, insulating your windows is one of the most effective things you can do.

Why Insulate Your Windows?
Old or poorly sealed windows are a major source of energy loss. Without insulation, your home’s HVAC system works overtime to compensate for the drafts, leading to higher energy costs. Properly insulated windows, on the other hand, can maintain indoor temperatures, making your home feel cozier, while also slashing those heating and cooling bills.
Tools and Materials You’ll Need
Before you start insulating your windows, gather the right tools and materials. You don’t need anything too fancy, and most of these items can be found at your local hardware store.
- Weatherstripping: This is essential for sealing the gaps around the edges of windows.
- Window Insulation Film: A thin, transparent plastic that you can apply over the window to reduce drafts.
- Thermal Curtains: These help to trap heat inside the home.
- Caulk Gun and Caulk: To seal any cracks in the window frame.
- Measuring Tape: For precise measurements.
- Utility Knife: For cutting insulation materials.
- Hairdryer: To shrink window insulation film for a snug fit.
By having these materials on hand, you’ll ensure a smooth and efficient DIY process.
Preparing Your Windows for Insulation
It’s crucial to prepare your windows before installing any insulation. Without proper prep, even the best materials won’t perform as expected.
Cleaning and Inspecting the Windows
Start by thoroughly cleaning your windows. Dust, dirt, and grime can prevent adhesives from sticking properly. Use a mild soap solution and a clean cloth to wipe down both the windowpane and frame. Once the windows are clean, inspect the frames for any visible cracks or gaps. Even the smallest cracks can cause significant drafts, so it’s essential to fill these before moving on to the insulation process. Use caulk to seal the gaps in the window frame.

Step-by-Step Process to Insulate Windows
Now that your windows are prepped, it’s time to insulate. Here are a few methods to improve your window insulation effectively.
Applying Weatherstripping
Weatherstripping is one of the easiest and most affordable ways to insulate windows. Measure the length of your window’s edges and cut the weatherstripping accordingly. Peel off the adhesive backing and apply the weatherstripping along the edges of the window frame. Press firmly to ensure a tight seal.
Installing Window Film
Window insulation film is a game-changer for reducing heat loss. To apply it:
- Cut the film to match the size of your window.
- Peel off the backing and stick the film to the inside of the window frame.
- Use a hairdryer to shrink the film so that it clings tightly to the windowpane.
This method works by creating an extra layer between your window and the outside air, significantly cutting down on drafts.
Using Thermal Curtains
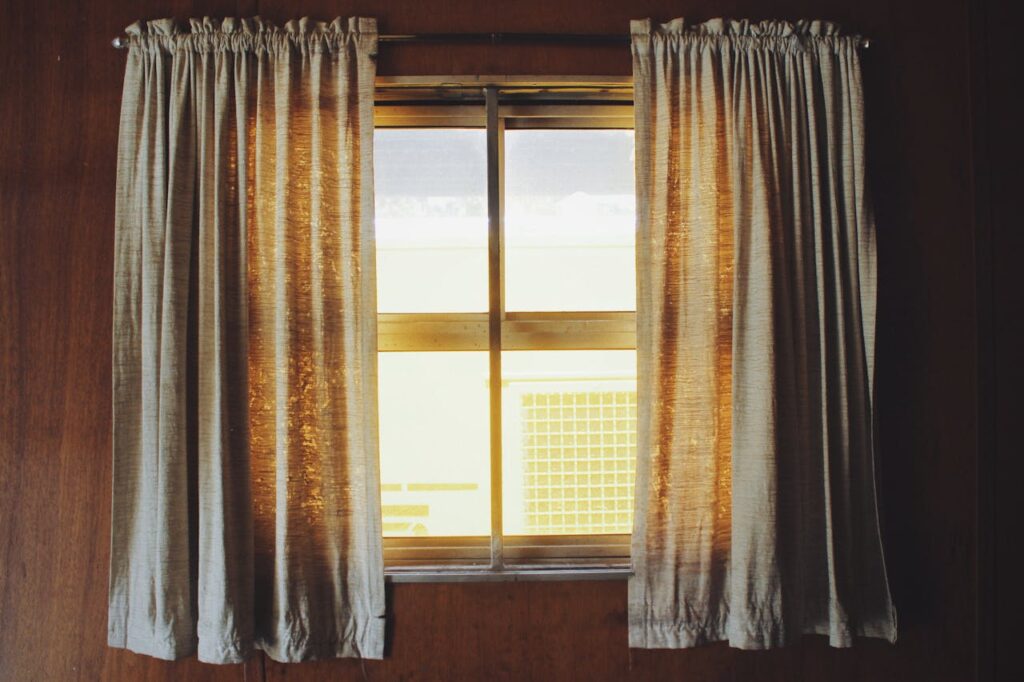
For an added layer of insulation, consider installing thermal curtains. These heavy-duty curtains are designed to block drafts and help regulate your home’s temperature. Simply hang them up and close them when the temperatures drop to trap heat inside your home.
Benefits of Proper DIY Window Insulation
Now that your windows are insulated, you can expect a range of benefits that go beyond just feeling warmer.
Lower Energy Bills
Insulating your windows will drastically reduce the amount of heat that escapes from your home, which means your heating system won’t have to work as hard. In turn, you’ll see a noticeable decrease in your energy bills. Insulation is a cost-effective solution that offers long-term savings.
Improved Comfort
Drafty windows can make your home feel cold and uncomfortable, especially during the winter months. With proper insulation, you’ll experience consistent indoor temperatures, making your living space much more enjoyable.
Conclusion
In conclusion, DIY window insulation is a simple, cost-effective project that can make a big impact on your home’s energy efficiency and comfort. By following the steps outlined above, you can easily insulate your windows, reduce drafts, and enjoy a cozier home. Whether you’re preparing for the chill of winter or just want to save on energy bills, insulating your windows is an investment that pays off.
So grab your materials, set aside a weekend, and start insulating. You’ll be amazed at the difference a little insulation can make!
FAQs
Q: How much money can I save with window insulation?
A: You can save anywhere from 10-20% on your energy bills by properly insulating your windows.
Q: How often should I replace weatherstripping?
A: Weatherstripping should be replaced every 2-3 years or whenever you notice a loss of adhesive or effectiveness.
Q: Can I insulate windows without blocking the view?
A: Yes! Window insulation film is clear, allowing you to maintain your view while reducing drafts.
Q: Are thermal curtains necessary for insulation?
A: While not necessary, thermal curtains add an extra layer of insulation and can significantly improve energy efficiency.
Q: What’s the best time to insulate windows?
A: The best time to insulate windows is before the cold weather sets in, typically in the fall.
ChatGPT can make mistakes. Check important info.