Introduction
Clean, safe drinking water is essential for maintaining good health, but not everyone has access to high-quality water straight from the tap. That’s where a DIY water filtration system comes into play. Building your own water filter not only ensures that you know exactly what’s filtering your water, but it also saves money and allows you to customize the system to your specific needs. Whether you’re dealing with well water, city water, or are simply looking to improve your hydration routine, a DIY water filtration system can be an empowering and practical solution.

Understanding Water Filtration
Types of Water Contaminants
Before diving into the construction of a water filtration system, it’s crucial to understand what you’re filtering out. Water contaminants can vary depending on your water source, but common ones include:
- Sediment: Particles like dirt, sand, and rust.
- Chlorine: Often added to municipal water supplies as a disinfectant, but it can affect taste and smell.
- Heavy Metals: Contaminants like lead, mercury, and arsenic are harmful and sometimes present in trace amounts.
- Microorganisms: Bacteria, viruses, and parasites that can cause waterborne illnesses.
- Chemical Pollutants: Pesticides, herbicides, and industrial chemicals that may seep into water supplies.
Knowing what’s in your water is the first step toward effectively filtering it out.
Methods of Filtration
Different contaminants require different filtration methods. Here’s a quick overview of some common methods:
- Activated Carbon: Excellent for removing chlorine, volatile organic compounds (VOCs), and improving taste and odor.
- Reverse Osmosis (RO): Removes a wide range of contaminants, including heavy metals, by forcing water through a semi-permeable membrane.
- Ultraviolet (UV) Light: Effective in killing bacteria, viruses, and other microorganisms.
- Ceramic Filters: Used to remove sediment, bacteria, and protozoa.
- Ion Exchange: Often used to soften water by replacing magnesium and calcium ions with sodium or potassium ions.
For most DIY projects, a combination of these methods works best, depending on the specific contaminants present in your water.
Building Your DIY Water Filtration System
Gathering Materials
To build a basic DIY water filtration system, you’ll need the following materials:
- Food-grade buckets or containers
- Activated carbon
- Ceramic filter
- Sand and gravel
- Fine mesh or cloth
- PVC pipes and fittings
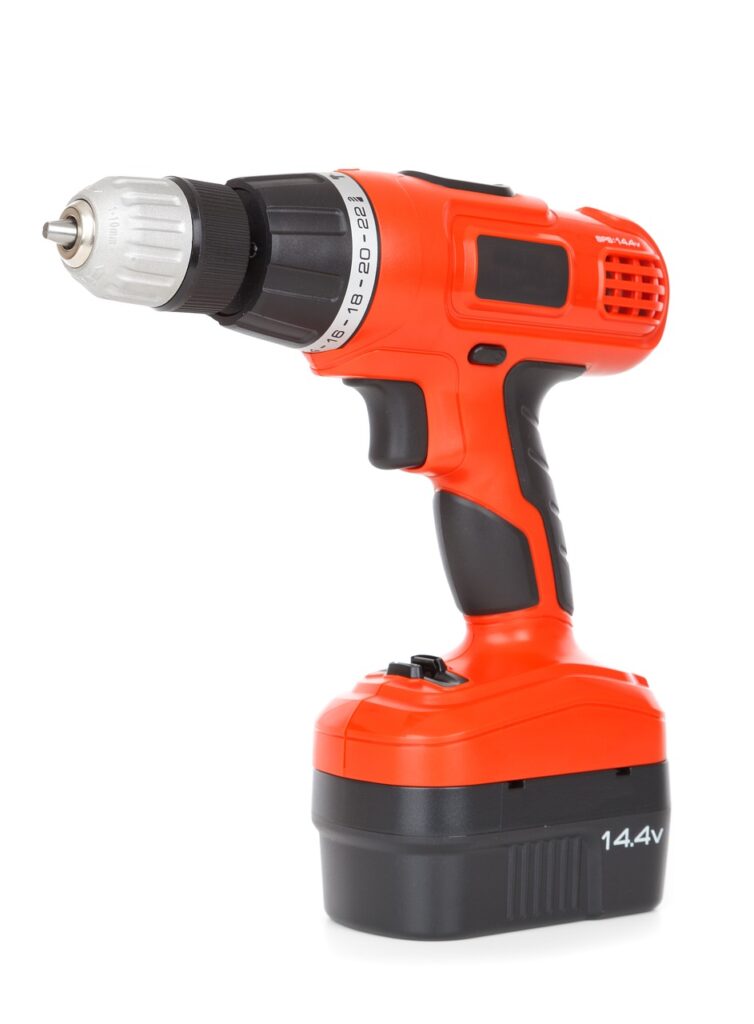
- A drill
- Silicone sealant
- Water testing kit (for verifying filtration efficiency)
These materials are relatively easy to find at most hardware stores or online.

Step-by-Step Assembly Guide
Here’s a simple step-by-step guide to assembling a basic multi-stage water filtration system:
Step 1: Prepare the Containers
Start by drilling holes in the bottom of each bucket or container. These will allow water to flow from one stage of the filter to the next.
Step 2: Layer the Filtration Media
In the first bucket, add a layer of fine gravel at the bottom, followed by a layer of coarse sand. These materials will help filter out large particles and sediment. On top of the sand, place the activated carbon, which will remove chlorine, VOCs, and other chemical contaminants.
Step 3: Install the Ceramic Filter
The next stage involves the ceramic filter. Place it in the second container and secure it tightly. This filter will remove bacteria, protozoa, and fine particles.
Step 4: Connect the Stages
Use PVC pipes to connect the bottom of the first container to the top of the second. Ensure that the connections are sealed with silicone to prevent leaks.
Step 5: Assemble the Final Stage
If using a UV filter, this will be the final stage of the filtration system. Install the UV light in the final container to disinfect the water as it passes through.
Step 6: Test the System
Once assembled, run water through the system to test for leaks and filtration efficiency. Use a water testing kit to check for the presence of contaminants. Adjust the filtration media or replace filters as necessary.
Testing and Maintenance
Regular testing and maintenance are key to ensuring that your DIY water filtration system continues to work effectively. Test your water regularly to ensure that it remains free of contaminants, and replace the filtration media (such as activated carbon and ceramic filters) according to the manufacturer’s recommendations or based on your water usage.
Advantages of a DIY Water Filtration System
Creating your own water filtration system has numerous benefits:
- Cost Savings: Commercial water filters can be expensive, and building your own can save you a significant amount of money in the long run.
- Customization: You can tailor the system to your specific water needs, whether it’s removing heavy metals, bacteria, or simply improving taste.
- Sustainability: By reusing materials and only replacing filtration media when necessary, you reduce waste and contribute to a more sustainable environment.
- Empowerment: Building your own system gives you control over the quality of your water, ensuring peace of mind and self-reliance.
Conclusion
Taking control of your water quality by building a DIY water filtration system is a smart and empowering decision. With the right materials and a bit of know-how, you can ensure that the water you drink is clean, safe, and refreshing. Whether you’re filtering out harmful contaminants or simply improving the taste of your tap water, this project is well worth the effort. So why not get started today? You’ll enjoy the satisfaction of knowing you’ve taken a significant step toward a healthier lifestyle.
FAQs
Q: How often should I replace the filtration media in my DIY water filter?
A: The frequency of replacement depends on your water usage and the specific contaminants present. Generally, activated carbon should be replaced every 3 to 6 months, while ceramic filters can last up to a year with proper cleaning.
Q: Can I use this DIY system for outdoor activities like camping?
A: Yes, a portable version of this filtration system can be made for outdoor use. Just ensure that all components are securely assembled and that the filter is capable of handling untreated water from natural sources.
Q: Is it necessary to include a UV filter in my DIY system?
A: A UV filter is not always necessary, but it adds an extra layer of protection by killing bacteria and viruses that other filters might miss. It’s especially useful if your water source is not chlorinated.
Q: What should I do if the water flow becomes slow?
A: Slow water flow is often a sign that the filters need cleaning or replacing. Check each stage of the filtration system to identify any blockages and clean or replace the media as needed.
Q: How effective is a DIY water filtration system compared to commercial filters?
A: A well-designed DIY system can be just as effective as commercial filters, especially if you use high-quality materials and maintain the system regularly. The key is to tailor the system to your specific water needs.