Introduction
When a storm is on the horizon, the last thing you want is to be unprepared. Stormproofing your home can be the difference between weathering the storm unscathed and dealing with costly damages. I’m here to guide you through a DIY stormproofing project that’s not only effective but also simple enough for any homeowner to undertake. With just a bit of preparation, you can significantly reduce the risk of damage from high winds, heavy rain, and flying debris.

Understanding Stormproofing
Stormproofing is all about reinforcing your home to withstand extreme weather conditions. Whether it’s hurricanes, tornadoes, or heavy storms, these natural events can cause severe damage if your home isn’t properly fortified. Stormproofing involves a variety of tasks, from securing windows and doors to reinforcing your roof and making sure your home’s drainage system is up to the task. The goal is to minimize the entry points for wind and water and to strengthen the overall structure to resist impact from debris.
Essential Tools and Materials
Before diving into the stormproofing process, you’ll need to gather some essential tools and materials. Here’s what you’ll need:
- Plywood Sheets: Used for covering windows and doors to protect against flying debris.
- Hurricane Straps: Metal connectors that reinforce the connection between your roof and walls.
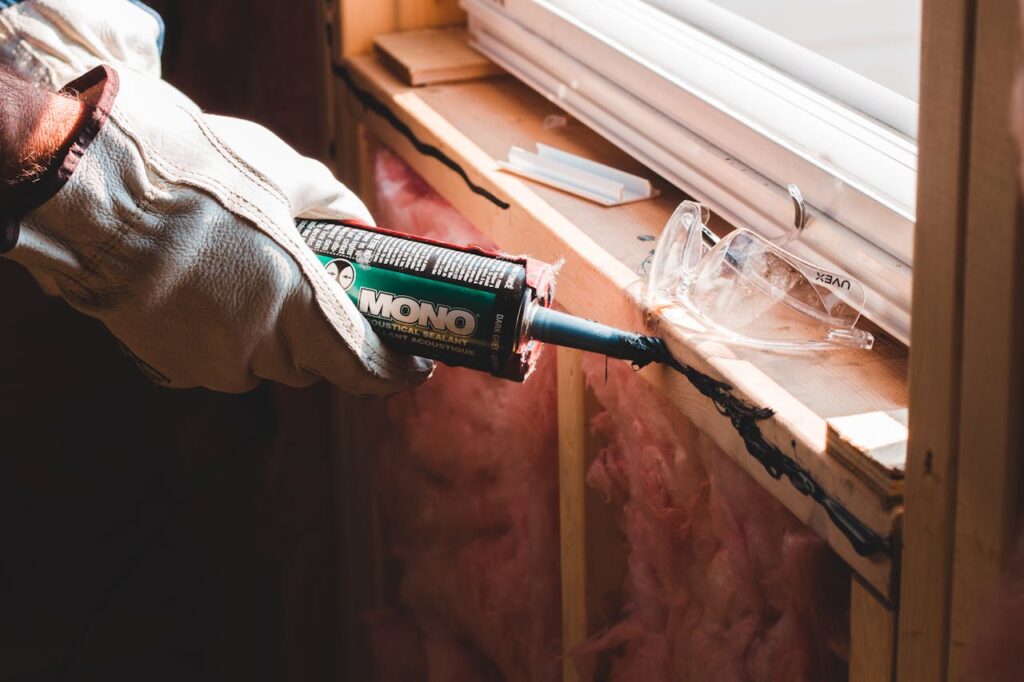
- Caulk and Sealants: Essential for sealing gaps and cracks where wind and water can enter.
- Weatherstripping: Helps to seal doors and windows, preventing drafts and leaks.
- Gutter Guards: Prevents debris from clogging your gutters, ensuring proper drainage.
- Screwdriver and Screws: For securing plywood and hurricane straps.
- Ladder: To reach higher areas such as the roof or upper windows.
- Flashlights and Batteries: Ensure you have light in case of a power outage during the storm.
Having these items on hand will make the process smoother and more efficient.
Steps to Stormproof Your Home
DIY Stormproofing your home involves several key steps, each designed to address specific vulnerabilities. Let’s walk through the process:
1. Reinforcing Windows and Doors
Windows and doors are often the weakest points in a home during a storm. Start by installing storm shutters or, if you’re on a budget, securely fastening plywood sheets over your windows and doors. Make sure the plywood covers the entire frame and is screwed in tightly.
2. Securing the Roof
Your roof takes the brunt of the storm, so it’s crucial to ensure it’s well-secured. Use hurricane straps to reinforce the connection between the roof and the walls of your home. These straps provide extra strength and help prevent the roof from lifting off in strong winds.
3. Clearing and Protecting Gutters
Blocked gutters can lead to water buildup and eventually cause leaks or even structural damage. Install gutter guards to keep debris out and make sure your downspouts are clear and direct water away from your home’s foundation.
4. Sealing Gaps and Cracks
Go around your home and seal any gaps or cracks you find, especially around windows, doors, and where different materials meet. This will prevent wind and water from getting inside. Use high-quality caulk or sealant to ensure a strong, durable seal.
5. Protecting Outdoor Areas
Don’t forget about your yard! Secure or bring inside any outdoor furniture, tools, or decorations that could become dangerous projectiles in high winds. Trim trees and bushes to reduce the risk of branches breaking off and causing damage.

Common Mistakes to Avoid
DIY Stormproofing isn’t foolproof, and there are some common mistakes that people often make:
- Neglecting Small Cracks: Even tiny cracks can let in water and cause significant damage over time.
- Improper Installation of Plywood: If not secured properly, plywood can be blown off, leaving your windows vulnerable.
- Ignoring Roof Maintenance: A roof that’s in poor condition won’t hold up well in a storm, even with additional reinforcement.
- Not Clearing Gutters Regularly: If your gutters are clogged when the storm hits, they won’t do their job properly.
- Underestimating the Power of Wind: Wind can turn even small objects into dangerous missiles. Secure everything!
By avoiding these mistakes, you can ensure your stormproofing efforts are effective.
Conclusion
Stormproofing your home may seem like a daunting task, but with the right approach, it’s entirely manageable. By taking the time to reinforce your home’s structure and seal off potential entry points, you’re not only protecting your property but also ensuring the safety of everyone inside. Remember, preparation is key. Start your DIY stormproofing project today, and rest easy knowing you’ve done everything possible to safeguard your home against whatever Mother Nature throws your way.
FAQs
Q: How long does it take to stormproof a home?
A: The time it takes to stormproof a home varies depending on the size of the house and the specific tasks involved. However, most DIY stormproofing projects can be completed in a weekend.
Q: Can I stormproof my home on a budget?
A: Absolutely! While there are some costs involved, stormproofing can be done on a budget by focusing on the most critical areas like windows, doors, and the roof.
Q: Is it necessary to stormproof if I live inland?
A: While coastal areas are more prone to hurricanes, inland areas can still experience severe storms. Stormproofing is a good idea no matter where you live.
Q: How often should I check and maintain my stormproofing measures?
A: It’s a good idea to check your stormproofing measures at least once a year, ideally before storm season begins, to ensure everything is in good condition.
Q: What’s the best way to secure my windows during a storm?
A: Installing storm shutters is the best option, but securely fastening plywood over your windows is an effective alternative if you’re on a budget.