Introduction
If you’ve ever felt like you need a bit more peace and quiet at home, soundproofing your walls could be a game changer. Whether it’s noisy neighbors, street sounds, or just the everyday clatter of life, soundproofing can help create a more serene environment. In this guide, I’ll walk you through the process of DIY soundproofing walls, offering tips and tricks to ensure you get the best results.

Why Soundproof Your Walls?
Benefits of Soundproofing
Soundproofing your walls can significantly improve your quality of life. Imagine a world where you can relax in peace without the constant intrusion of external noise. Soundproofing not only enhances comfort but can also boost property value. Here’s why you might consider it:
- Reduced Noise Pollution: Whether it’s the hum of city traffic or the chatter of a busy household, soundproofing helps create a quieter environment.
- Increased Privacy: Enjoy conversations and activities without worrying about disturbing others or being overheard.
- Enhanced Focus: A soundproofed room is perfect for creating a home office or study space where concentration is key.
Common Reasons for Soundproofing
Aside from the obvious benefits of noise reduction, people soundproof their walls for several reasons:
- Home Offices: If you work from home, reducing distractions can improve productivity.
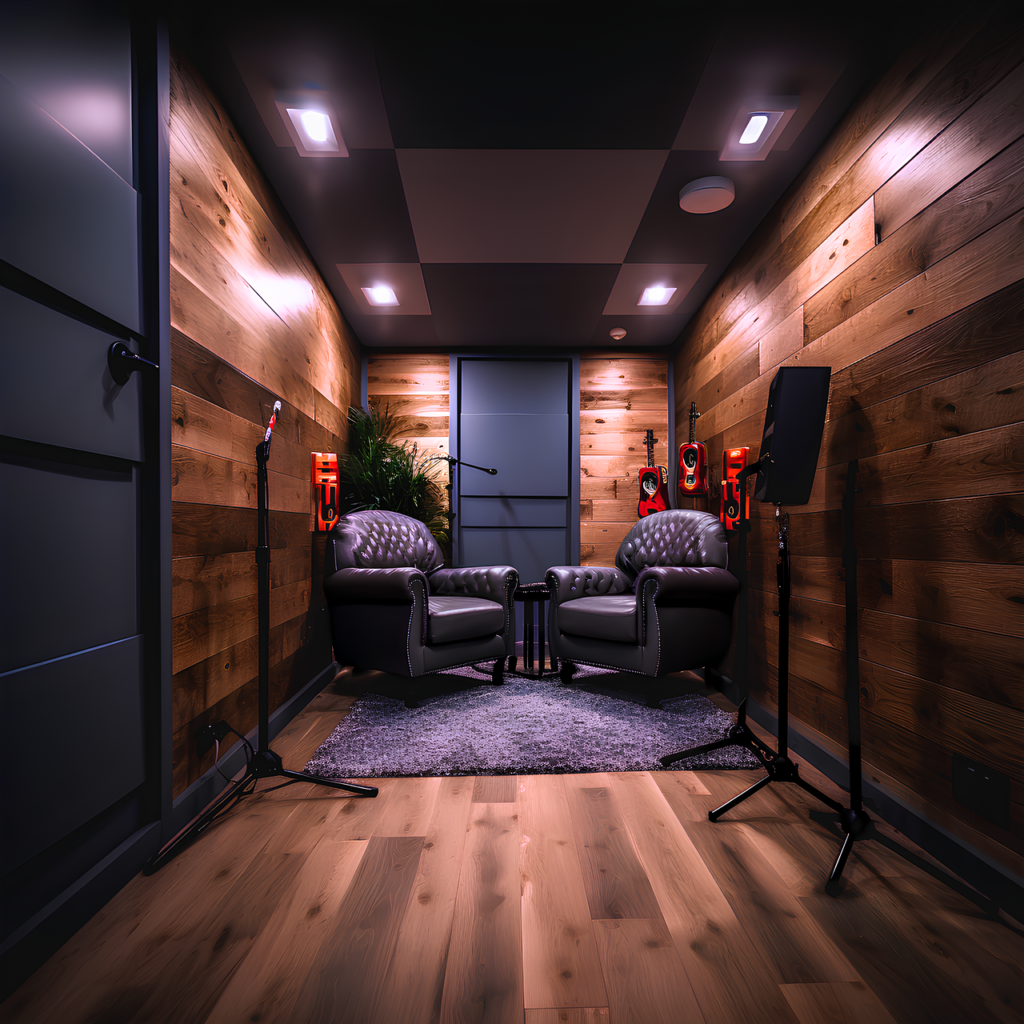
- Entertainment Rooms: Create the perfect atmosphere for watching movies or listening to music without disturbing the rest of the house.
- Bedrooms: Ensure a peaceful night’s sleep by blocking out disruptive sounds.

Materials and Tools Needed
Essential Materials
To get started with DIY soundproofing, you’ll need a few key materials:
- Acoustic Panels: These panels absorb sound and reduce echo. They come in various sizes and styles to fit your decor.
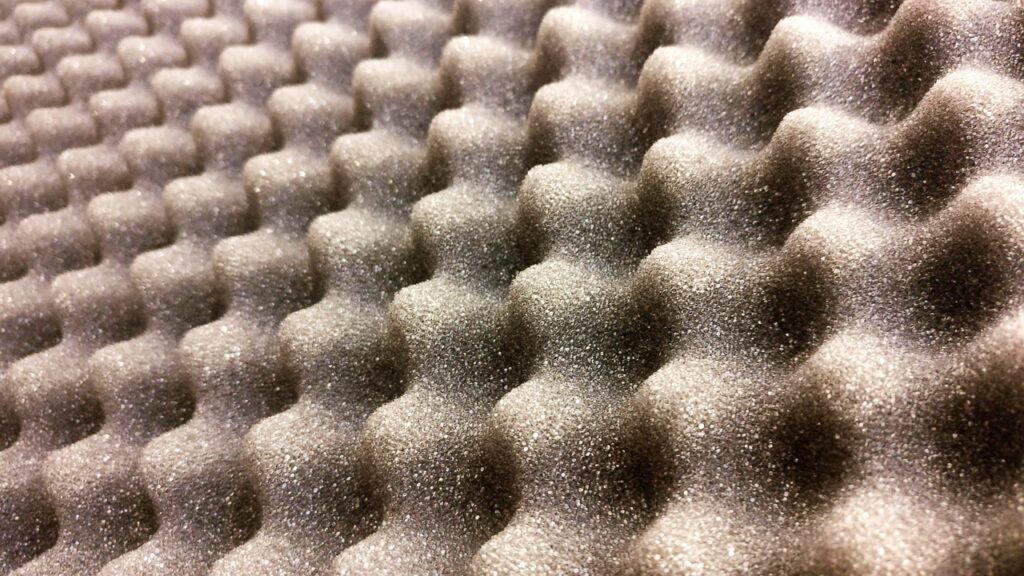
- Soundproofing Foam: Ideal for filling gaps and enhancing sound absorption.
- Resilient Channels and Drywall: Resilient channels help decouple the drywall from the wall studs, reducing sound transmission.
Tools for the Job
Having the right tools is crucial for a smooth installation:
- Measuring Tape: For precise measurements and cuts.
- Utility Knife: To cut foam and panels.
- Screwdriver or Drill: For securing panels and drywall.
- Adhesive: To attach soundproofing foam or panels.

Step-by-Step Installation Guide
Preparing Your Walls
Before diving into installation, preparation is key:
- Removing Existing Wall Coverings: Take down any old wallpaper or paint. You want a clean surface to work on.
- Inspecting for Gaps and Cracks: Check for any openings that could let sound through. Seal these with caulk or expanding foam.
Installing Acoustic Panels
Follow these steps to install acoustic panels:
- Measuring and Cutting Panels: Measure your wall space and cut the panels to fit. Make sure they cover the entire area you want to soundproof.
- Securing Panels to Walls: Use adhesive or screws to attach the panels. Ensure they are firmly in place.
Adding Soundproofing Foam
Foam enhances soundproofing by filling in gaps:
- Application Techniques: Apply foam to any remaining gaps or areas where sound might escape. Make sure to cover every nook and cranny.
- Ensuring Complete Coverage: Double-check that no spaces are left exposed.
Final Touches and Clean-Up
Once the installation is complete:
- Reattaching Wall Coverings: If you had to remove any drywall or other coverings, reinstall them carefully.
- Cleaning Up the Work Area: Clear away any debris and tools. A clean workspace is essential for a professional finish.
Tips for Effective Soundproofing
Addressing Common Mistakes
Here are a few common pitfalls and how to avoid them:
- Skipping Preparation: Properly prepare your walls to ensure soundproofing materials adhere correctly.
- Incomplete Coverage: Make sure every area is covered to maximize soundproofing efficiency.
Enhancing Soundproofing Results
To get the most out of your soundproofing project:
- Combine Materials: Use a mix of acoustic panels and foam for optimal results.
- Regular Maintenance: Check and maintain your soundproofing materials to ensure they continue to perform well.
Conclusion
DIY soundproofing walls is a rewarding project that can transform your living space into a quieter, more comfortable environment. By following these steps and using the right materials, you’ll be able to enjoy a peaceful retreat in your own home.
FAQs
Q: How long does soundproofing take?
A: The time required depends on the size of the area and your experience level. Generally, expect a few days to complete the project.
Q: Can I soundproof just one room?
A: Yes, you can focus on soundproofing specific rooms, such as a home office or bedroom, to achieve your desired level of noise reduction.
Q: Is professional help necessary?
A: For most DIY enthusiasts, soundproofing can be a manageable project. However, if you’re unsure or have complex requirements, consulting a professional might be beneficial.
Q: How much does DIY soundproofing cost?
A: Costs vary based on materials and room size. On average, expect to spend between $200 to $800 for a typical room.
Q: What are the best materials for soundproofing?
A: Acoustic panels, soundproofing foam, and resilient channels are among the most effective materials. Combining these can yield excellent results.