Introduction
If you’re looking to elevate your home’s ambiance while keeping your ceiling sleek and uncluttered, recessed lights might just be the perfect solution. As someone who loves DIY projects, I’ve found that installing DIY recessed lights is a rewarding way to add a modern touch to any room. Not only does it create a clean, sophisticated look, but it’s also a functional way to brighten up your space. In this article, I’ll walk you through the process of planning and installing your very own recessed lighting, with tips on how to do it safely and effectively.

Planning Your DIY Recessed Lights Project
Assessing Your Space
Before diving into the installation process, it’s crucial to assess the room where you plan to install the recessed lights. Consider the room’s purpose, the existing lighting, and how much natural light it receives. A living room may require more ambient lighting, while a kitchen might need task lighting over the counters.
Choosing the Right Light Fixtures
There are several types of recessed lighting fixtures, each designed for different applications. From adjustable fixtures for accent lighting to wall-wash fixtures for highlighting walls or artwork, choosing the right type for your space is key.
Determining the Layout
Planning the layout is perhaps the most critical step. Proper spacing ensures even lighting without creating shadows or overly bright spots. A general rule of thumb is to space the lights about 4-6 feet apart, but this can vary depending on the size of the room and the height of the ceiling.
Tools and Materials You’ll Need
Essential Tools
To successfully complete this project, you’ll need some essential tools: a drywall saw, a measuring tape, a voltage tester, a stud finder, and a wire stripper. These tools will help you measure accurately, cut clean holes, and wire the fixtures safely.
Required Materials
Gather all necessary materials before you begin. This includes the recessed light fixtures, electrical wiring, wire nuts, and junction boxes. You might also need retrofit kits if you’re installing the lights in an existing ceiling.

Step-by-Step Guide to Installing Recessed Lighting
Step 1: Turn Off the Power
Safety first! Before you start, ensure the power to the room is turned off at the circuit breaker. This will prevent any accidental electrical shocks.
Step 2: Cut the Holes
Use your drywall saw to cut holes in the ceiling where your fixtures will be installed. Make sure the holes are the right size for your fixtures and that they are spaced according to your layout plan.
Step 3: Wire the Lights
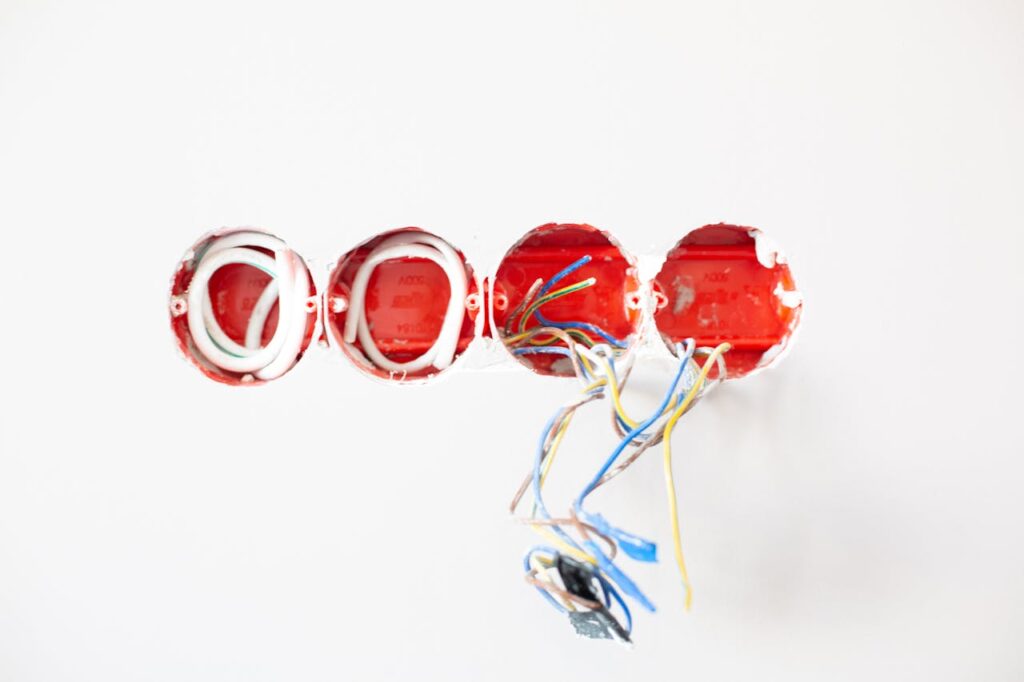
Run the electrical wiring through the ceiling and connect it to the fixtures. Use your wire stripper to remove the insulation from the wires, and secure the connections with wire nuts.
Step 4: Install the Lights
Insert the fixtures into the holes and secure them according to the manufacturer’s instructions. Ensure they are snugly fitted and that no wires are exposed.
Step 5: Test and Adjust the Lighting
Once everything is in place, turn the power back on and test the lights. Make any necessary adjustments to ensure they’re positioned correctly and providing the desired amount of light.

Safety Tips and Best Practices
Working with Electricity
When working with electrical components, it’s crucial to follow all safety protocols. Always turn off the power before starting, use insulated tools, and double-check all connections.
Ensuring Proper Ventilation
Recessed lights generate heat, so ensuring proper ventilation in the ceiling is important to avoid overheating. Some fixtures come with built-in insulation, but it’s still a good idea to check local building codes for ventilation requirements.
Avoiding Common Mistakes
One common mistake is installing too many lights, which can make the room feel too bright or clinical. Another is failing to align the lights correctly, resulting in uneven lighting. Take your time to measure and plan carefully to avoid these issues.
Conclusion
Installing DIY recessed lights is a fantastic way to upgrade your home’s lighting and add a modern, streamlined look to your rooms. With careful planning and attention to detail, this DIY project can be completed over a weekend and will leave you with a beautifully lit space that you’ll enjoy for years to come. Remember, safety is paramount, so always follow best practices when working with electricity.
FAQs
Q: How many recessed lights should I install in a room?
A: This depends on the size of the room and the amount of light you want. Generally, lights should be spaced 4-6 feet apart.
Q: Can I install recessed lighting in a drop ceiling?
A: Yes, but you’ll need special fixtures designed for drop ceilings. These are usually lightweight and have a specific mounting system.
Q: What type of bulb is best for recessed lighting?
A: LED bulbs are the most energy-efficient and long-lasting option for recessed lighting. They also come in various color temperatures to suit your space.
Q: How do I avoid glare from recessed lighting?
A: To avoid glare, choose fixtures with a baffle or trim that helps to reduce direct visibility of the bulb. Proper placement away from reflective surfaces also helps.
Q: Is recessed lighting energy-efficient?
A: Yes, especially when using LED bulbs. Recessed lighting can be a very energy-efficient option if properly installed and used with the right bulbs.