Introduction
Rainwater harvesting is an eco-friendly and cost-effective way to conserve water and reduce your dependency on municipal water supplies. By capturing and storing rainwater, you can use it for various household and garden purposes, making your home more sustainable. As an enthusiast in the DIY community, I’m excited to guide you through the process of setting up your own rainwater harvesting system. Let’s dive into the world of DIY rainwater harvesting!

Planning Your DIY Rainwater Harvesting System
Assessing Your Water Needs
Before starting, it’s essential to determine how much water your household uses and how much rainwater you can collect. Consider your average water consumption and identify the primary uses for your harvested water, such as gardening, flushing toilets, or washing clothes. This information will help you design a system that meets your needs.
Evaluating Your Roof and Gutters
The effectiveness of your rainwater harvesting system depends largely on your roof and gutter setup. Ensure your roof is made of safe materials, as some roofing types may leach harmful substances into the water. Additionally, check your gutters for any debris or damage that could impede water flow. Installing leaf guards can help keep your gutters clean and efficient.

Choosing the Right Collection Method
There are several methods to collect rainwater, ranging from simple barrel systems to more complex underground storage tanks. For a DIY project, starting with a basic above-ground barrel system is often the best approach. It’s easier to install and maintain, and you can expand it later as needed.
Gathering Materials and Tools
Essential Components
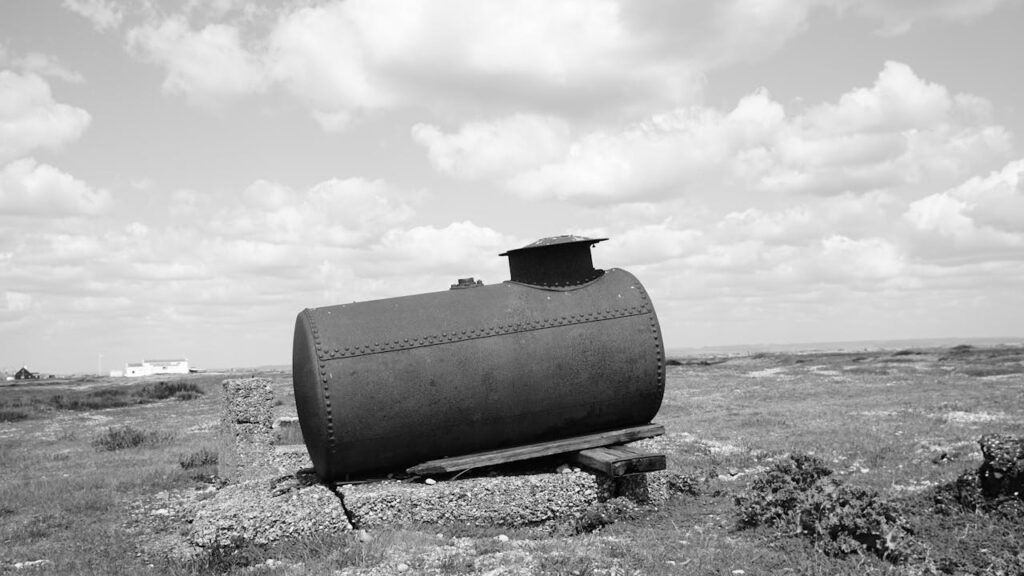
- Storage Containers: Choose containers that are food-grade and UV-resistant to ensure the water remains clean and safe. Popular options include plastic barrels, repurposed IBC totes, or metal tanks.
- Filtration Systems: To keep your harvested water clean, install a filtration system that removes debris and contaminants. Options range from simple mesh screens to more sophisticated multi-stage filters.
- Piping and Fittings: Use durable piping and fittings that can withstand outdoor conditions. PVC pipes are commonly used due to their durability and ease of installation.
Recommended Tools
Having the right tools is crucial for a smooth installation. Basic tools include a drill, saw, wrench, and sealant. Additionally, consider investing in a rainwater diverter to direct water from your downspouts into your storage containers.
Installing Your Rainwater Harvesting System
Setting Up the Collection Area
Start by positioning your storage containers under your downspouts. Ensure they are placed on a stable, elevated platform to facilitate easy access and water flow. Secure the containers to prevent tipping during heavy rain.
Installing the Storage Tank
Drill a hole near the top of the container for the downspout diverter. This will direct the rainwater into the tank. Install a spigot near the bottom of the container for easy access to the stored water. Make sure all connections are tightly sealed to prevent leaks.
Connecting the Filtration System
Install a first-flush diverter to remove initial runoff, which may contain debris and contaminants from your roof. Connect your filtration system to the inlet of your storage tank. This ensures that only clean water enters the tank, prolonging the life of your system.
Finalizing and Testing the System
Once everything is connected, perform a thorough check to ensure there are no leaks. Test the system by running water through it and observing the flow. Make any necessary adjustments to optimize performance.
Maintenance Tips for Longevity
Regular Cleaning and Inspections
To keep your system in top condition, perform regular inspections and cleanings. Remove any debris from the gutters and filters, and check for any signs of wear or damage. Regular maintenance ensures a continuous supply of clean water.
Winterizing Your System
In colder climates, it’s important to winterize your system to prevent damage from freezing temperatures. Drain the storage tanks and disconnect the piping to avoid cracks and leaks. Store the components in a safe place until spring.
Maximizing the Use of Harvested Water
Household Applications
Harvested rainwater can be used for various household tasks, such as flushing toilets, washing clothes, and cleaning. This reduces your dependency on municipal water and lowers your utility bills.
Garden and Landscape Uses
Using rainwater for gardening is one of the most popular applications. Plants thrive on natural rainwater, which is free of chemicals found in tap water. Set up a drip irrigation system to efficiently water your garden and lawn.

Conclusion
Embarking on a DIY rainwater harvesting project is a rewarding way to enhance your home’s sustainability and reduce your environmental footprint. By following these steps, you can create an efficient system that provides a reliable source of water for various uses. Happy harvesting!
FAQs
Q: What are the benefits of rainwater harvesting?
A: Rainwater harvesting conserves water, reduces utility bills, and provides a sustainable water source for household and garden use.
Q: How much does it cost to set up a rainwater harvesting system?
A: The cost varies based on the system’s complexity and size. Basic systems can cost a few hundred dollars, while more advanced setups can be more expensive.
Q: Can I drink the harvested rainwater?
A: Drinking harvested rainwater is not recommended unless it is properly filtered and treated to remove contaminants.
Q: How do I maintain my rainwater harvesting system?
A: Regularly clean and inspect your system, including gutters, filters, and storage tanks. Winterize the system in colder climates to prevent damage.
Q: Is rainwater harvesting legal in my area?
A: Rainwater harvesting regulations vary by location. Check with local authorities to ensure compliance with any laws or restrictions in your area.