Introduction
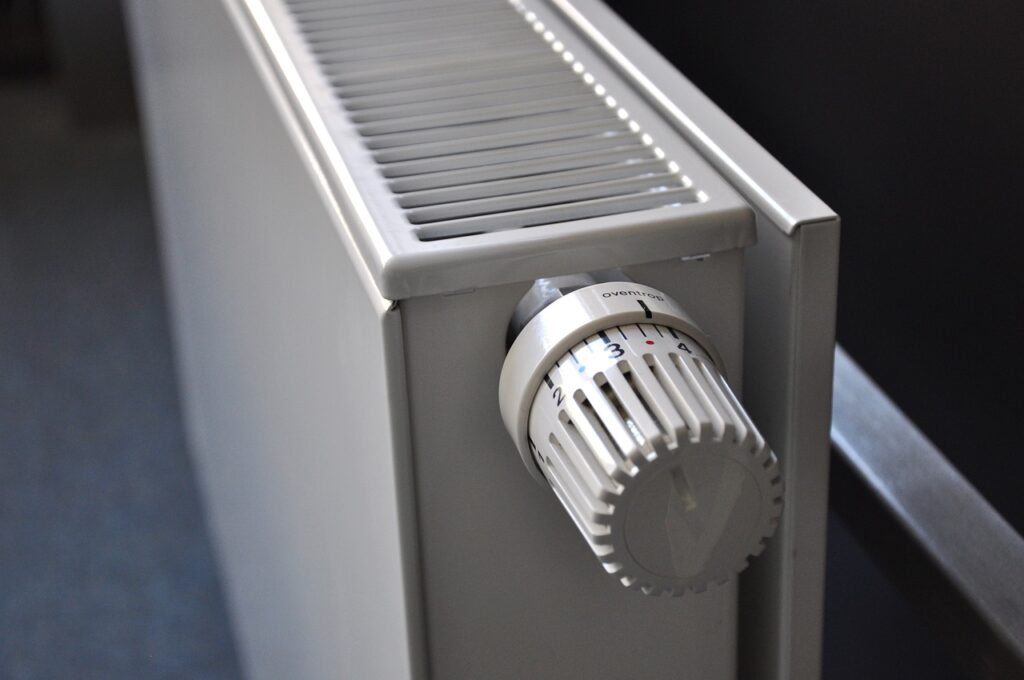
Radiators are essential for keeping our homes warm, but they aren’t always the most aesthetically pleasing fixtures. That’s where DIY radiator covers come in. These covers not only enhance the look of your space but also provide a functional surface for additional decor or storage. If you’re considering a DIY project to improve your home’s interior, building a radiator cover is a fantastic option.

Planning Your DIY Radiator Cover
Measuring Your Radiator
Before you begin, it’s crucial to measure your radiator accurately. Measure the height, width, and depth of your radiator, and don’t forget to account for any valves or pipes that might protrude. This ensures that your cover fits perfectly and doesn’t obstruct the radiator’s functionality.
Choosing Materials
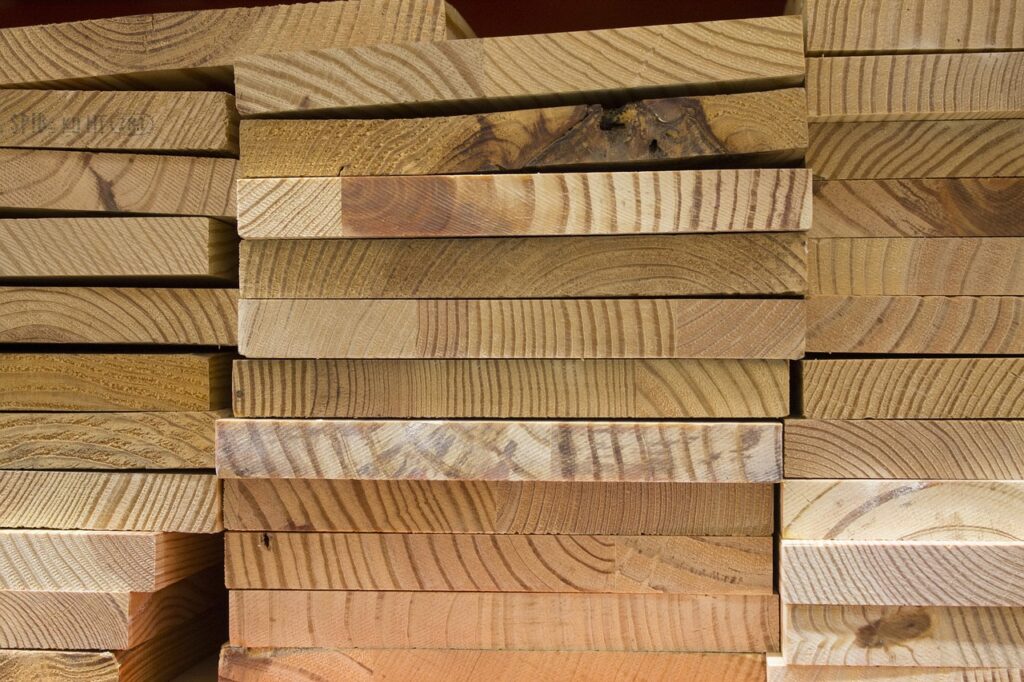
When it comes to materials, you have several options. MDF (medium-density fiberboard) is a popular choice because it’s easy to work with and paint. However, solid wood can give your cover a more premium look. Consider the style of your home and choose materials that complement your existing decor.
Design Considerations
The design of your radiator cover should balance aesthetics and functionality. Do you prefer a modern, minimalist look or something more traditional? Think about the overall design of your room and how the cover will integrate. You can also add decorative elements like fretwork panels to give your cover a unique touch.
Tools and Materials Needed
Essential Tools
To build a radiator cover, you’ll need the following tools:
- Tape measure
- Saw (circular or jigsaw)
- Drill
- Screwdriver
- Sander
- Paintbrush or roller

Recommended Materials
- MDF or wood panels
- Screws and brackets
- Wood glue
- Sandpaper
- Primer and paint or wood stain
- Decorative elements (optional)

Step-by-Step Guide to Building a DIY Radiator Cover
Step 1: Measuring and Cutting the Wood
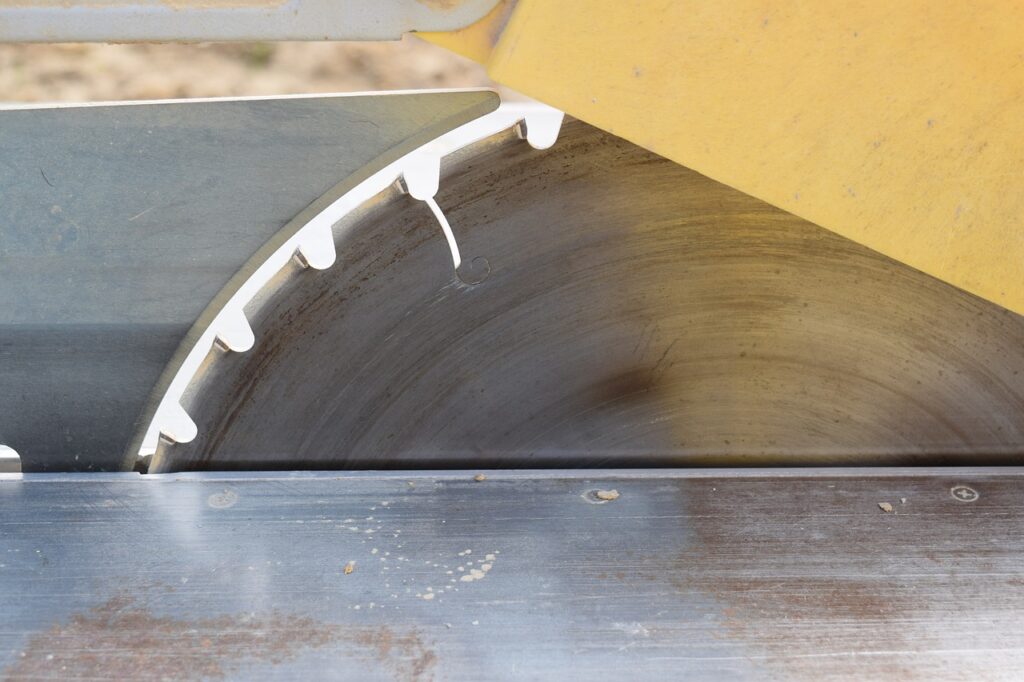
Start by measuring and marking your wood panels according to the dimensions of your radiator. Use a saw to cut the panels to size. You should have pieces for the front, sides, and top of the cover.
Step 2: Assembling the Frame
Once your pieces are cut, it’s time to assemble the frame. Use wood glue and screws to attach the side panels to the front panel. Ensure that the frame is square and stable.
Step 3: Adding Decorative Elements
If you’ve chosen to include decorative elements like fretwork, now is the time to attach them. Cut the decorative panels to size and secure them to the front of the cover.
Step 4: Sanding and Painting
Sand all surfaces of your radiator cover to ensure a smooth finish. Apply a primer to the wood, followed by your chosen paint or stain. Allow adequate drying time between coats.
Step 5: Installing the Radiator Cover
Once the paint or stain is completely dry, position the cover over your radiator. Use brackets or other fasteners to secure the cover to the wall, ensuring it remains stable and doesn’t tip over.
Tips for a Professional Finish
Painting and Staining Tips
For a professional finish, use a high-quality paint or stain and apply multiple thin coats rather than one thick coat. Sand lightly between coats for an ultra-smooth finish.
Ensuring Proper Ventilation
Your radiator cover should allow for adequate airflow to ensure your radiator functions efficiently. Consider adding ventilation holes or a grille to the design.
Adding Safety Features
Make sure your radiator cover is securely fastened to prevent it from tipping over, especially if you have children or pets. Additionally, avoid placing flammable items directly on top of the cover.
Common Mistakes to Avoid
Incorrect Measurements
One of the most common mistakes is taking inaccurate measurements. Double-check your measurements before cutting any materials to avoid costly mistakes.
Poor Material Choices
Using low-quality materials can result in a cover that doesn’t last. Invest in good-quality wood or MDF to ensure your project stands the test of time.
Neglecting Ventilation
A radiator cover that restricts airflow can reduce the efficiency of your heating system. Always include ventilation features in your design.
Conclusion
Building your own radiator cover is a rewarding DIY project that can enhance the look of your home while providing practical benefits. By following this guide, you’ll be able to create a stylish and functional cover that suits your decor and keeps your radiator working efficiently. Happy building!
FAQs
Q: How much does it cost to build a radiator cover?
A: The cost can vary depending on the materials you choose, but on average, building a radiator cover yourself can cost between $50 and $150.
Q: What materials are best for radiator covers?
A: MDF is a popular choice due to its ease of use and paintability. Solid wood can offer a more premium finish but may be more expensive.
Q: Can I build a radiator cover without woodworking experience?
A: Yes, this project is suitable for beginners. With basic tools and careful planning, you can build a radiator cover even without extensive woodworking experience.
Q: How long does it take to build a radiator cover?
A: The project can take a weekend to complete, including time for measuring, cutting, assembling, and painting.
Q: Are radiator covers safe to use?
A: Yes, as long as they are properly ventilated and securely fastened, radiator covers are safe and can even add an extra layer of protection for children and pets.