Introduction
There’s something incredibly refreshing about showering in the open air, whether it’s rinsing off after a swim or just enjoying a cool breeze while you clean up. A DIY outdoor shower is not only a practical addition to your backyard but also a fun project that adds a touch of luxury to your outdoor space. In this guide, I’ll walk you through everything you need to know to build your own outdoor shower—from planning and materials to installation and maintenance. Whether you’re a seasoned DIYer or a beginner, this project is totally achievable with a bit of effort and creativity.

Planning Your DIY Outdoor Shower
Choosing the Right Location
Before you start, think about where you want to place your DIY outdoor shower. The ideal location should offer privacy, be close to a water source, and have proper drainage. Consider positioning it near your pool, hot tub, or back door for convenience.
Water Source Considerations
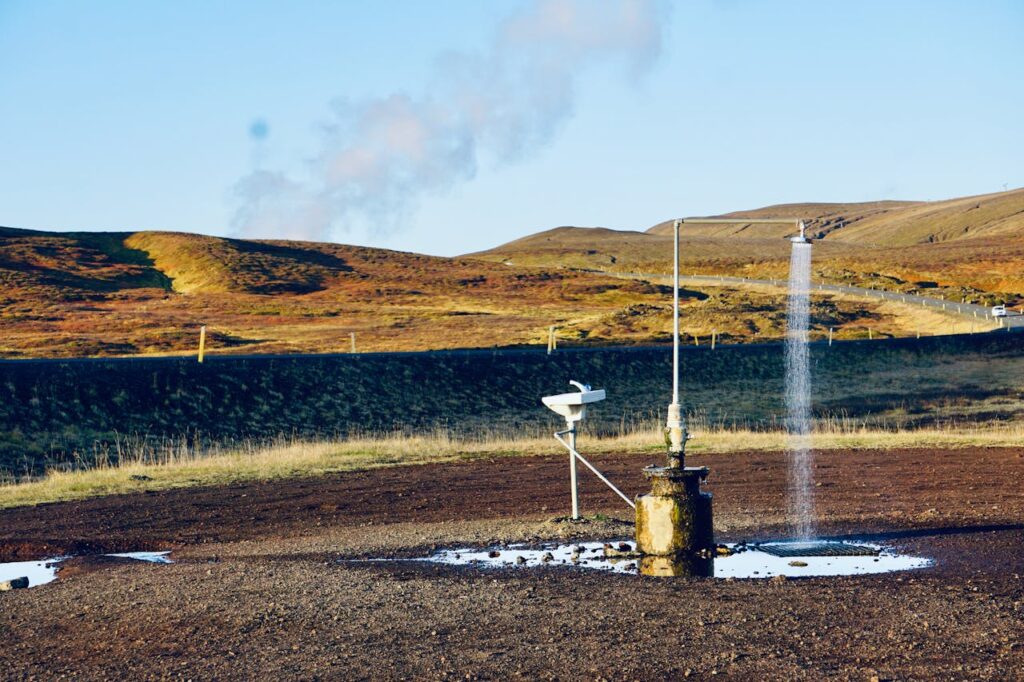
Next, decide how you’ll supply water to your shower. You can connect it to your home’s plumbing, or if you’re looking for a simpler solution, a garden hose attachment can work just as well. Just be sure to consider how the water will drain away—whether it’s into a garden bed, gravel pit, or a more formal drainage system.
Design and Aesthetics
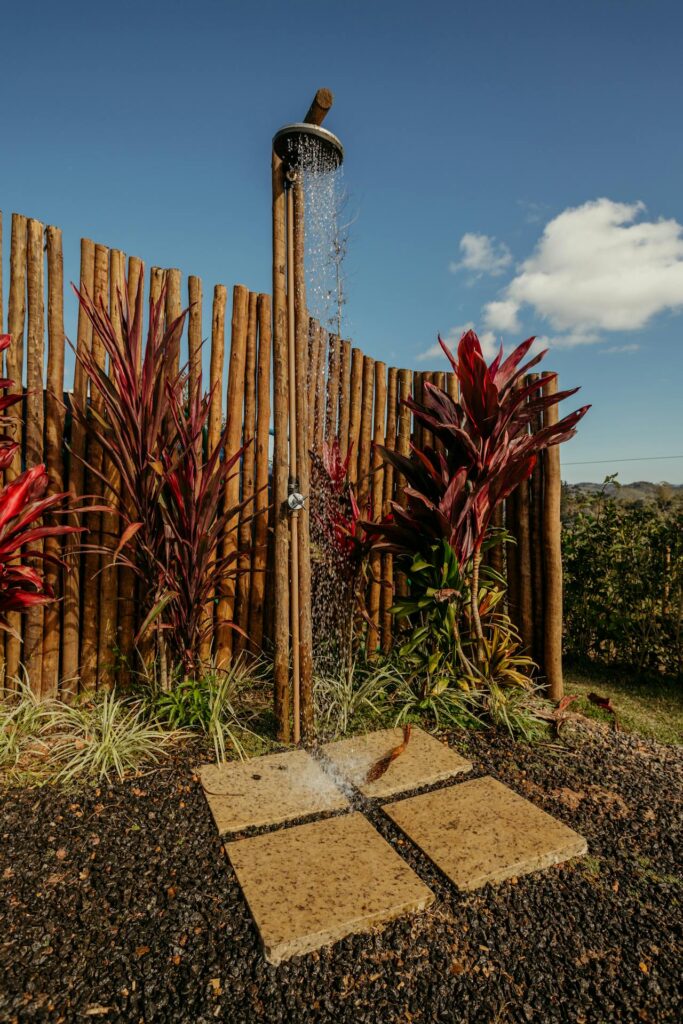
Finally, think about the overall design of your shower. Are you going for a rustic look with wooden slats, or something more modern with sleek metal and stone? Sketch out your ideas or find inspiration online to help solidify your vision.
Selecting the Right Materials
Wood
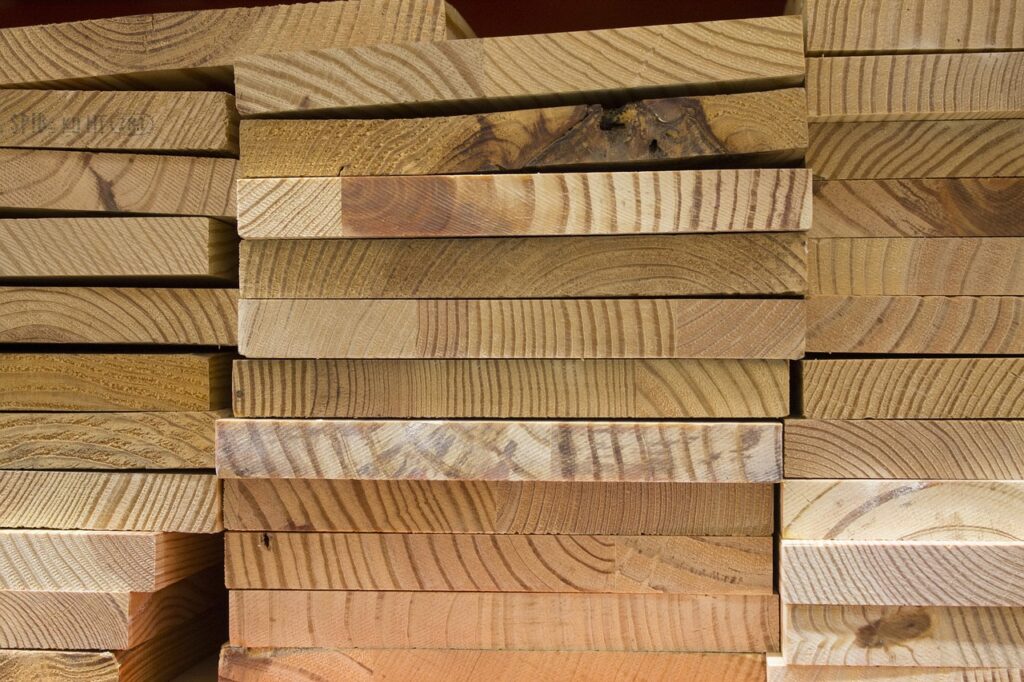
Wood is a popular choice for outdoor showers because it blends seamlessly with nature. Cedar and teak are excellent options due to their resistance to water and rot. Make sure to seal the wood to enhance its durability.
Metal
If you’re looking for a more contemporary design, metal is a great option. Stainless steel is particularly resistant to rust and corrosion, making it ideal for outdoor use.
Stone and Tile
For a luxurious feel, consider using stone or tile. These materials are not only durable but also easy to clean and maintain. Choose slip-resistant tiles to prevent any accidents in wet conditions.

Building the Base
Laying the Foundation
The base of your outdoor shower is crucial for both stability and drainage. Start by marking the area and digging a shallow trench for the base. Fill the trench with gravel to create a solid foundation that will also allow water to drain away.
Creating a Decking Platform
If you prefer a raised platform, you can build a wooden deck using pressure-treated lumber. Ensure the deck is slightly sloped to encourage water drainage.
Pouring a Concrete Slab
For a more permanent solution, consider pouring a concrete slab. This provides a sturdy, long-lasting base, but keep in mind that it requires more preparation and curing time.
Installing the Plumbing
Water Supply Setup
Now it’s time to connect your shower to a water source. If you’re using your home’s plumbing, you’ll need to run pipes to the shower location. Be sure to use weather-resistant pipes and fittings to prevent leaks.
Installing the Showerhead
Once the water supply is in place, you can install the showerhead. Choose a design that matches the overall aesthetic of your shower. You can mount it on a wall, or for a more natural look, attach it to an overhead branch or custom-built pole.
Testing and Sealing
After everything is connected, test the water flow to ensure there are no leaks. If all looks good, seal any exposed pipes or joints to protect them from the elements.

Adding the Finishing Touches
Privacy Screens
Privacy is key for an outdoor shower. You can build simple wooden screens, use bamboo, or even plant tall shrubs around the area.
Decorative Elements
Add your personal touch with decorative elements like a stone pathway leading to the shower, a bench for seating, or hooks for towels and robes.
Lighting and Accessories
Consider adding outdoor lighting so you can use your shower day or night. Solar-powered lights are an eco-friendly option. Additionally, choose weather-resistant fixtures and accessories to complete the look.
Maintenance Tips
Regular Cleaning
To keep your outdoor shower looking and functioning its best, clean it regularly. Remove any dirt, leaves, or debris, and scrub the surfaces to prevent mold and mildew.
Wood Maintenance
If you’ve used wood in your construction, apply a fresh coat of sealant every few years to protect it from water damage.
Winterizing
In colder climates, it’s essential to winterize your outdoor shower by draining the pipes and covering the fixtures to prevent freezing and cracking.
Conclusion
Building a DIY outdoor shower is a rewarding project that can elevate your backyard experience. With careful planning, the right materials, and a bit of elbow grease, you can create a beautiful and functional outdoor feature that you’ll enjoy for years to come. Whether it’s rinsing off after a swim or simply enjoying a refreshing outdoor shower, this project is well worth the effort. So, roll up your sleeves, gather your tools, and get ready to build the outdoor shower of your dreams!
FAQs
Q: Can I use a garden hose for the water supply?
A: Yes, a garden hose can be an easy and cost-effective way to supply water to your outdoor shower, especially for temporary or seasonal setups.
Q: What’s the best material for an outdoor shower base?
A: Gravel and concrete are popular choices for their durability and excellent drainage properties. Wood decking is also a great option for a more natural look.
Q: How do I winterize my outdoor shower?
A: To winterize, drain all water from the pipes and fixtures, disconnect any hoses, and cover the shower to protect it from the elements.
Q: Do I need a building permit for an outdoor shower?
A: Depending on your location, you might need a permit, especially if you’re connecting to your home’s plumbing. It’s best to check with local regulations before you start.
Q: How can I add privacy to my outdoor shower?
A: You can add privacy by installing wooden screens, using bamboo, planting tall shrubs, or even hanging outdoor curtains.