Introduction
Who doesn’t love the idea of enjoying a delicious, homemade pizza right in their own backyard? Imagine the smell of freshly baked dough wafting through the air, mingling with the savory aroma of melted cheese and your favorite toppings. That’s the magic of having your very own DIY outdoor pizza oven. Not only does it enhance your outdoor cooking experience, but it also adds a unique and functional feature to your garden or patio. In this guide, I’ll walk you through everything you need to know to build your own outdoor pizza oven, from planning and selecting materials to the final finishing touches.

Why Build a DIY Outdoor Pizza Oven?
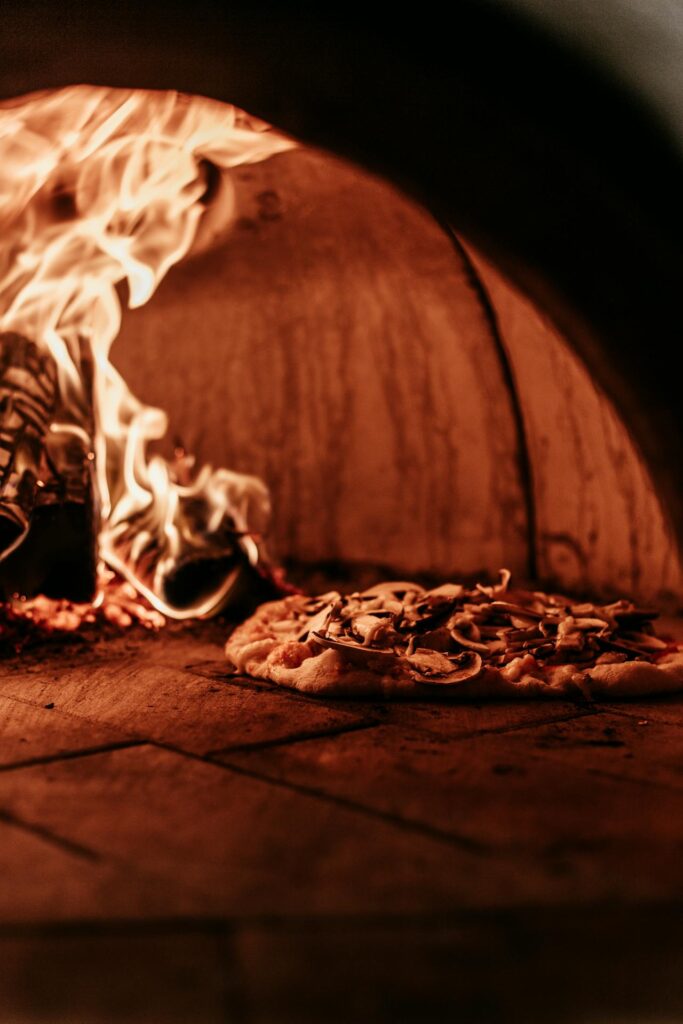
So, why take on the project of building an outdoor pizza oven yourself? Well, for starters, it’s incredibly rewarding. There’s something about crafting your own oven that makes every slice of pizza taste just a bit better. Plus, it’s a fantastic way to gather friends and family for a memorable meal. Unlike standard grills, a pizza oven offers a traditional cooking method that can reach high temperatures quickly, resulting in perfectly crisp crusts and evenly cooked toppings.
Another reason to go the DIY route is customization. You can tailor your pizza oven to fit your outdoor space, choosing the size, shape, and materials that suit your style. And let’s not forget the potential cost savings. Building it yourself can be significantly cheaper than purchasing a pre-made oven, especially if you already have some of the tools and materials on hand.
Planning Your DIY Outdoor Pizza Oven
Before you dive into construction, it’s essential to plan out your project. A well-thought-out plan will save you time, money, and potential headaches down the road.
Choosing the Right Location
The first step is selecting the perfect spot for your pizza oven. Ideally, you want it to be in a place that’s both convenient for cooking and safe. Keep it close enough to your kitchen for easy access to ingredients, but far enough from your house and any flammable structures. Consider the wind direction too – you don’t want smoke blowing into your living space.
Also, think about the social aspect. If you enjoy hosting, place the oven near your outdoor dining area so you can entertain guests while cooking. Lastly, make sure the ground is level, as this will be crucial when laying the foundation.
Selecting Materials
The materials you choose will directly impact the performance and longevity of your oven. Here’s a quick rundown of some popular options:
Brick, Stone, or Clay?
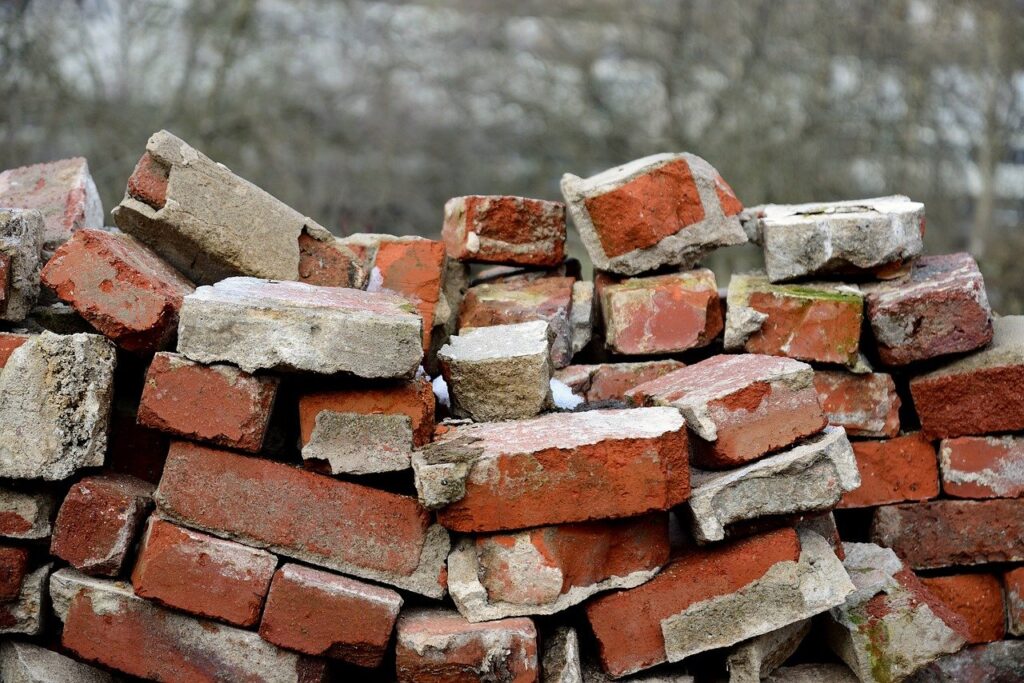
- Bricks are a classic choice, offering excellent heat retention and a traditional look. Firebricks, in particular, are designed to withstand high temperatures, making them ideal for the oven’s interior.
- Stone can give your oven a rustic charm and is also very durable. However, it can be more challenging to work with and may require additional support.
- Clay is another traditional material that provides excellent insulation. It can be molded to your desired shape, but it may not be as durable as brick or stone.

Tools You’ll Need
Gathering the right tools beforehand will make the building process smoother. Here’s what you’ll need:
- Shovel and trowel for mixing and applying mortar
- Level to ensure even construction
- Tape measure for accurate dimensions
- Brick cutter or angle grinder for shaping materials
- Hammer and chisel for fine adjustments
- Protective gear like gloves and safety glasses
Step-by-Step Guide to Building
Now that you’re all set, let’s get to the exciting part – building your DIY outdoor pizza oven. Follow these steps to bring your outdoor cooking dreams to life.
Laying the Foundation
The foundation is crucial for stability. Start by marking the area where your oven will sit and dig down about 6-8 inches. Fill this space with gravel and compact it to create a solid base. Then, pour concrete to form the foundation slab, making sure it’s level. Allow the concrete to cure for at least 24 hours before proceeding.
Constructing the Oven Base
The base of your oven is where the heat will be concentrated, so it needs to be sturdy. Lay a layer of firebricks on top of the cured concrete slab, arranging them in a herringbone pattern to prevent cracks. Mortar the bricks in place, ensuring they’re tightly packed together. This layer will act as the cooking surface, so take your time to get it right.
Building the Dome
The dome is the heart of your pizza oven, where the heat will circulate and cook your pizza to perfection. Start by creating a dome-shaped mold out of sand or a similar material. Then, begin laying your chosen bricks, stones, or clay around the mold, using mortar to secure each piece. As you build upwards, gradually curve the walls inwards to form the dome. Leave a small opening at the top for a chimney, which will help with airflow.
Once the dome is complete, remove the mold from inside. You should now have a hollow, dome-shaped structure.
Finishing Touches
With the dome in place, it’s time to add the finishing touches. First, construct a chimney using heat-resistant materials. This will help draw smoke out and keep the fire burning efficiently. Next, apply an insulating layer over the dome to retain heat – this can be done with a mixture of clay and sand, or with specialized insulating blankets.
Finally, give your oven a weatherproof exterior by applying a layer of stucco or another waterproof material. You can also add decorative elements like mosaic tiles or paint to match your outdoor aesthetic.

Maintenance and Safety Tips
Now that your pizza oven is complete, it’s essential to keep it in good condition and use it safely.
Keeping Your Oven in Top Shape
Regular maintenance will ensure your oven lasts for years. After each use, remove ashes and debris to prevent buildup. Inspect the chimney periodically to make sure it’s clear of blockages. During the off-season, consider covering the oven to protect it from the elements.
Safety Precautions
Safety is key when using your outdoor pizza oven. Always supervise the fire, especially if you have children or pets around. Use long-handled tools to avoid burns, and keep a fire extinguisher nearby just in case. Be mindful of the oven’s surface, as it can retain heat long after the fire has died down.
Conclusion
Building a DIY outdoor pizza oven is a rewarding project that combines creativity, craftsmanship, and a love of good food. Not only will it elevate your outdoor living space, but it will also provide countless opportunities for memorable gatherings with friends and family. So grab your tools, gather your materials, and start building your dream pizza oven today. You’ll soon be enjoying the delicious fruits of your labor – one perfectly cooked pizza at a time.
FAQs
Q: Can I build a pizza oven on a wooden deck?
A: While it’s possible, it’s not recommended due to fire hazards. If you must, ensure there’s a fireproof barrier between the oven and the deck.
Q: How long does it take to build a DIY pizza oven?
A: The timeline varies depending on your experience and materials. Generally, it can take anywhere from a few days to a couple of weeks.
Q: Do I need special firewood for a pizza oven?
A: Yes, hardwoods like oak, hickory, or maple are ideal. They burn hotter and longer, which is essential for achieving the right temperature.
Q: Can I cook other foods in a pizza oven?
A: Absolutely! You can bake bread, roast meats, and even cook vegetables in your pizza oven. The high heat is perfect for a variety of dishes.
Q: How do I know when my oven is ready to cook?
A: Use an infrared thermometer to check the temperature. Ideally, the floor of the oven should be around 750°F (400°C) for perfect pizza.