Introduction
Imagine having a dedicated space in your backyard where you can cook, entertain, and enjoy the great outdoors all at once. That’s the beauty of a DIY outdoor kitchen. Not only does it add value to your home, but it also creates a versatile space for family gatherings and social events. In this guide, I’ll walk you through everything you need to know to build your own outdoor kitchen from scratch.

Planning Your DIY Outdoor Kitchen
Before you start building, you need a solid plan. Planning is crucial to ensure that your project runs smoothly and stays within budget.
Choosing the Right Location
The location of your outdoor kitchen is key. Look for a spot that’s close to your indoor kitchen to make transferring food and utensils easier. Consider the direction of the wind, the position of the sun, and proximity to utilities like gas, water, and electricity.
Designing Your Layout
Think about how you use your indoor kitchen and what features you’d like to replicate outside. Common elements include a cooking area (grill, smoker, or pizza oven), prep space, storage, and seating. Create a layout that facilitates easy movement and interaction.
Budgeting for Your Project
An outdoor kitchen can range from a simple setup with a grill and counter space to a fully equipped outdoor cooking area with appliances and weather-resistant furniture. Set a realistic budget that covers materials, tools, and appliances, and include a contingency for unexpected costs.
Essential Components of an Outdoor Kitchen
A well-designed outdoor kitchen includes several key components. Here’s what you need to consider:
Cooking Area
The centerpiece of any outdoor kitchen is the cooking area. Choose appliances based on your cooking style. Options include grills, smokers, pizza ovens, and even outdoor stovetops. Make sure to select weather-resistant models designed for outdoor use.
Prep and Storage
Adequate prep space and storage are crucial for a functional kitchen. Stainless steel counters and cabinets are popular choices due to their durability and easy maintenance. Include drawers and cabinets for storing utensils, dishes, and cooking ingredients.
Seating and Dining
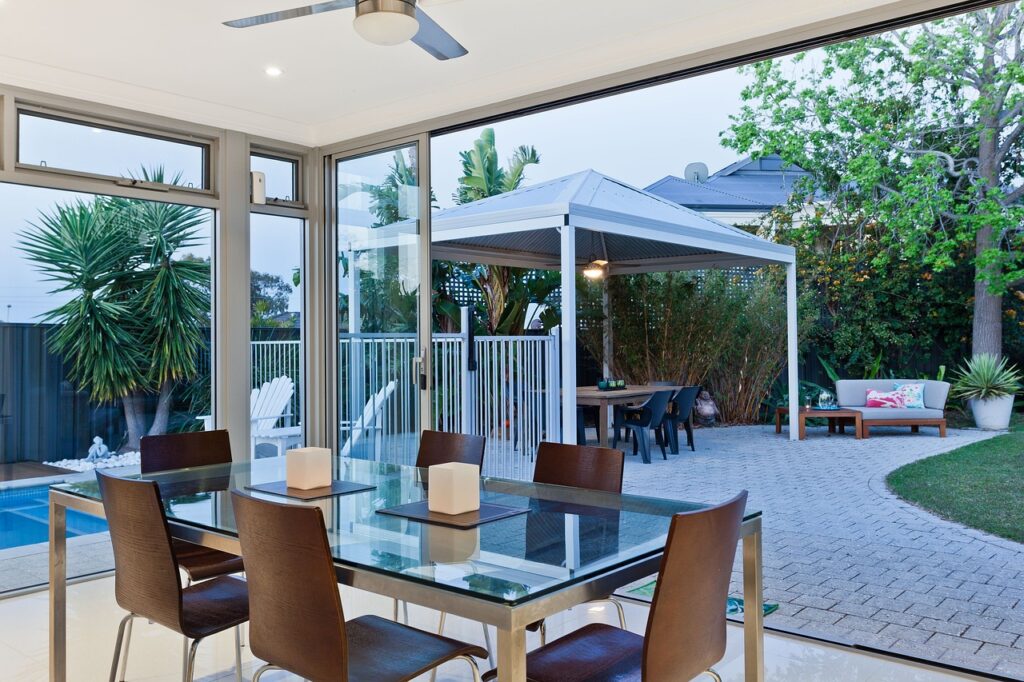
Create a comfortable dining area where guests can relax while you cook. This can be as simple as a picnic table or as elaborate as an outdoor dining set with cushioned chairs. Consider adding a bar area with stools for a more casual setting.
Material Selection and Tools
Choosing the right materials and tools can make or break your project. Here’s what you need to know:
Choosing Durable Materials
Outdoor kitchens are exposed to the elements, so durability is key. Opt for materials like stainless steel, stone, and treated wood. These materials can withstand varying weather conditions and require minimal maintenance.

Essential Tools for Construction
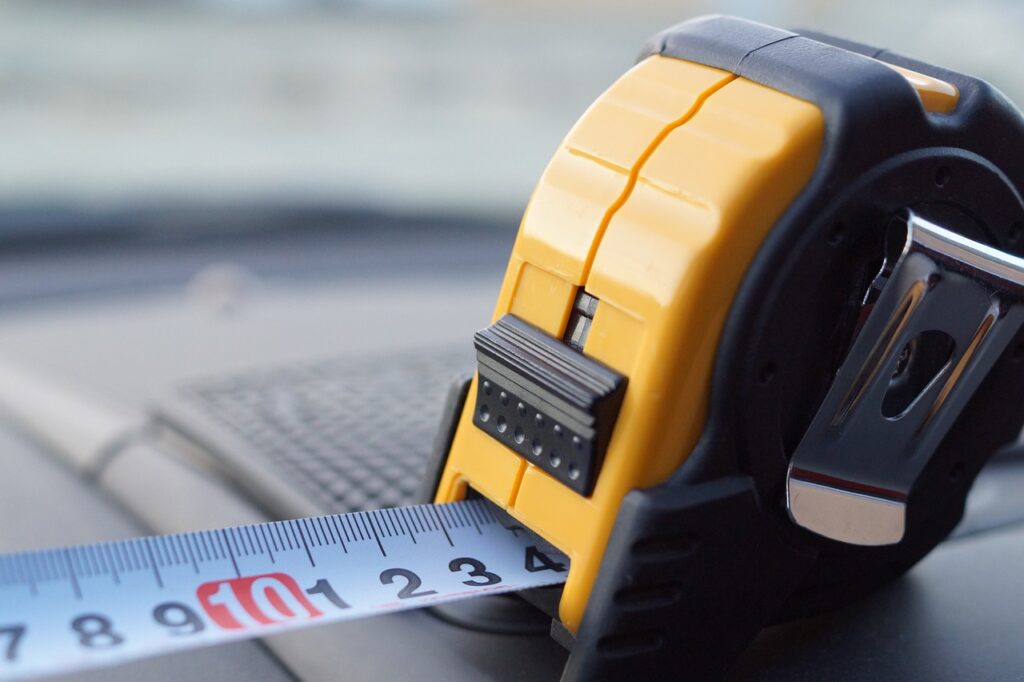
You’ll need basic construction tools such as a hammer, drill, saw, level, and measuring tape. Depending on your design, you might also need masonry tools for stonework and plumbing tools for installing sinks and gas lines.

Step-by-Step Construction Guide
Now that you have a plan and materials, it’s time to start building. Follow these steps for a successful project:
Building the Foundation
Start by preparing the site. Clear the area and lay a solid foundation, which could be a concrete slab or a wooden deck. Ensure the foundation is level and sturdy to support the weight of your kitchen components.
Assembling the Framework
Construct the framework for your kitchen using treated lumber or metal. This includes the base for countertops, cabinets, and any built-in appliances. Secure the framework to the foundation and check for levelness at each stage.
Installing Appliances and Fixtures
Once the framework is in place, install your appliances. This includes setting the grill or oven, hooking up gas and water lines, and installing sinks and refrigerators. Make sure all connections are secure and check for leaks.
Finishing Touches and Maintenance
The final touches can transform your outdoor kitchen from functional to fabulous.
Adding Aesthetic Elements
Add elements like backsplash tiles, decorative lighting, and outdoor-friendly furniture to enhance the look of your kitchen. Plants and outdoor rugs can also add a cozy touch.
Regular Maintenance Tips
Keep your outdoor kitchen in top shape with regular maintenance. Clean the grill and other appliances after each use, cover furniture during bad weather, and periodically check for any repairs that might be needed.
Conclusion
Building a DIY outdoor kitchen is a rewarding project that enhances your outdoor living space. With careful planning, the right materials, and some elbow grease, you can create a beautiful and functional area for cooking and entertaining. Whether you’re a seasoned DIYer or a novice, this guide provides all the steps you need to bring your outdoor kitchen vision to life.
FAQs
Q: How much does it cost to build a DIY outdoor kitchen?
A: The cost can vary widely depending on the materials and appliances you choose. A basic setup might cost a few thousand dollars, while a high-end kitchen can run upwards of $10,000 or more.
Q: Do I need a permit to build an outdoor kitchen?
A: Permit requirements vary by location. Check with your local building department to see if you need a permit for your project.
Q: Can I build an outdoor kitchen on a wooden deck?
A: Yes, but ensure the deck is strong enough to support the weight of the kitchen components. You might need to reinforce the structure or use lighter materials.
Q: What materials are best for outdoor countertops?
A: Stainless steel, granite, and concrete are popular choices due to their durability and resistance to weather. Avoid materials that can easily stain or deteriorate in outdoor conditions.
Q: How do I winterize my outdoor kitchen?
A: Disconnect and drain water lines, cover appliances and furniture, and clean the grill and other cooking surfaces thoroughly. Consider storing removable items indoors during winter.