Introduction
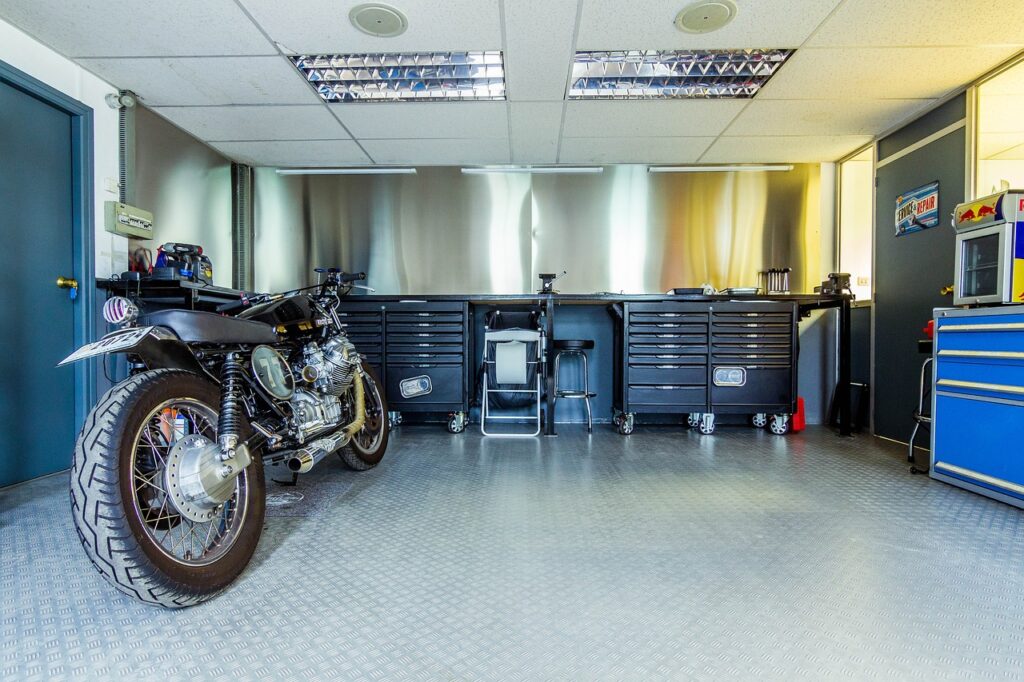
If you’re considering giving your floor a fresh new look, epoxy flooring might just be the perfect DIY project for you. It’s not only durable and resistant to spills, but it also adds a sleek, professional finish to your space. Whether you’re redoing your garage, basement, or workshop, installing epoxy flooring yourself can save you money while delivering incredible results. In this guide, I’ll walk you through the entire process, from gathering materials to applying the final coat, with some helpful tips to make your project as smooth as possible.

Why Choose Epoxy Flooring for Your DIY Project
Epoxy flooring has gained popularity among DIY enthusiasts because it combines durability, affordability, and visual appeal in one easy-to-install package. The final result is a tough, long-lasting surface that can handle heavy traffic, machinery, and even chemical spills. Plus, epoxy comes in a variety of colors and finishes, allowing you to customize the look to match your personal style.
But what truly sets epoxy flooring apart is its ability to transform your floors with minimal effort, making it the go-to option for homeowners looking for a quick and impactful DIY solution.
Materials and Tools You’ll Need for DIY Epoxy Flooring
Before diving into the installation process, make sure you have all the necessary materials and tools ready. Having everything on hand will save you from making unnecessary trips to the store mid-project.
Essential Materials
- Epoxy resin and hardener kit
- Concrete cleaner or degreaser
- Patch compound (if needed)
- Painter’s tape
- Non-slip additives (optional for garage floors)
Tools for Application
- Paint roller and tray
- Drill with a mixing paddle
- Floor grinder or sandpaper (for surface prep)
- Paintbrush for edges
- Protective gear (gloves, mask, and safety goggles)
Step-by-Step Guide to Installing Epoxy Flooring
Now that you have everything you need, it’s time to start your DIY epoxy flooring installation. Follow these steps carefully to ensure a smooth and professional finish.
Step 1: Prepare the Surface
The key to a flawless epoxy floor is proper surface preparation. Start by cleaning your concrete floor thoroughly. Any dirt, oil, or grease will prevent the epoxy from adhering correctly, so scrub your floor with a concrete cleaner or degreaser. If there are any cracks or holes, patch them up using a concrete filler and let it dry completely.
Once the surface is clean and dry, it’s time to roughen it up. This can be done using a floor grinder or sandpaper to help the epoxy bond better with the concrete. Be sure to vacuum or sweep away any dust created during this process.
Step 2: Mixing and Applying Epoxy
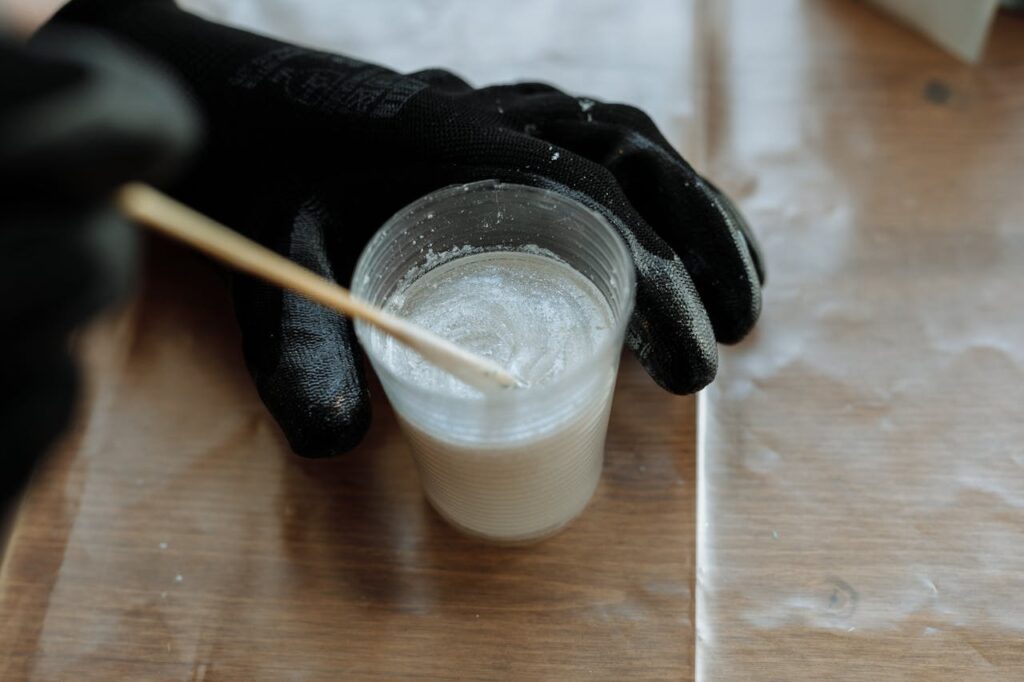
With the surface prepped, it’s time to mix your epoxy. Follow the manufacturer’s instructions on how to combine the resin and hardener. Usually, this involves mixing for a set amount of time to ensure the components blend well.
Once your epoxy is ready, start applying it by using a paint roller. Begin at the farthest corner of the room and work your way towards the exit. Be mindful of the working time for epoxy, as it begins to harden once mixed, so apply it as quickly and evenly as possible. For added grip in areas like the garage, you can sprinkle a non-slip additive while the epoxy is still wet.

Step 3: Curing and Finishing
Once you’ve applied the epoxy, allow it to cure according to the product’s instructions. Typically, this takes 24-48 hours, but avoid heavy foot traffic for at least 72 hours. Depending on the look you’re going for, you can also apply a clear topcoat for extra protection and shine.
Common Mistakes to Avoid with Epoxy Flooring
Even though installing epoxy flooring is a relatively straightforward DIY task, there are a few common mistakes you’ll want to avoid to achieve professional-looking results.
Misjudging Dry Time
One of the biggest mistakes DIYers make is not allowing enough time for the epoxy to cure properly. If you rush this process, the floor may not harden correctly, leading to peeling or bubbling.
Improper Surface Prep
Another frequent issue is failing to prep the surface adequately. Skipping steps like cleaning or roughening the floor can result in poor adhesion, and the epoxy may not stick as it should.
Conclusion
DIY epoxy flooring is a fantastic project that can completely transform your space, giving it a modern, professional finish. With the right materials, tools, and attention to detail, you can achieve a long-lasting result that’s both durable and stylish. By following the steps outlined in this guide and avoiding common pitfalls, you’ll be well on your way to creating a floor that not only looks great but also withstands the test of time.
FAQs
Q: How long does epoxy flooring last?
A: Epoxy floors can last anywhere from 10 to 20 years, depending on the level of foot traffic and maintenance.
Q: Can I apply epoxy over an old floor?
A: Yes, but you need to ensure the old floor is clean, dry, and free of cracks. Proper surface preparation is key.
Q: How long does epoxy take to dry?
A: Most epoxy coatings take 24-48 hours to dry, but full curing can take up to 72 hours.
Q: Is epoxy flooring slippery?
A: It can be, especially when wet. Adding a non-slip additive to the mix can help improve grip.
Q: Do I need to apply a topcoat over the epoxy?
A: While not always necessary, a clear topcoat can provide additional protection and enhance the shine of your epoxy floor.