Introduction
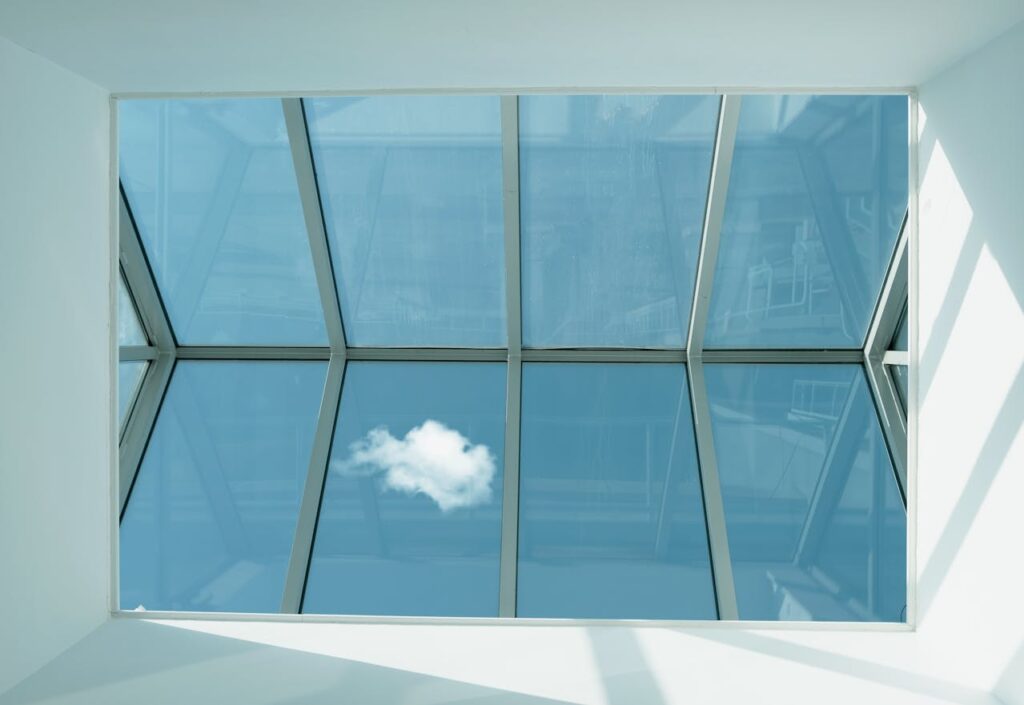
Ever wondered how you can bring more natural light into your home without adding extra windows? A skylight could be the answer. A DIY skylight installation can transform your space, making it brighter and more welcoming. It’s like opening up a room to the sky, bringing a touch of the outdoors inside. Let’s dive into why installing a skylight might be one of the best home improvement decisions you make.

Benefits of Skylights
Skylights aren’t just about aesthetics; they offer several practical benefits. They improve natural light, which can boost your mood and make rooms feel more spacious. Skylights also help with ventilation if you choose models that open. Plus, they can reduce your reliance on artificial lighting, saving you money on energy bills. They’re like a free source of sunlight that keeps on giving.
Skylight Types and Styles
Before you get started, it’s crucial to choose the right type of skylight for your home. Fixed skylights are great for adding light but don’t open. If you need ventilation, consider vented skylights or even tubular skylights for smaller spaces. There’s a variety of styles, from traditional to modern, so you can match the skylight to your home’s decor and your personal taste.
Tools and Materials You’ll Need
Essential Tools
To tackle a DIY skylight installation, you’ll need a few essential tools. A circular saw, a drill, and a tape measure are must-haves. You’ll also need safety gear like gloves and goggles. Make sure your toolkit is up to the task before you start; nothing disrupts a project faster than running to the store mid-installation.
Materials and Supplies
Here’s a quick list of what you’ll need: the skylight kit (which usually includes the frame and glass), roofing materials like flashing and sealant, and insulation. Make sure you have high-quality materials to ensure a durable and leak-free installation. Think of it like a recipe; the right ingredients make all the difference.
Step-by-Step Guide to Installing a Skylight
Preparing the Space
Start by selecting the perfect spot for your skylight. It should be in a place where it will get ample sunlight but won’t interfere with structural beams. Once you’ve chosen the spot, you’ll need to cut a hole in the roof. This step is crucial and should be done carefully to avoid damaging the structure.
Measuring and Cutting
Measure the dimensions of your skylight and transfer these measurements to your roof. Use a circular saw to cut the opening. Precision is key here—too small and the skylight won’t fit; too large and you might compromise the roof’s integrity. Take your time to get it right.
Installing the Skylight Frame
Position the skylight frame into the opening and secure it according to the manufacturer’s instructions. Ensure it’s level and properly aligned. This step sets the foundation for the rest of the installation, so it’s worth double-checking your work.
Sealing and Finishing
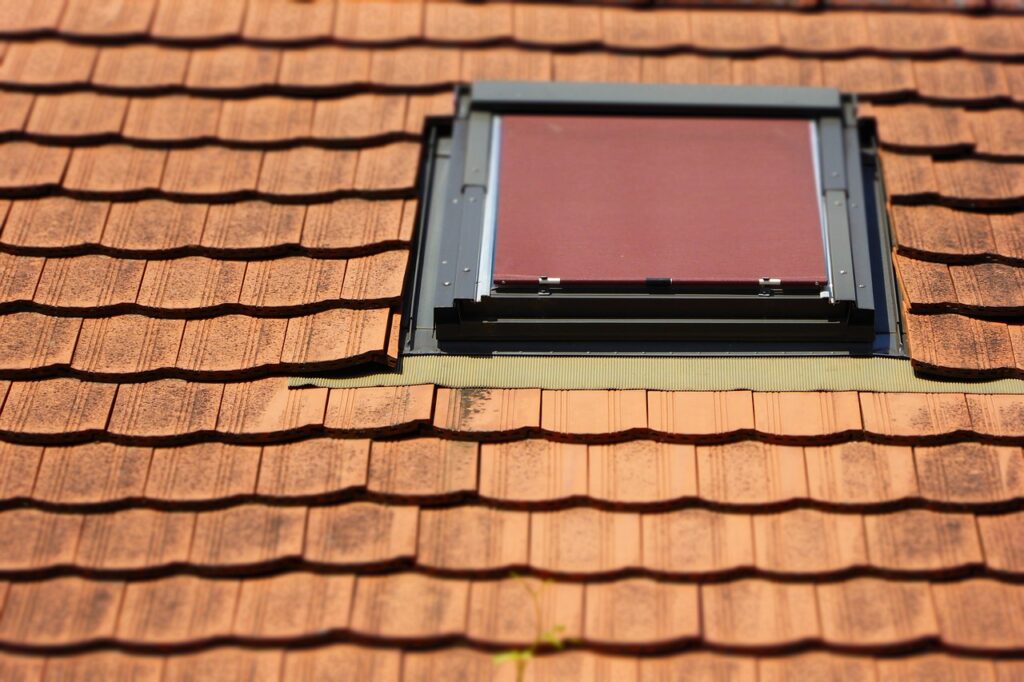
Apply flashing around the skylight to prevent water from seeping in. Then, seal any gaps with high-quality roof sealant. Finish the installation by insulating around the frame to improve energy efficiency. A well-sealed skylight will keep out drafts and moisture, ensuring comfort in all weather conditions.

Tips for a Successful DIY Skylight Installation
Safety First
Skylight installation involves working on your roof, so safety is paramount. Use a sturdy ladder and harness to avoid accidents. If you’re unsure about working at heights, consider hiring a professional for this part of the job.
Weather Considerations
Plan your installation for a clear day. Rain or strong winds can make the process more challenging and increase the risk of damage. Check the weather forecast and choose a dry, calm day to complete your project.
Common Mistakes to Avoid
One common mistake is improper sealing, which can lead to leaks. Ensure you follow the manufacturer’s guidelines for sealing and flashing. Another pitfall is inadequate measurements, so double-check your dimensions before cutting.
Maintenance and Care
Cleaning Your Skylight
Keep your skylight clean to maximize light entry. Use a gentle glass cleaner and a soft cloth to wipe off any dirt or smudges. Avoid abrasive cleaners that could scratch the glass.
Checking for Leaks and Repairs
Periodically inspect your skylight for signs of leaks or damage. Check the sealant and flashing to ensure everything is intact. Address any issues promptly to prevent water damage.
Conclusion
Installing a skylight yourself can be a rewarding DIY project, adding beauty and natural light to your home. With the right tools, materials, and careful attention to detail, you can create a stunning new feature in your space. Remember to follow safety guidelines, measure accurately, and maintain your skylight to enjoy its benefits for years to come.
FAQs
Q: How long does it take to install a skylight?
A: Installation typically takes a day or two, depending on your experience level and the complexity of the job.
Q: Can I install a skylight on my own?
A: Yes, but it requires careful planning and safety precautions. If you’re uncomfortable with heights or unsure about the process, hiring a professional might be a good idea.
Q: Do skylights increase energy bills?
A: Skylights can actually help reduce energy bills by providing natural light and reducing the need for artificial lighting. Proper insulation and sealing are crucial to prevent heat loss.
Q: What type of skylight is best for my climate?
A: The best type depends on your climate. For colder climates, consider skylights with high insulation values. In warmer areas, vented skylights can help with ventilation.
Q: How do I know if my skylight is properly sealed?
A: Check for leaks and drafts around the skylight. Ensure that all flashing and sealant are intact and that there are no signs of water damage. Regular maintenance helps ensure a proper seal.