Introduction
Creating your own DIY home office desk can be a rewarding project that results in a personalized, functional workspace. Whether you’re working from home full-time or need a spot for occasional projects, a DIY home office desk can be tailored to your specific needs and style preferences. Let’s dive into the process of planning, building, and maintaining your perfect home office desk.

Planning Your DIY Home Office Desk
Before you start gathering materials and tools, it’s crucial to plan out your project. A well-thought-out plan will save you time and frustration later on.
Assessing Your Space and Needs
First, determine the space where your desk will go. Measure the area carefully to ensure your new desk fits comfortably. Consider your workflow and what you need from your desk. Do you require a lot of surface area for multiple monitors or a compact desk with plenty of storage?
Choosing the Right Materials
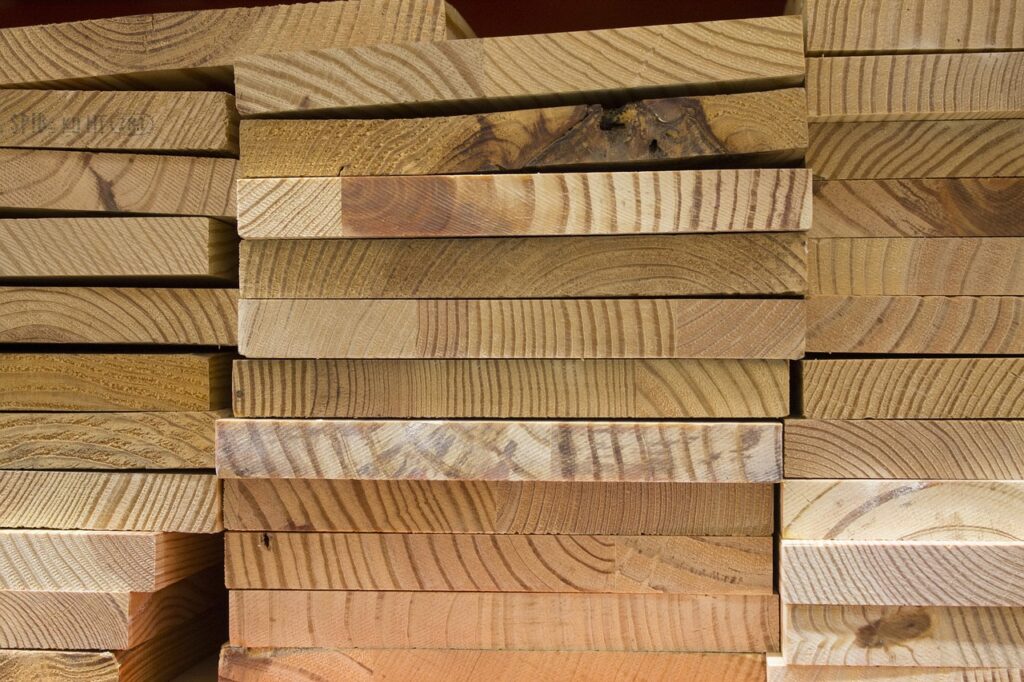
Next, select the materials for your desk. Wood is a popular choice due to its durability and versatility. However, you might also consider materials like metal or glass, depending on your aesthetic preferences and functional needs. Make sure to choose materials that are sturdy and suitable for your desk’s intended use.

Tools and Materials You’ll Need
Having the right tools and materials at hand is essential for a smooth building process.
Essential Tools
- Measuring tape
- Saw (circular or hand saw)
- Drill
- Screwdriver
- Sandpaper
- Level
- Clamps
- Paintbrush or roller (if painting)
Material List
- Wood planks or boards for the desk surface
- Wood for the legs or metal piping if you prefer an industrial look
- Screws and nails
- Wood glue
- Paint or stain (optional)
- Sealant (optional)
Step-by-Step Guide to Building Your Desk
With your plan in place and materials ready, it’s time to start building.
Measuring and Cutting
Measure your wood planks according to the dimensions you’ve planned. Mark where you need to cut, and use a saw to make precise cuts. Sand the edges to smooth out any rough spots.
Assembling the Desk
Start by assembling the legs. If you’re using wood, join the legs to the desktop using screws and wood glue. For metal piping, use appropriate connectors. Ensure everything is level and sturdy. Attach any additional supports or braces as needed.
Adding Finishing Touches
Once the basic structure is assembled, you can add finishing touches. Sand the entire desk surface until smooth. If you’re painting or staining, apply your chosen finish and allow it to dry completely. Adding a sealant can protect the surface from scratches and spills.

Tips for Personalizing Your Desk
A DIY desk offers the perfect opportunity to add personal touches that enhance both form and function.
Ergonomic Considerations
Ensure your desk height is suitable for your chair and posture. Consider adding a keyboard tray or monitor stand to improve ergonomics. These additions can help prevent strain and make your workspace more comfortable.
Aesthetic Enhancements
Incorporate decorative elements that reflect your style. This could include painting the legs a bold color, adding a patterned surface, or installing under-desk lighting. Personalizing your desk can make your workspace more enjoyable and inspiring.
Maintenance and Care for Your Desk
To keep your desk looking great and functioning well, regular maintenance is key.
Regular Cleaning
Dust your desk regularly and wipe it down with a damp cloth to keep it clean. Avoid harsh chemicals that can damage the finish. Using coasters and desk pads can prevent scratches and stains.
Repairing Wear and Tear
Over time, your desk may show signs of wear. Sand and refinish any scratches or dents to keep it looking new. Tighten screws and check for any loose parts periodically to maintain stability.
Conclusion
Building a DIY home office desk is a fulfilling project that can significantly enhance your workspace. With careful planning, the right materials, and a bit of creativity, you can create a desk that’s both functional and stylish. Remember to maintain your desk to keep it looking its best and serving your needs for years to come.
FAQs
Q: What is the best wood to use for a DIY desk?
A: The best wood depends on your budget and style preference. Popular choices include pine for affordability, oak for durability, and maple for a smooth finish.
Q: Can I build a desk without power tools?
A: Yes, you can use hand tools like a hand saw, hammer, and screwdriver. However, power tools can make the process quicker and easier.
Q: How much does it cost to build a DIY desk?
A: The cost can vary widely depending on materials and tools. On average, you might spend anywhere from $50 to $200.
Q: How long does it take to build a desk?
A: For a simple design, you can complete the project in a day or two. More complex designs might take a weekend or longer.
Q: Do I need to seal the wood on my desk?
A: Sealing the wood is recommended as it protects against moisture, stains, and scratches, prolonging the life of your desk.