Introduction
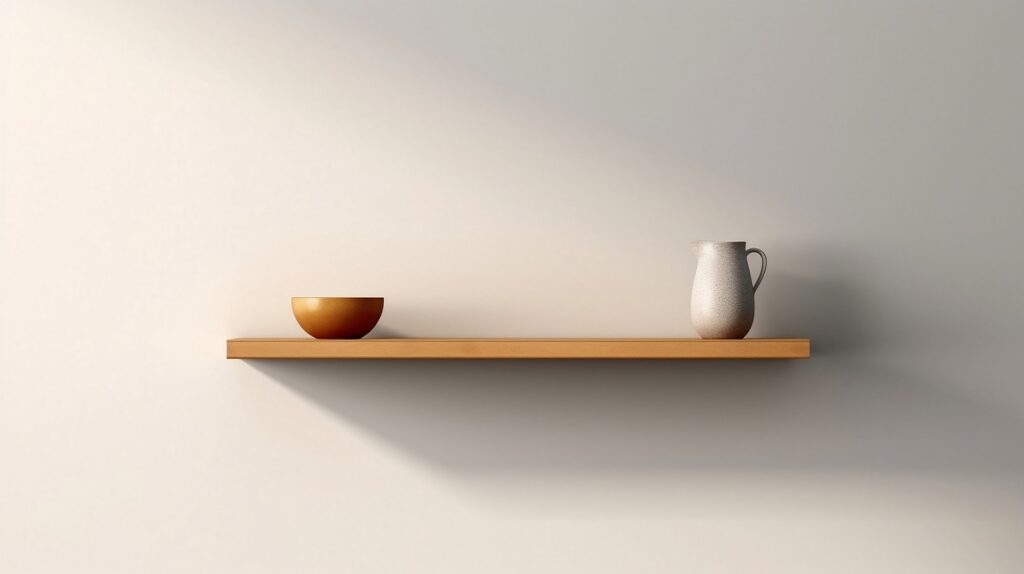
Are you tired of clutter and looking for a stylish way to organize your space? DIY floating shelves are the perfect solution! Not only do they provide functional storage, but they also add a modern, clean look to any room. With a bit of planning and some basic tools, you can create beautiful floating shelves that will transform your home.

Planning Your DIY Floating Shelves
Before you dive into building your floating shelves, it’s important to plan out your project. First, select the right location for your shelves. Consider places where you need extra storage or want to display decorative items, such as the living room, kitchen, or bathroom.
Next, measure the space where you want to install the shelves. Accurate measurements are crucial to ensure your shelves fit perfectly. Also, decide on the length, width, and thickness of the shelves. Make a list of the materials you’ll need, such as wood, brackets, screws, and wall anchors.
Gathering Tools and Materials
To build your floating shelves, you’ll need the following tools and materials:
Essential Tools
- Measuring tape
- Level
- Saw (circular or hand saw)
- Drill
- Screwdriver
- Stud finder
- Sandpaper
Recommended Materials
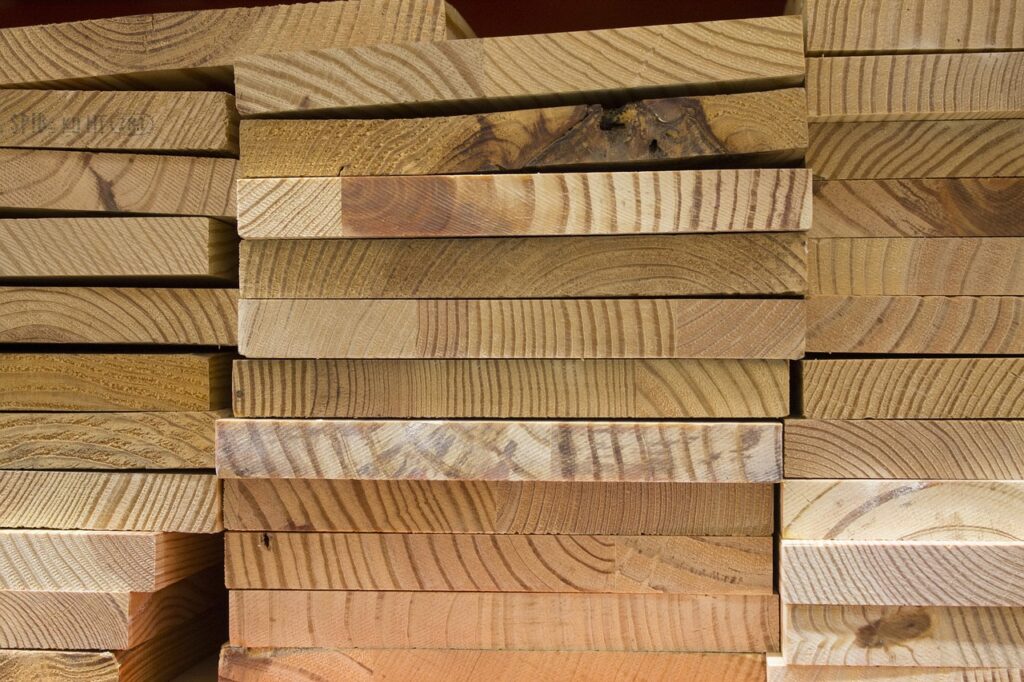
- Wood planks (size according to your measurements)
- L-brackets or floating shelf brackets
- Screws
- Wall anchors (if not drilling into studs)
- Wood glue
- Paint or stain (optional)

Building Your DIY Floating Shelves
Now that you have your plan and materials, it’s time to start building your DIY floating shelves. Follow these step-by-step instructions to ensure a smooth process.
Cutting the Wood
Begin by cutting the wood planks to your desired length. Use a saw to make straight, clean cuts. If you’re using multiple shelves, ensure all pieces are cut to the same length for a uniform look.
Assembling the Frame
If you’re using L-brackets, attach them to the wall where you’ve marked your measurements. Use a stud finder to locate studs for maximum support. If studs are not available, use wall anchors to secure the brackets. For floating shelf brackets, follow the manufacturer’s instructions for installation.
Securing the Shelves to the Wall
Once the brackets are in place, attach the wood planks to the brackets using screws and a drill. Ensure the shelves are level before tightening the screws completely. You can use a level to double-check your work.
Finishing Touches
After your shelves are securely attached to the wall, it’s time to add the finishing touches. Sand the edges and surfaces of the wood to smooth out any rough areas. If you prefer a polished look, apply paint or stain to match your home decor. Allow the paint or stain to dry completely before placing items on the shelves.
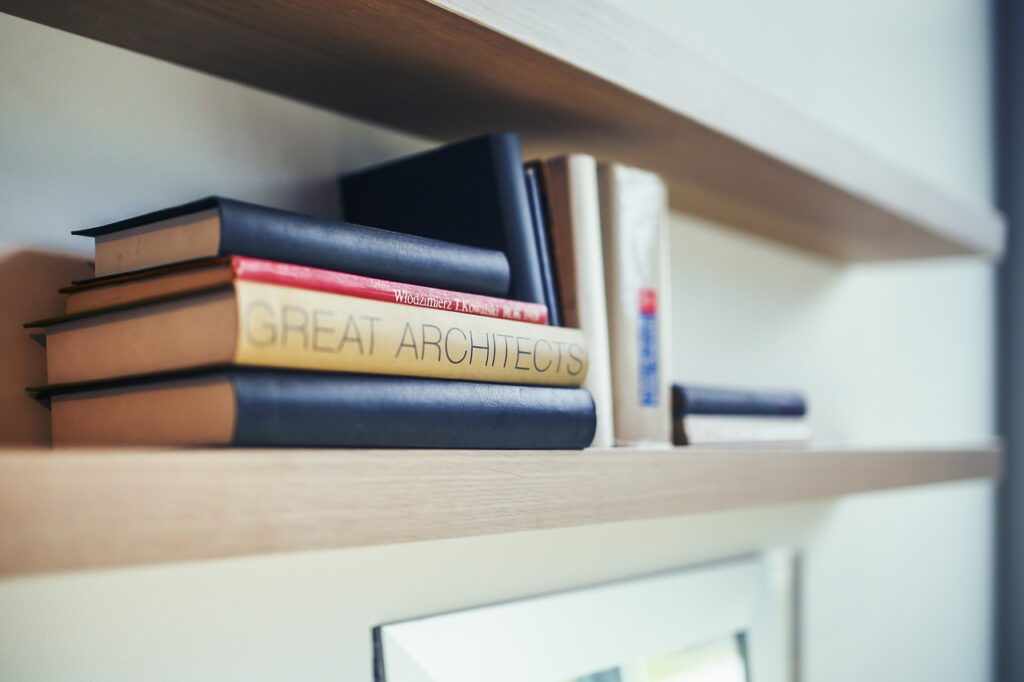
Styling your shelves is the fun part! Arrange books, plants, picture frames, and other decorative items to create a visually appealing display. Mix and match different textures and heights for an interesting look.

Safety Tips
Safety is paramount when installing floating shelves. Here are some tips to ensure your shelves are both beautiful and secure:
Ensuring Stability
Always attach shelves to studs whenever possible for maximum stability. If studs are not available, use heavy-duty wall anchors to support the weight.
Weight Limits and Load Distribution
Be mindful of the weight limits of your shelves and brackets. Distribute weight evenly across the shelves to prevent sagging or damage. Avoid placing overly heavy items on the shelves.
Conclusion
DIY floating shelves are a fantastic way to add both style and functionality to your home. With careful planning, the right materials, and a bit of DIY spirit, you can create stunning shelves that showcase your personality and meet your storage needs. So, gather your tools and get started on your floating shelf project today!
FAQs
Q: How much weight can floating shelves hold?
A: The weight capacity of DIY floating shelves depends on the materials used and how they are installed. Typically, well-installed shelves can hold between 20-50 pounds.
Q: What type of wood is best for floating shelves?
A: Hardwoods like oak, maple, or walnut are ideal for floating shelves due to their strength and durability. Pine and plywood are also good options for a more budget-friendly project.
Q: Can floating shelves be installed on any wall?
A: Floating shelves can be installed on most walls, including drywall, plaster, and concrete. However, the installation method and hardware may vary depending on the wall type.
Q: How do I ensure my shelves are level?
A: Use a level during installation to ensure your shelves are straight. Mark your measurements carefully and double-check before drilling or securing brackets.
Q: What are some creative uses for floating shelves?
A: Floating shelves are versatile and can be used for various purposes, such as displaying artwork, organizing kitchen supplies, storing books, or showcasing plants and decorative items. They can also be used in bathrooms for toiletries or in offices for additional storage.