Introduction
Ever looked at your worn-out couch and thought, “I could give that a new lease on life”? DIY upholstery is your answer! Not only does it save money, but it also allows you to customize your furniture to perfectly match your style. Whether you’re updating a beloved family heirloom or sprucing up a thrift store find, DIY upholstery is both rewarding and practical.
Choosing the Right Fabric
Selecting the right fabric is the first crucial step in your upholstery project. The fabric you choose will impact the look, feel, and durability of your furniture.
Types of Upholstery Fabrics
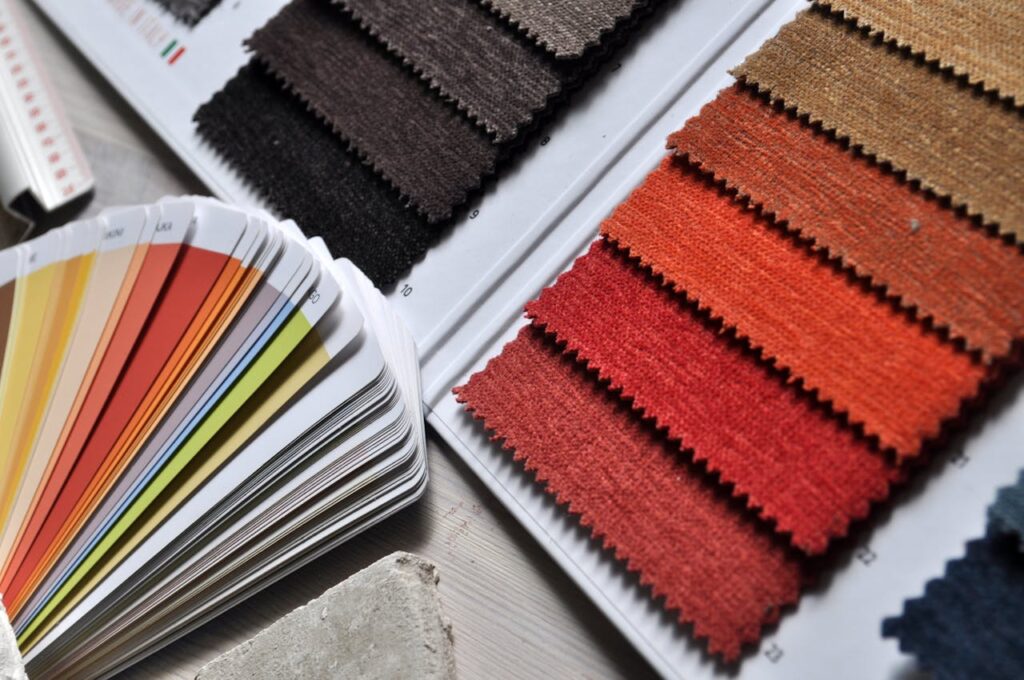
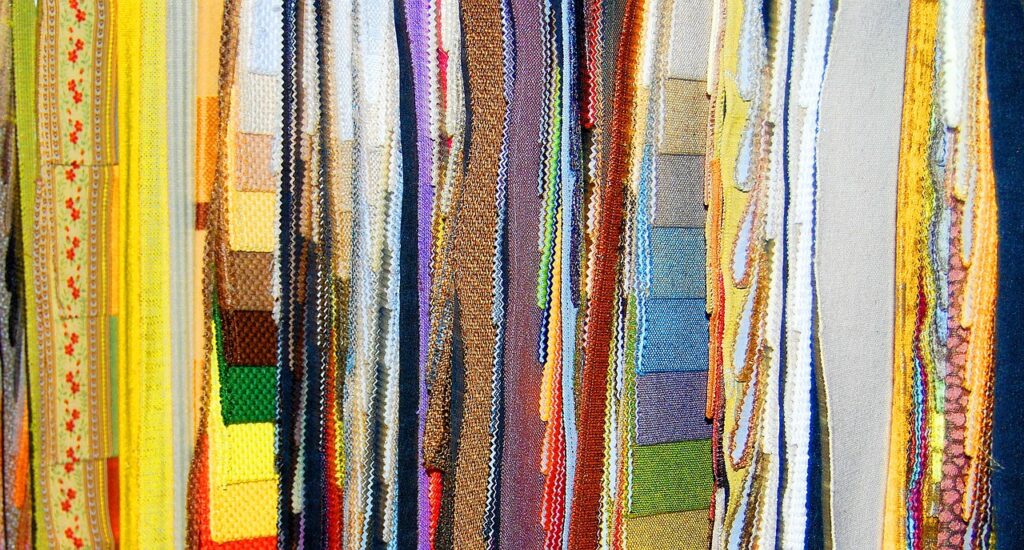
There are various fabrics to choose from, each with its own set of characteristics. For a classic look, consider materials like linen or cotton. For something more durable, opt for synthetic blends or microfiber. Leather and faux leather offer a sleek, modern touch, while velvet adds a luxurious feel.
Factors to Consider When Selecting Fabric
When choosing your fabric, think about the intended use of the furniture. Is it a high-traffic piece that needs to withstand a lot of wear and tear? Or is it a decorative item that won’t be used as often? Also, consider the color and pattern. Neutral colors are versatile and timeless, while bold patterns can make a statement.
Tools and Materials Needed
Before you dive into your project, make sure you have all the necessary tools and materials.
Essential Tools for DIY Upholstery
- Staple gun and staples
- Upholstery scissors
- Needle-nose pliers
- Tape measure
- Sewing machine (optional)
Additional Materials to Have on Hand
- Upholstery foam or batting
- Fabric glue
- Upholstery tacks or nails
- Trim and decorative elements

Preparing Your Furniture
Preparation is key to a successful upholstery project. Start by stripping down the old upholstery.
Removing Old Upholstery
Carefully remove the old fabric using needle-nose pliers to pull out staples and tacks. Take your time to avoid damaging the frame of the furniture.
Repairing and Reinforcing the Frame
Once the old fabric is removed, inspect the frame for any damage. Tighten screws, glue loose joints, and reinforce any weak areas to ensure your furniture is sturdy and ready for its makeover.
Cutting and Attaching the Fabric
With your furniture prepped, it’s time to cut and attach the new fabric.
Measuring and Cutting Fabric Pieces
Measure your furniture carefully, adding a few extra inches to each measurement to allow for tucking and stapling. Cut your fabric pieces accurately to ensure a snug fit.
Techniques for Attaching Fabric to Furniture
Begin by attaching the fabric to the frame using a staple gun. Start from the center of each side and work your way outwards, pulling the fabric tight to avoid wrinkles. For corners, use a technique called “hospital corners” to create clean, neat edges.

Adding the Finishing Touches
The final touches are what will make your upholstery project shine.
Adding Trims and Decorative Elements
Add trims, buttons, or nailhead details to give your furniture a polished look. These elements can elevate your piece from simple to stunning.
Final Inspection and Adjustments
Once everything is in place, take a step back and inspect your work. Make any necessary adjustments to ensure a perfect finish.
Tips and Tricks for Successful Upholstery
Common Mistakes to Avoid
- Not measuring accurately: Always double-check your measurements to avoid cutting fabric too short.
- Using the wrong tools: Invest in quality tools designed for upholstery to make your job easier.
- Rushing the process: Take your time to ensure each step is done correctly.
Expert Tips for a Professional Finish
- Use a high-quality fabric that will withstand daily use.
- Practice on a smaller piece of furniture before tackling a larger project.
- Don’t be afraid to get creative with colors and patterns.
Conclusion
DIY upholstery is a fantastic way to breathe new life into your furniture. With the right tools, materials, and techniques, you can transform any piece into a custom creation that reflects your personal style. So roll up your sleeves, gather your supplies, and get ready to tackle your next upholstery project with confidence.
FAQs
Q: What is the best fabric for upholstery?
A: The best fabric depends on the furniture’s use. For high-traffic pieces, durable fabrics like microfiber or synthetic blends are ideal. For a luxurious look, velvet or leather works well.
Q: How difficult is it to reupholster furniture?
A: The difficulty level varies depending on the piece. Starting with simpler projects like dining chairs can help build your skills before tackling more complex items like sofas.
Q: What tools do I need for DIY upholstery?
A: Essential tools include a staple gun, upholstery scissors, needle-nose pliers, and a tape measure. Additional tools like a sewing machine can be helpful for more intricate projects.
Q: Can I reupholster furniture without removing the old fabric?
A: It’s possible, but not recommended. Removing the old fabric ensures a cleaner finish and allows you to inspect and repair the frame if necessary.
Q: How do I clean and maintain upholstered furniture?
A: Regular vacuuming and spot cleaning with a mild detergent can keep your upholstered furniture looking fresh. Avoid harsh chemicals that could damage the fabric.