Introduction
When it comes to renewable energy, solar power is at the forefront of the revolution. The idea of harnessing the sun’s energy and converting it into electricity for your home is not only eco-friendly but also cost-effective. In this article, I’ll guide you through the process of creating and installing your own DIY solar panels, transforming your home into a green energy powerhouse.

Planning Your DIY Solar Panel Project
Before diving into the construction and installation, it’s crucial to plan your project thoroughly. Here’s how to get started:
Assessing Your Energy Needs
First, determine how much energy your household consumes. Look at your electricity bills to get an average monthly usage. This information will help you decide the number of solar panels you’ll need.
Researching Solar Panel Options
Not all solar panels are created equal. Research different types of panels, their efficiency ratings, and costs. Monocrystalline, polycrystalline, and thin-film solar panels are the main types available. Monocrystalline panels are the most efficient but also the most expensive. Choose the type that best suits your needs and budget.
Budgeting for Your Project
Creating a budget is essential. Consider the cost of materials, tools, and any additional expenses such as permits or professional help. DIY solar panel kits are available and can simplify the process by providing all necessary components.
Gathering Materials and Tools
Once you have a solid plan, it’s time to gather your materials and tools. Here’s what you’ll need:
Essential Materials for Solar Panel Installation
- Solar cells
- Plywood or a similar backing material
- Tabbing wire and solder
- Flux pen
- Glass or plexiglass
- Silicone sealant
- Junction box
Tools You’ll Need
- Soldering iron
- Wire cutters
- Screwdriver
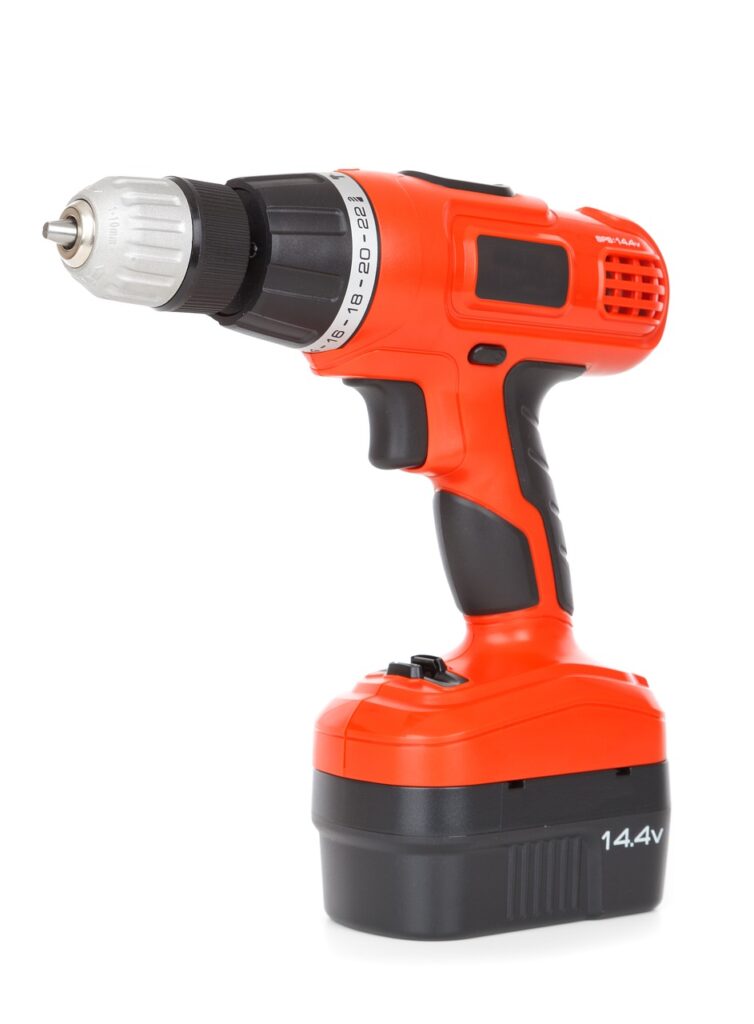
- Drill
- Multimeter

Building and Installing Your Solar Panels
Now comes the exciting part – building and installing your solar panels. Follow these steps:
Step-by-Step Guide to Building Solar Panels
- Assemble the Solar Cells: Lay out the solar cells on your backing material. Connect them using tabbing wire, ensuring each cell is properly aligned and soldered.
- Create the Panel Frame: Build a frame using plywood or aluminum to hold your solar cells securely.
- Attach the Solar Cells: Place the assembled solar cells into the frame and cover them with glass or plexiglass. Seal the edges with silicone to protect against weather elements.
- Wiring the Panels: Connect the cells to the junction box using appropriate wiring, ensuring a secure and waterproof connection.
Installing the Panels on Your Roof or Property
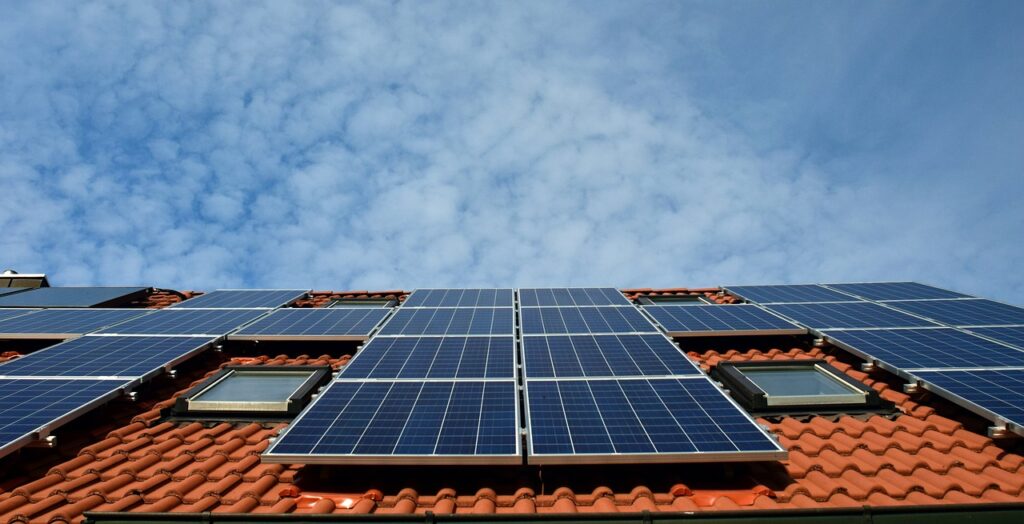
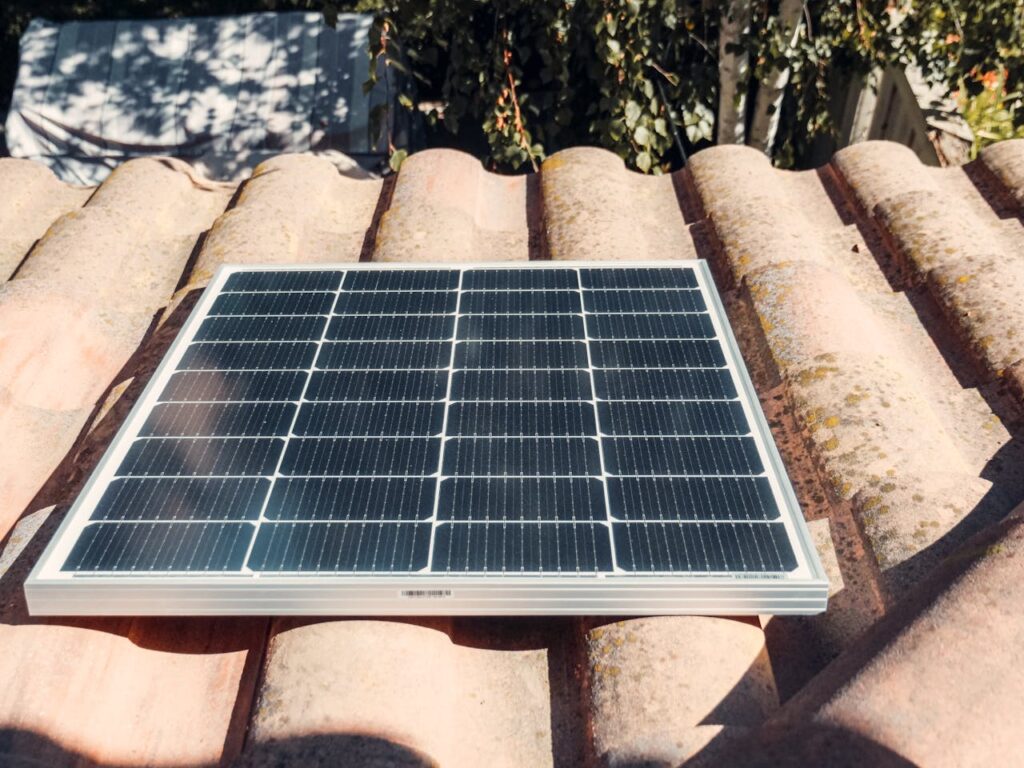
Choose a sunny location on your roof or property for maximum sunlight exposure. Securely mount the panels using brackets or a racking system. Ensure the angle of the panels is optimal for your geographical location to maximize efficiency.

Connecting Your Solar Panels to Your Home
Connecting your solar panels to your home’s electrical system can be complex. Here’s a simplified overview:
Understanding the Electrical System
You’ll need an inverter to convert the direct current (DC) produced by the solar panels into alternating current (AC) used by your home. Depending on your setup, you may also need a battery storage system and a charge controller.
Safely Connecting to Your Home’s Power Supply
For safety and compliance with local regulations, consider hiring a licensed electrician to make the final connections. They will ensure that your system is properly integrated with your home’s power supply and that all safety measures are in place.
Maintaining and Monitoring Your Solar Panels
Once your solar panels are up and running, regular maintenance is key to ensuring their longevity and efficiency.
Regular Maintenance Tips
- Clean the panels periodically to remove dust and debris.
- Inspect for any damage or wear and tear, especially after severe weather.
- Check the wiring and connections regularly.
Monitoring Your System’s Performance
Use a solar monitoring system to track the performance of your solar panels. This will help you detect any issues early and ensure that your system is operating at its best.
Conclusion
Installing DIY solar panels is a rewarding project that can significantly reduce your energy costs and carbon footprint. With careful planning, the right materials, and some basic DIY skills, you can harness the power of the sun to create a sustainable energy solution for your home. So, why wait? Start your DIY solar panel project today and enjoy the benefits of renewable energy.
FAQs
Q: How much money can I save with DIY solar panels?
A: The savings vary depending on your energy consumption and the size of your solar panel system. On average, homeowners can save hundreds to thousands of dollars annually.
Q: How long does it take to install solar panels?
A: The installation process can take anywhere from a few days to a couple of weeks, depending on the complexity of your setup and the number of panels.
Q: Are DIY solar panels as efficient as professional installations?
A: DIY solar panels can be highly efficient if constructed and installed correctly. However, professional installations may offer slightly higher efficiency due to specialized equipment and expertise.
Q: What safety precautions should I take?
A: Always follow safety guidelines when working with electrical components. Wear protective gear, work with a partner, and consider hiring a professional for the electrical connections.
Q: Can I expand my solar panel system in the future?
A: Yes, you can expand your system by adding more panels and upgrading your inverter and battery storage as needed. Planning for future expansion during the initial installation can simplify this process.